Milan FWD V6-3.0L (2010)

Seat Back: Removal and Replacement
Seat Backrest - Front, Without Fold Flat
Seat Backrest - Front, Without Fold Flat
Removal and Installation
WARNING: Never probe the electrical connectors on air bag, Safety Canopy(R) or side air curtain modules. Failure to follow this instruction
may result in the accidental deployment of these modules, which increases the risk of serious personal injury or death.
NOTICE: Do not reinstall the cushion side shield or side shield retainers after removal. These are one-time-use items that become damaged
during removal and may not remain attached if reinstalled. Install a new side shield during seat assembly (includes new retainers attached).
All seats
1. Remove the front seat. For additional information, refer to Seat - Front See: Service and Repair/Seat - Front.
2. Remove the manual height adjust handle, if equipped.
-
Remove the height adjust handle cover.
-
Remove the 2 screws and height adjust handle.
3. Remove the spring clip and manual recliner handle, if equipped.
4. Remove the manual lumbar control knob, if equipped.
-
Adjust the manual lumbar to the full relaxed position.
-
Pull outward and remove the manual lumbar knob.
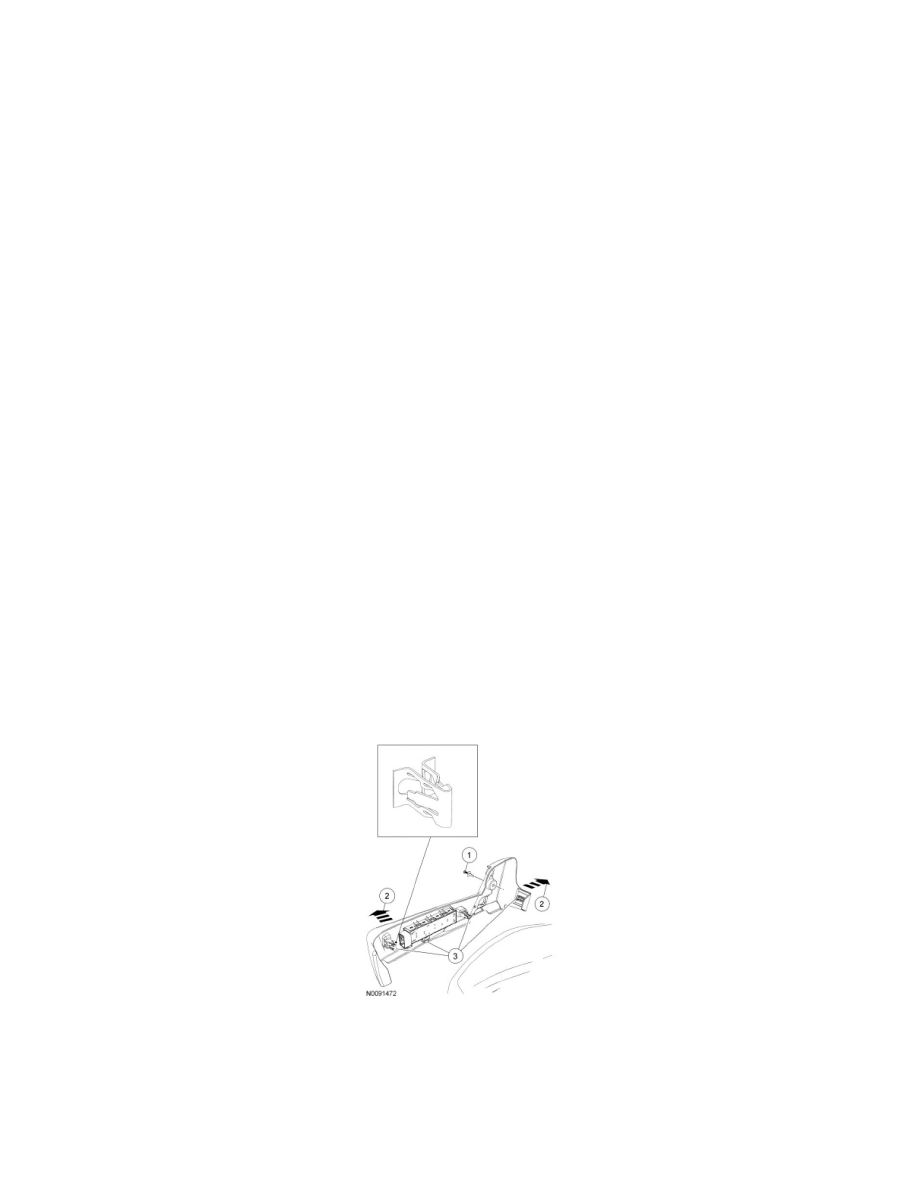
5. Remove and discard the cushion side shield and one-time-use retainers.
1. For passenger seat, remove the scrivet.
2. Pull out on the side and rear of the cushion side shield and release the retainers.
-
Separate the wire harness from the cushion side shield, if equipped.
3. Remove the side shield and any remaining side shield retainers from the seat and discard.
-
For installation, install a new cushion side shield (includes new retainers attached).
6. Release the trim cover hook-and-loop strap from around the safety belt buckle assembly.
