
Sable V6-183 3.0L DOHC VIN S MFI (1997)
Front Door Latch: Service and Repair
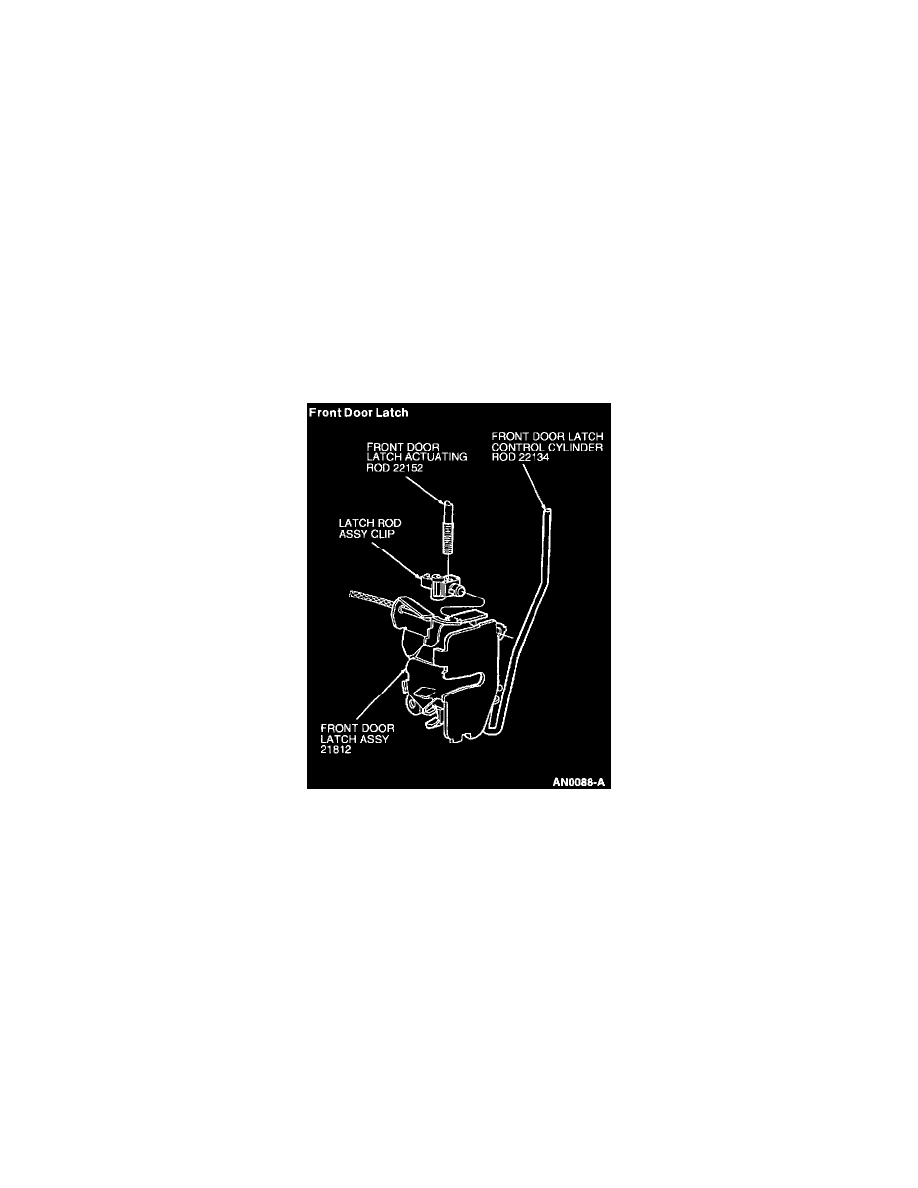
Front Door
Remove
1. Remove front door trim panel and watershield.
2. Check all connections on front door latch and front door latch remote control and link and service if necessary.
3. Remove one screw retaining front door latch remote control and link to front door.
4. Remove clip attaching front door latch control cylinder rod to door lock cylinder.
5. Remove clip attaching door latch control rod knob to front door latch.
6. Remove clip attaching front door latch actuating rod to front door latch.
7. Remove nut retaining power door lock actuator to front door. Disconnect electrical connector to power door lock actuator and remove power door
lock actuator from front door latch.
8. Disconnect door ajar switch connector from front door latch.
9. Remove three screws attaching front door latch to front door.
10. Remove front door latch (with front door latch control cylinder rod) attached from front door cavity.
11. Remove link retaining clip, pry out and remove rear door latch remote control link from rear door latch.
12. Transfer bushings and retaining clips along with front door latch control cylinder rod and front door latch remote control and link to new front
door latch.
Install
1. Follow removal procedure in reverse order.
2. Tighten front door latch retaining screws to 10-12 N.m (89-106 lb-in).