Sable V6-183 3.0L DOHC VIN S MFI (1997)

Brake Pad: Testing and Inspection
NOTE: This procedure applies to components of front and rear disc brakes (if equipped).
1. Raise vehicle.
2. Remove wheel and tire assemblies from vehicle.
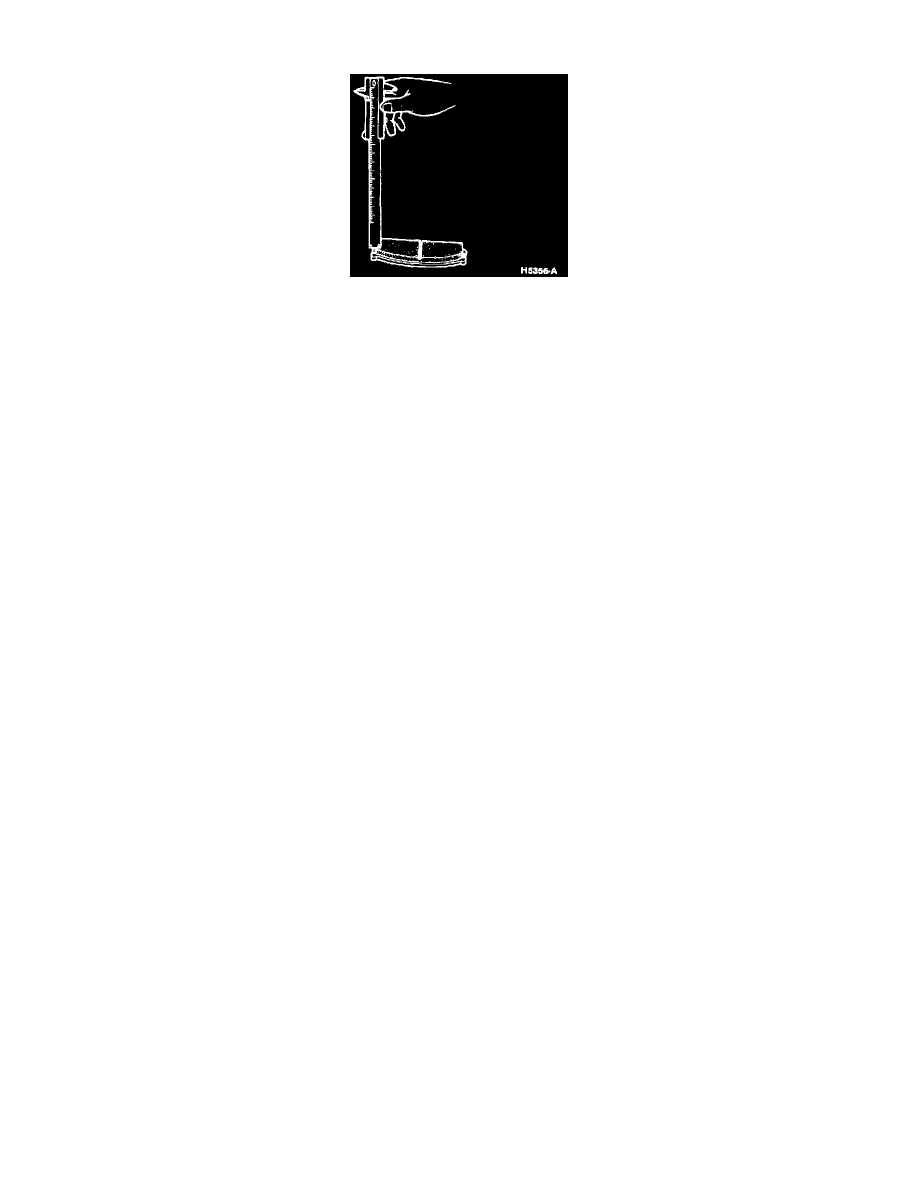
3. Inspect brake pads and linings for wear.
- If the front lining is worn to within 3mm (0.118 inch) of the pad, replace all four brake pad and lining assemblies (complete axle set).
- If the rear lining is worn to within 3.12mm (0.123 inch) of the pad, replace all four brake pad and lining assemblies (complete axle set).
4. Replace any brake shoe and lining that has been contaminated with oil, grease or brake fluid. Replace brake shoe and lining in axle sets. Locate and
service the source of the contamination.
CAUTION: Failure to tighten lug nuts in a star pattern may result in high rotor runout, which will speed up development of brake roughness, shudder
and vibration.
5. Install wheel and tire assembly on vehicle. Tighten lug nuts to 115-142 Nm (85-104 ft. lbs.) using Accutorq Lug Nut Socket or equivalent, on a 1/2
inch air impact wrench or use a torque wrench.
6. Lower vehicle.
