
Sable V6-183 3.0L DOHC VIN S MFI (1997)
1. Apply a small quantity of Silicone Brake Caliper Grease and Dielectric Compound to points where the shoes contact the rear brake backing plate.
Do not get lubricant on linings.
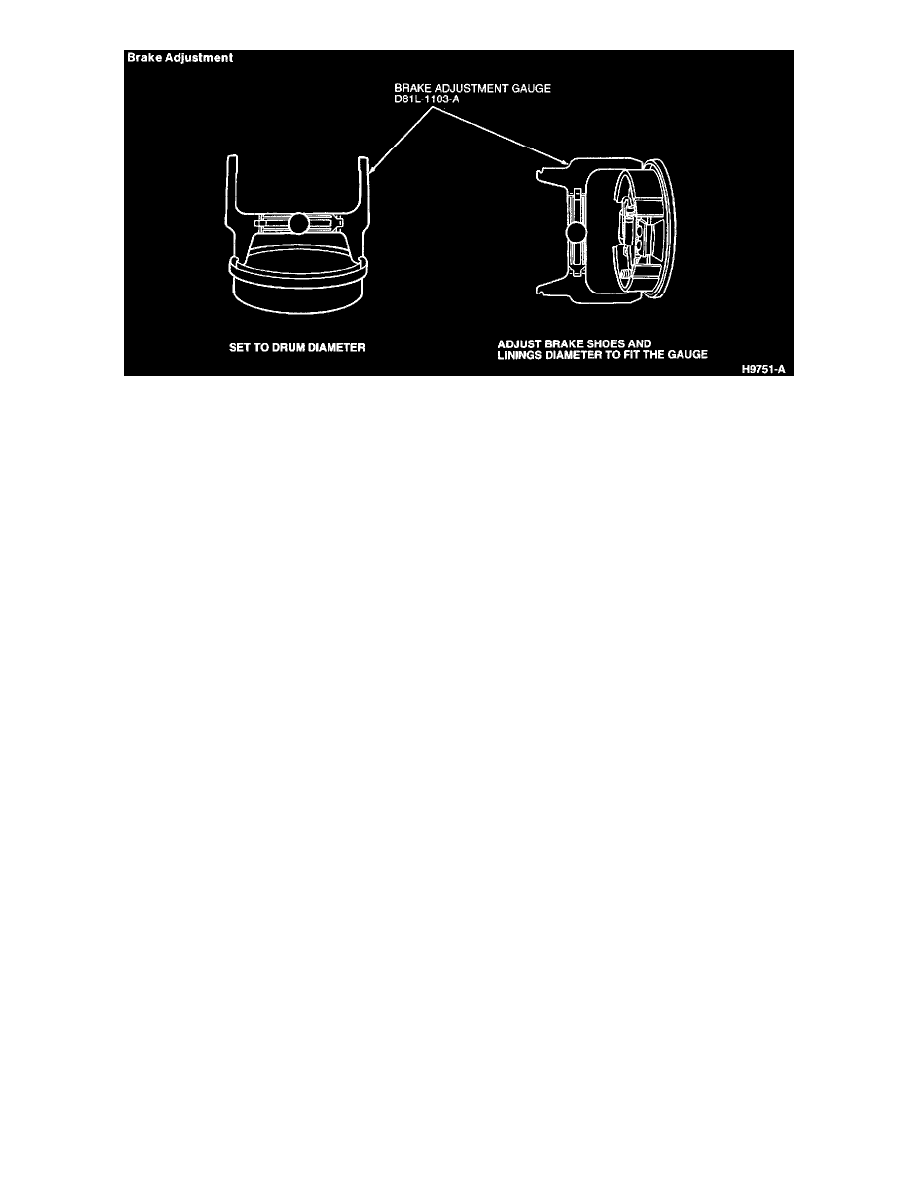
2. Determine inside diameter of the drum braking surface using a brake adjustment gauge.
3. Line the brake shoes and linings up vertically so the flats on the bottom of the brake shoes and linings are aligned approximately 1.5mm (0.05
inch) above the bottom of the brake shoe abutment plate. Adjust the brake shoes and lining's diameter to fit the gauge.
4. Hold automatic brake shoe adjusting lever out of engagement while rotating adjusting screw. Lubricate if necessary. Make sure adjusting screw
rotates freely. Refer to Brake Shoe/Service & Repair for adjuster service. See: Brake Shoe/Service and Repair/Installation
5. Rotate brake adjustment gauge around brake shoes and linings to make sure of proper setting.
6. Install brake drum.
7. Install tire and wheel assembly. Tighten lug nut to 115-142 Nm (85-104 ft. lbs.). Do not use power or impact-type tools; use a torque wrench.
8. Install the wheel cover and nut covers as required.
9. Complete adjustment by applying brake pedal several times with a minimum of 111 N (25 lbs) force.
10. After brake shoes and linings have been properly adjusted, check operation of brakes by making several stops from varying forward speeds.