
Sable V6-183 3.0L DOHC VIN S MFI (1997)
e.
Insert completed assembly into drill and tighten chuck securely.
f.
Coat the abrasive strip in appropriate refrigerant oil.
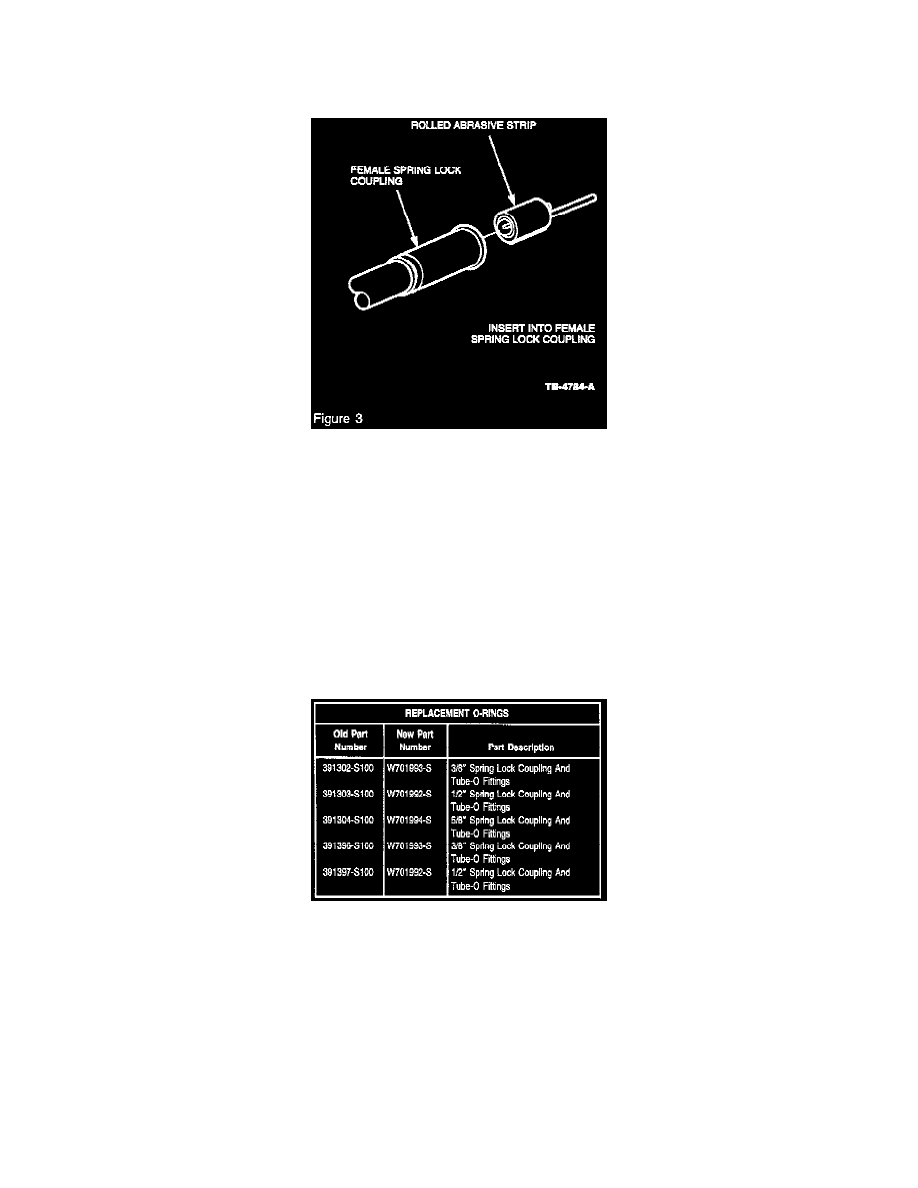
g.
Roll abrasive strip around cleaning tool (Figure 3).
NOTE:
DO NOT ALLOW THE DRILL SPEED TO EXCEED 1500 RPM AS TOOL SEPARATION MAY OCCUR.
h.
Using a variable speed drill set at a low speed, slowly insert cleaning assembly into the female coupling. Clean using a moderate speed for
approximately 1 minute or until surface is clean. Maintain low speed drill rotation while removing the cleaning assembly to prevent axial
scratches, which may cause future leaks.
NOTE:
IT IS IMPORTANT TO USE A LINT FREE CLOTH TO PREVENT MATERIAL FIBERS FROM REMAINING ON THE 0-RING SEALING
SURFACE AND CAUSING FUTURE LEAKS.
i.
Remove all cleaning residue from the coupling using a lint free cloth.
j.
Inspect O-ring sealing surface for grooves. If grooves or scratches cannot be removed, replace the component.
5.
Inspect the male SLC O-ring grooves for scratches, corrosion, or debris from O-ring deterioration. Remove any surface residue from the O-ring
grooves by cleaning using the following procedure (Steps 5a-5b):