
Sable V6-183 3.0L DOHC VIN S MFI (1997)
4. Install upper washer and nut on the front spring and shock shaft.
5. Place a T-50 TORX(r) Drive on top of front spring and shock shaft and hold while tightening top shaft retaining nut with a 21 mm 6-point crow
foot wrench and ratchet to 53-72 Nm (39-53 ft. lbs.).
Installation
1. Install Rotunda Spring Compressor 164-R3571 or equivalent on strut assembly and compress front coil spring.
2. Install strut assembly and three front shock absorber mounting bracket to-shock tower nuts. Hand-tighten nuts.
3. Install front shock absorber into front wheel knuckle assembly. Remove spring compressor.
4. Install a new front shock-to-front wheel knuckle pinch bolt. Tighten to 98-132 Nm (72-97 ft. lbs.).
5. Install halfshaft into wheel hub.
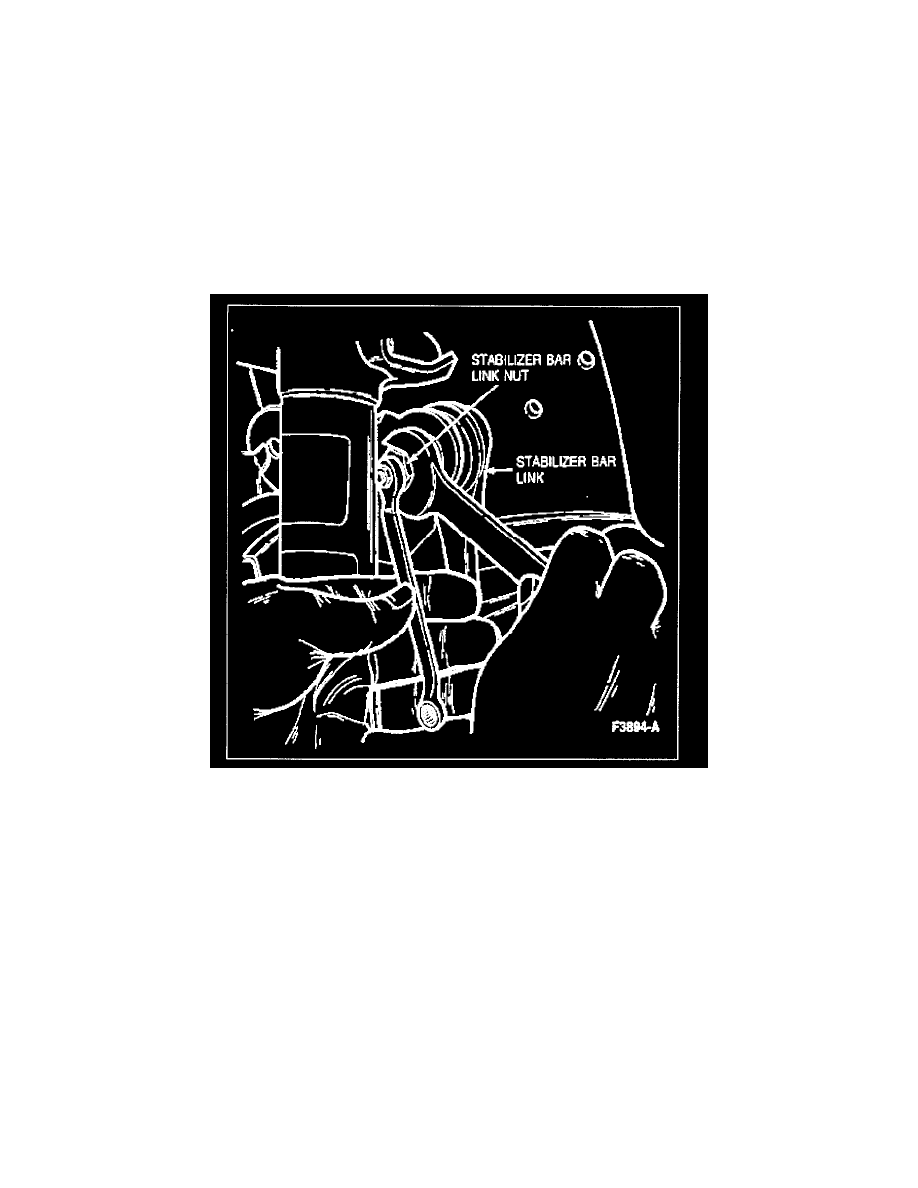
6. Install stabilizer bar link to front shock absorber. Use care not to damage link ball joint boot seal.
CAUTION: Use extreme care not to damage boot seal. Do not use power tools to tighten nut or bearing and seal damage will result. Install nut
using hex hold feature to prevent the stud from rotating.
7. Install a new stabilizer bar link nut. Tighten to 77-103 Nm (57-75 ft. lbs.).
8. Install tie rod end onto front wheel knuckle.
9. Install a new tie rod end slotted nut. Tighten to 47-63 Nm (35-46 ft. lbs.). If necessary, advance nut to install a new cotter pin.
10. Install brake anti-lock sensor wiring routing clip.
11. Install brake hose bracket and mounting screw. Tighten to 15 Nm (11 ft. lbs.).
12. Install tire and wheel. Tighten lug nut to 115-142 Nm (85-104 ft. lbs.).