
Sable V6-183 3.0L DOHC VIN S MFI (1997)
Fluid Line/Hose: Service and Repair
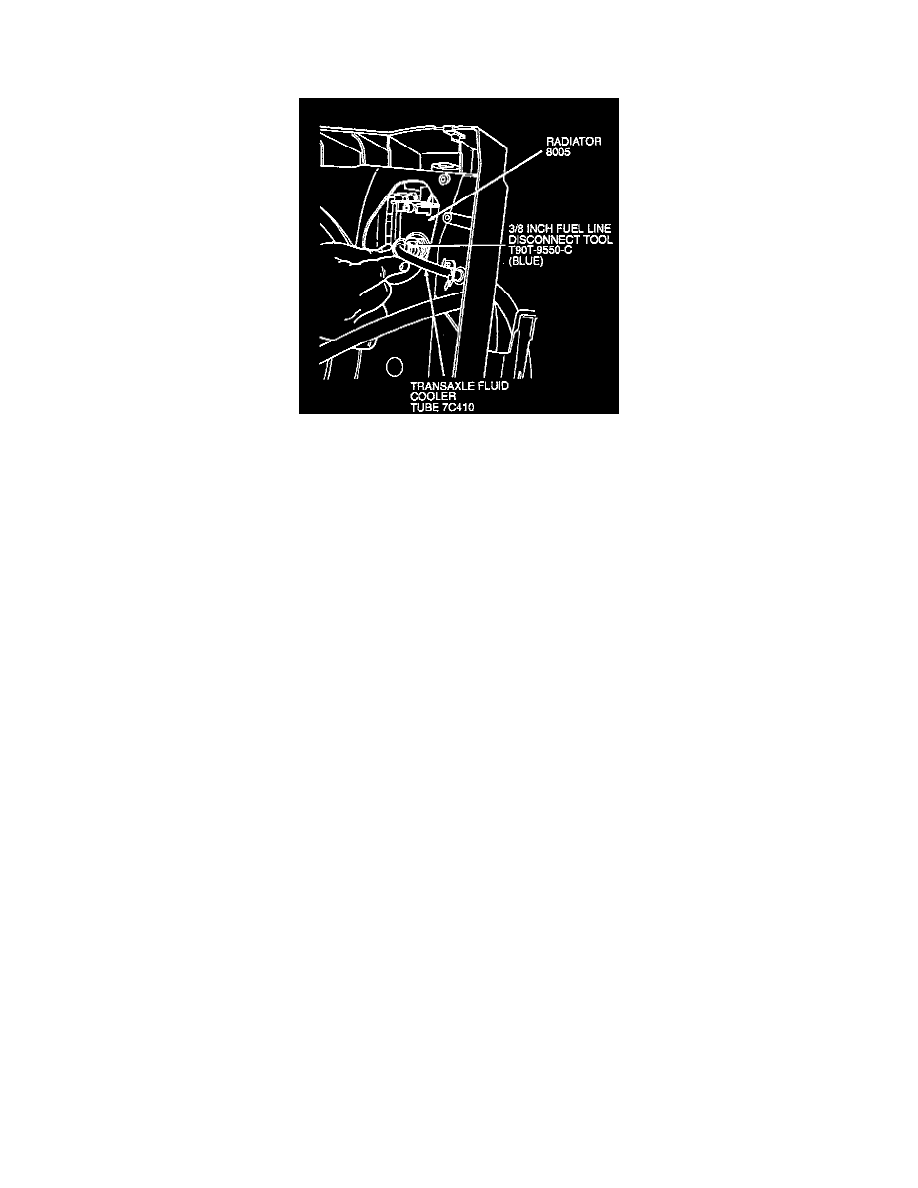
Steel Tubes Using Push-Connect Fittings At Radiator
1. If leakage is noted at transaxle fluid tube connector at the radiator, disconnect cooler line using 3/8 inch Fuel Line Disconnect Tool (Blue)
T9OT-9550-C. Remove cooler line.
2. Remove push connect fitting from radiator.
3. Install 3/8 inch angled flare fitting into radiator. Tighten fitting to 24-31 Nm (18-22 ft. lbs.).
4. Cut approximately 76-102 mm (3-4 inches) from existing cooler line.
5. Using new cooler line steel tubing or equivalent of SAE J526 welded low carbon lead/tin coated 10 mm (3/8 inch) OD, cut a piece of sufficient
length. Shape it to connect the existing line to the new flare fitting.
6. Clean all cut ends of both lines with the blade edge of the cutting tool to avoid line restrictions. Clean metal particles from the tube ends.
7. Install flare nut 87944-S8 or equivalent on the radiator end of the new cooler line section.
8. Connect the new cooler line section to the existing cooler line using a piece of 10 mm (3/8 inch) fuel line hose and two worm drive hose clamps.
Use a sufficient length of fuel line hose to achieve a 38-51 mm (1-1/2 to 2 inch) overlap of the ends of the cooler lines.
9. Connect the cooler line to the flare fittings and tighten to 16-24 Nm (12-17 ft. lbs.).