
Sable V6-3.0L VIN 2 Flex Fuel (2005)
11. CAUTION: Select the urethane adhesive with the appropriate curing time that will ensure the adhesive is cured before vehicle is driven.
NOTE: Use either a high-ratio, electric or battery-operated caulk gun that will apply the urethane with less effort and continuous bead.
Apply urethane adhesive on top of the existing trimmed urethane adhesive bead on the pinch weld. Make sure that all gaps in the urethane
adhesive are smoothed into one continuous bead starting and ending at the bottom of the windshield near the center.
12. Install the windshield glass on the vehicle aligning it with the markings made previously.
13. CAUTION: Carry out this step after the urethane has cured.
Check the windshield glass installation for air or water leaks through the urethane adhesive seal.
14. Position the headliner.
15. If equipped, install the dome lamp assembly.
16. Install the 2 sun visor clips, the LH and RH sun visors, and the 8 screws.
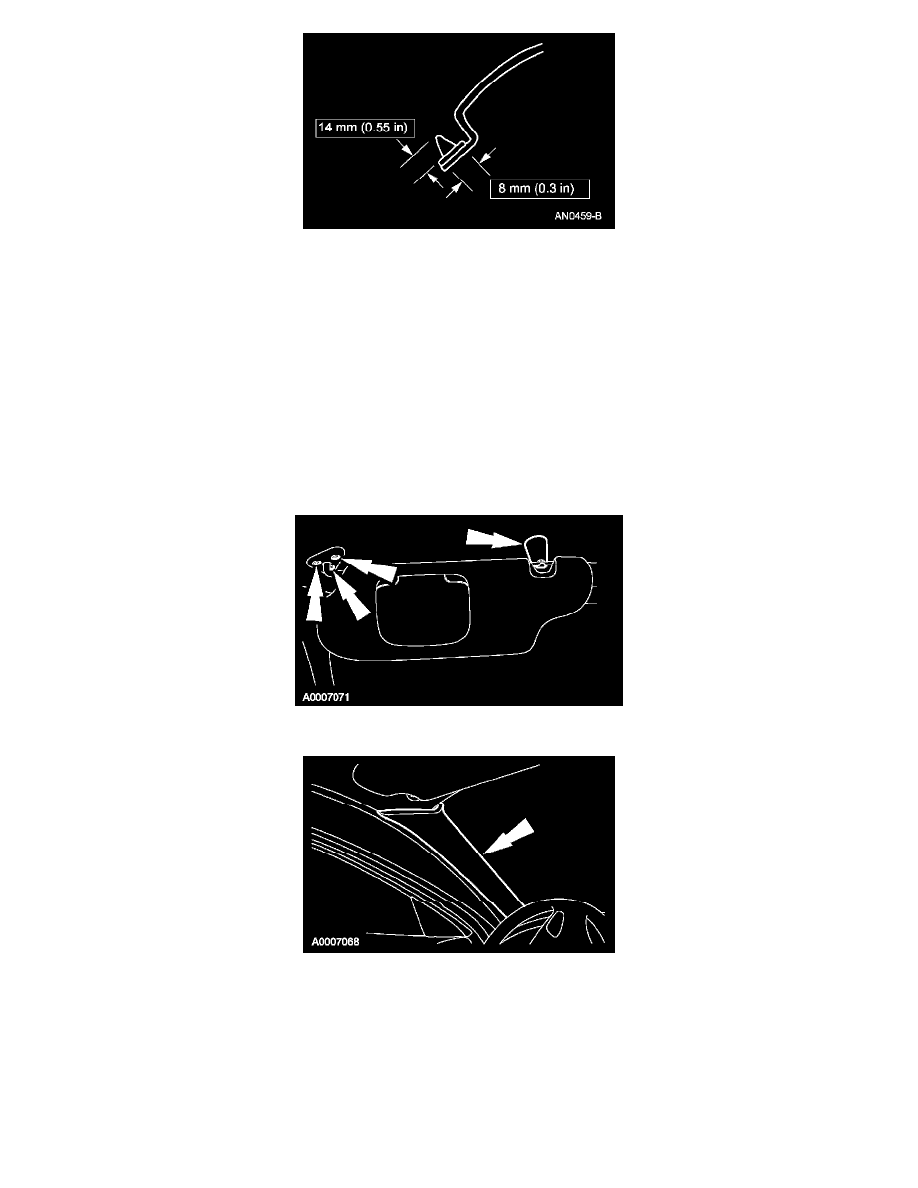
17. NOTE: When installing the windshield side garnish mouldings, be sure the alignment tabs are positioned correctly.
Install the RH and LH windshield side garnish mouldings.
18. Install the LH and RH front door weatherstrips.
19. Install the interior rear view mirror.
20. Install the cowl grille.