
Villager V6-181 3.0L SOHC VIN 1 EFI (1997)
Seat Cushion: Service and Repair
Center/Rear Bench Cover/Pad
REMOVAL
1. Remove the rear bench or center bench seat from the vehicle.
2. Place the rear bench seat with the rear seat cushion pad facing up, on a clean, sturdy workbench.
3. Remove the rear bench seat side trim from the rear bench seat.
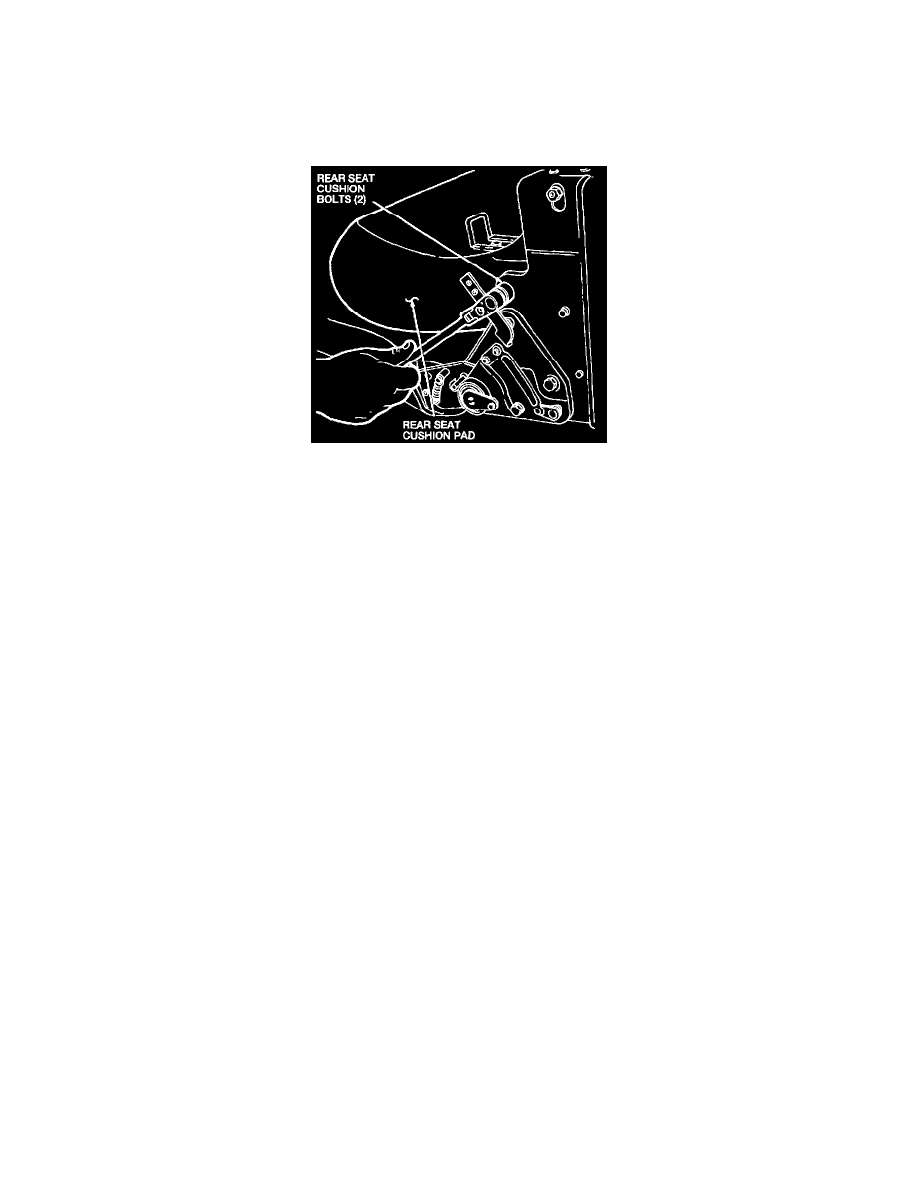
4. Remove the two rear seat cushion bolts.
5. Remove the rear seat cushion pad from the rear seat cushion frame.
6. Cut the hog rings that attach the seat cushion cover to the seat cushion frame.
7. Detach the plastic clip retainers from the seat cushion frame.
8. Remove the seat cushion cover and seat cushion pad.
INSTALLATION
1. Position the rear seat cushion pad on the rear seat cushion frame.
2. Install the rear seat cushion cover around the rear seat cushion pad and rear seat cushion frame.
3. Attach the plastic clip retainers to the rear seat cushion frame.
4. Install new hog rings to attach the rear seat cushion cover to the rear seat cushion frame.
5. Insert the seat back pivot pin into the locating sleeve in the seat cushion frame.
6. Install the two rear seat cushion bolts.
7. Install the rear bench seat side trim on the rear bench seat.
8. Install the rear bench or center bench seat in the vehicle.