
3000GT V6-2972cc 3.0L DOHC (1993)
g. Insert circlip to rack stopper through cylinder hole. Turn rack stopper clockwise and insert circlip firmly, Fig. 28.
h. Apply multipurpose grease to pinion gear and housing, wrap tape around serrated part.
i.
Use seal ring installer tool No. MB991317, or equivalent, to install seal ring, then install pinion and valve assembly into valve housing.
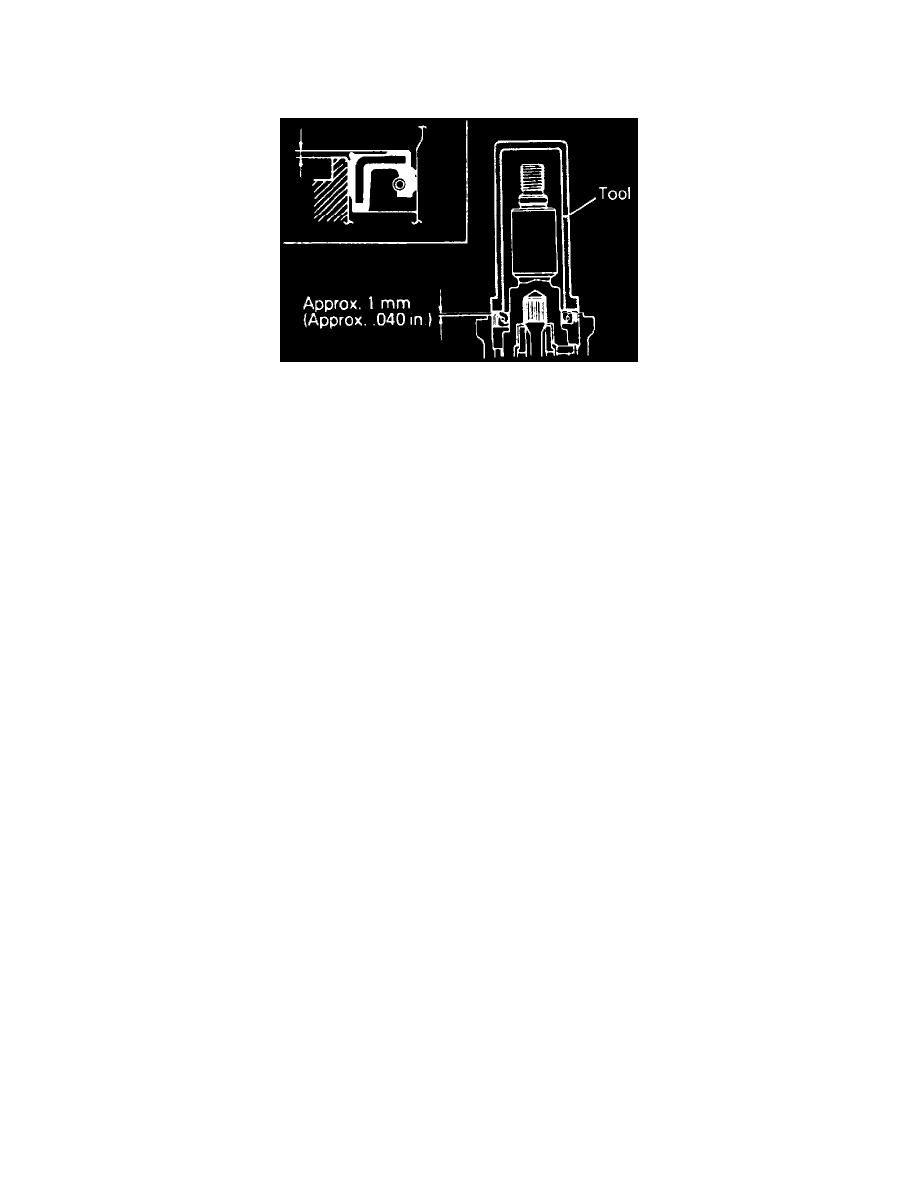
Fig. 29 Oil Seal Installtion
j.
Install valve housing seal using suitable seal installation tool and allow seal upper surface to project outward 0.040 inch, Fig. 29.
k. Apply 3M ATD sealant part No. 8663, or equivalent, to end plug threads, then install end plug securing in place using a suitable punch.
l.
To adjust total pinion torque, center rack, then use torque wrench socket tool No. MB990607, or equivalent, to torque rack support cover to
11 ft. lbs. Then, from neutral position, rotate pinion shaft clockwise one turn within four to six seconds. Loosen rack support cover 30-60° and
adjust torque to 5-11 inch lbs., then lock rack support cover with locknut.