
3000GT V6-3.0L SOHC (1998)
CAUTION: The guide pin has been coated with special grease. Do not wipe off the special grease on the lock pin, and do not contaminate the
lock pin.
Remove Pads Parts From Caliper Support
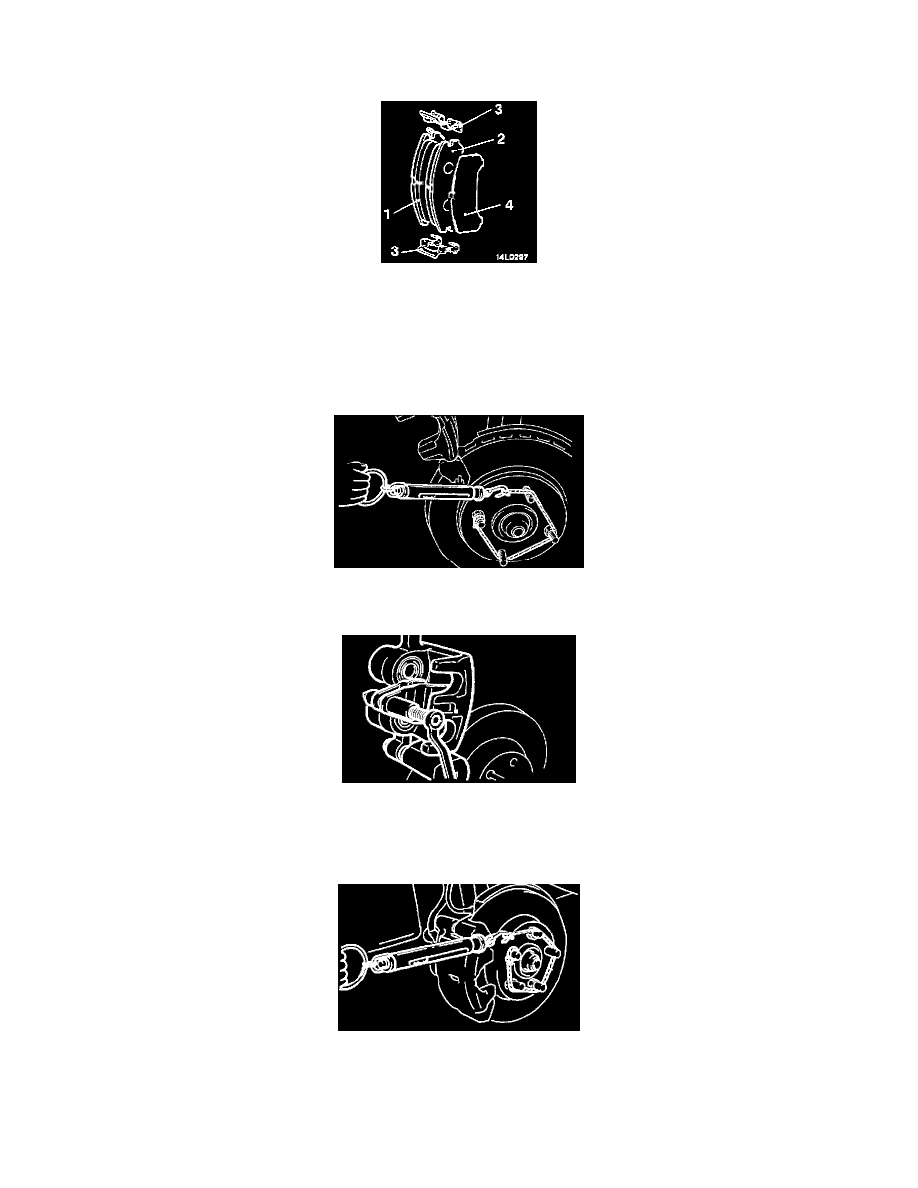
3. Remove the following parts from the caliper support.
1) Pad and wear indicator assembly
2) Pad assembly
3) Clip
4) Outer shim
4. With the brake assembly removed, use a spring scale to measure the rotary sliding resistance of the hub in the forward direction.
5. Install the pad clips to the caliper support in position.
6. Clean the piston and, using the special tool, push the piston into the cylinder (caliper).
7. With care not to allow the piston boot to be wedged, lower the caliper assembly and fit the lock pin.
8. Start the engine, depress the brake pedal firmly two to three times and stop the engine.
9. Give the brake disc ten turns in the forward direction.
10. Using a spring scale, measure the rotary sliding resistance of the hub in the forward direction.
11. Obtain the drag force of the disc brake (the difference between the values measured in 10 and 4).
Standard value: 70 N (15.4 lbs.) or less
12. If the drag force of the brake exceeds the standard value, disassemble the piston and check for dirty or corroded piston sliding surface and