
3000GT V6-3.0L SOHC (1998)
<B> Self-Locking Nut Removal (14, 16 & 17)
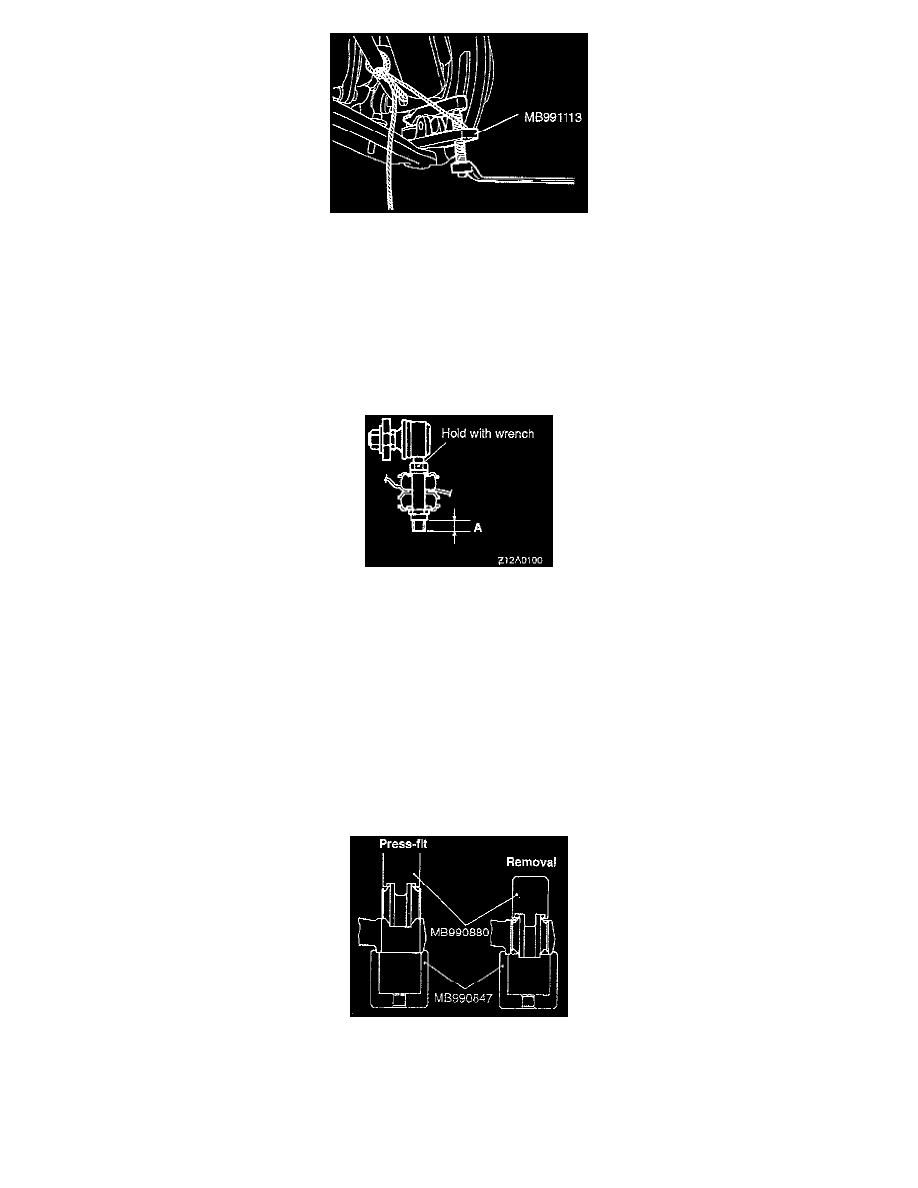
CAUTION: Support special tool MB991113 with a cord, etc. to prevent it from coming off.
NOTE: Only loosen the nut, do not remove it from the ball joint.
INSTALLATION
Installation in reverse order as removal.
Installation Service Points
>A< Stabilizer Link Mounting Nut Installation (13)
Holding the stabilizer link with a wrench, tighten the self-locking nut so that the protrusion of the stabilizer link (dimension A indicated in
illustration) is within the standard value.
Standard value (A): 5 - 7 mm (0.197 - 0.276 inch)
Post-installation Operation
1. Check wheel alignment.
2. Check parking brake lever stroke.
3. Check rear brake disc run-out.
INSPECTION
-
Check trailing arm for cracks and deformation.
-
Check bushing for cracks, deterioration and wear.
Trailing Arm Bushing Replacement
Use the special tool to remove and press-fit the bushing.