
Cordia L4-2.0L SOHC (1984)
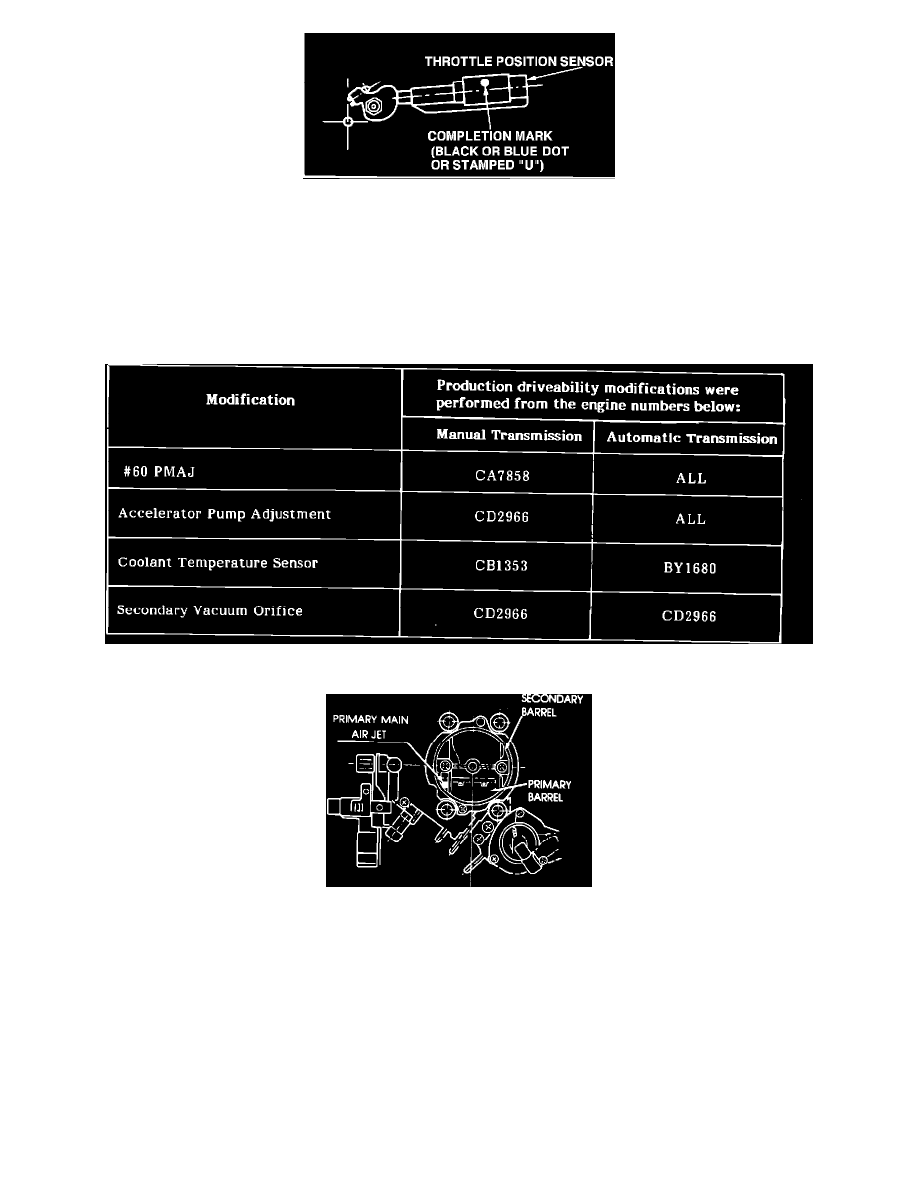
FIGURE 7
Remove the air cleaner and inspect the throttle position sensor. If it has a blue or black dot on it (see Figure 7), some or all of the modifications have
been performed. If the TPS has a "U" stamped on it, all modifications have been made, and no further modifications are needed.
Driveability modifications were introduced at various times, and therefore you will need to look at the engine number to determine which modifications
have been performed on the car you are looking at. The table on the following page shows the engine numbers at which the various modifications
become effective. The engine number is at the top of the block near the front.
NOTE:
Vehicles produced after January, 1984 will no longer has a "U" marking, but will contain all modifications.
DRIVEABILITY MODIFICATION EFFECTIVE POINTS
FIGURE 8
CORRECTION PROCEDURE
1.
Obtain kit #MD085618.
2.
Using the 4-mm. screwdriver, unscrew the primary main air jet. See Figure 8 for location. Install the #60 primary main air jet and discard the old
one.
NOTE:
The red plastic nozzle extension from a "WD-40" can is a handy tool for removing the jet from the carburetor. Be sure the throttle is
closed. Hold the choke shut to keep the jet from dropping down into the carburetor.