
Eclipse L4-1996cc 2.0L DOHC (1995)
2.
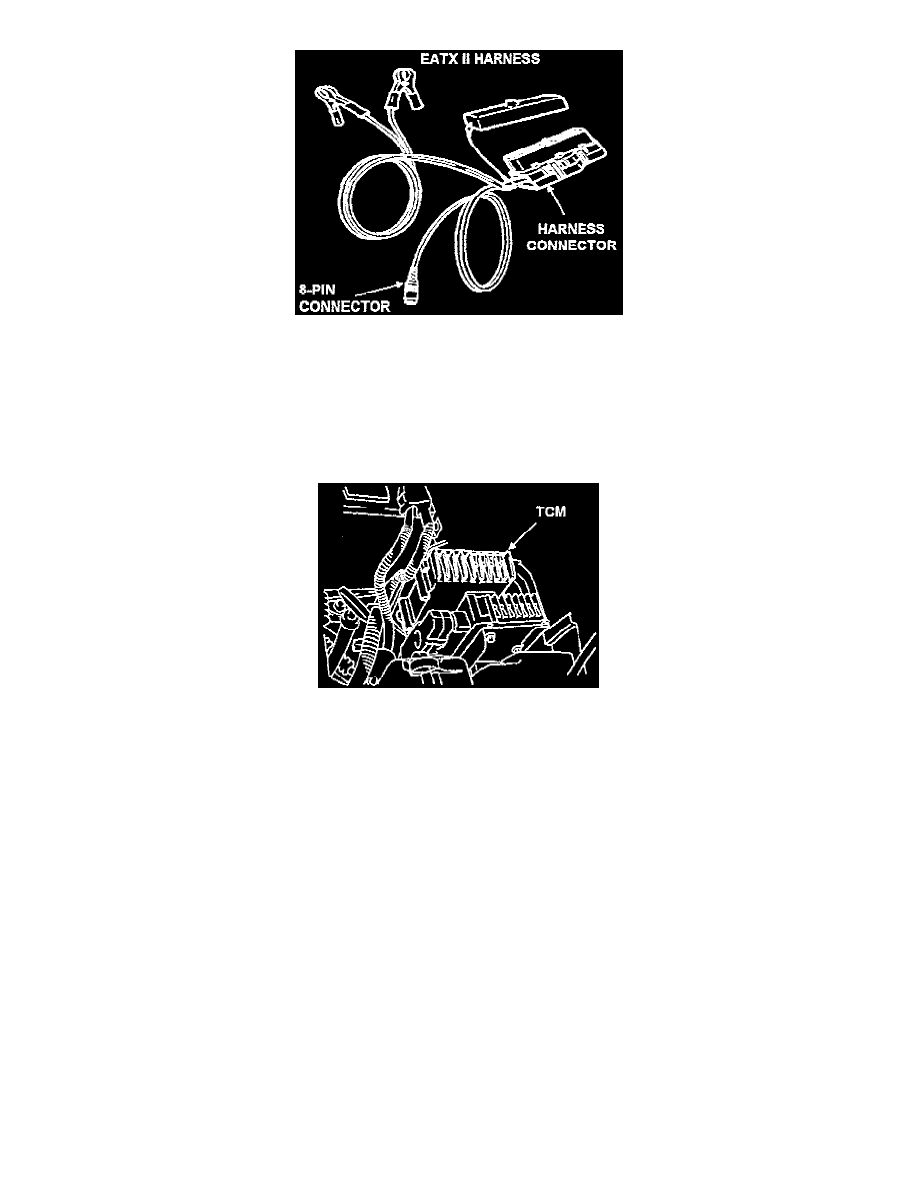
Attach the EATX II harness 8-pin connector to the Reprogramming Unit as described in page 5 of the Reprogramming Unit Instruction Manual.
Note:
This harness is not the same one that was used for previous MFI reprogramming procedures.
3.
Note the pre-set radio stations.
4.
Disconnect and remove the vehicle battery.
5.
Disconnect the connector from the vehicle's transmission control module (TCM).
6.
Connect the EATX II harness connector to the TCM.
7.
Attach the EATX II harness battery clips to the vehicle battery (red clip to the positive terminal; black clip to ground).
CAUTION:
Be sure harness battery clips are securely fastened. The TCM will be damaged if power is interrupted during the reprogramming process.
8.
Install Reprogramming Cartridge MIT992008 into the Reprogramming Unit.
NOTE:
If no instructions display on the Reprogramming Unit screen after installing the cartridge, leave the cartridge in and reconnect the EATX II
harness clips to the battery.
9.
Follow the displayed instructions on the reprogramming unit screen.
10.
The display will ask if you want to change the transmission controller part number. Select Yes. Reprogramming will begin.
11.
The current and replacement TCM part numbers will display. Record the displayed replacement TCM part number.
NOTE:
If the TCM cannot be reprogrammed, the displayed current and replacement TCM part numbers will be the same, or the message "BREAK
NOT SEEN" will display. If so, do not continue with this reprogramming procedure. Go to Step 16 below. Skip Steps 17 through 20.
12.
When completed, disconnect the reprogramming unit and EATX II harness.