
Eclipse L4-1997cc 2.0L DOHC Turbo 16 Valve (1996)
4.
Set the switch on the harness black box to the side labeled EATX III.
5.
Connect the EATX III/Engine harness 16-pin and 12-pin connectors to the vehicle's data link connector.
6.
Install Reprogramming Cartridge MIT992014 into the Reprogramming Unit.
7.
Follow the displayed instructions on the Reprogramming Unit screen.
CAUTION:
DO NOT DISTURB THE HARNESS CABLES OR CONNECTIONS. INTERRUPTION DURING THE PROGRAMMING PROCESS COULD
CAUSE THE TCU TO LOSE DATA OR PREVENT FUTURE TCU REPROGRAMMING.
8.
The display will ask if you want to change the controller part number. Select Yes. Reprogramming will begin.
NOTE:
If the TCU has already been reprogrammed for this condition, the displayed current and replacement part numbers will be the same, or the message
"BREAK NOT SEEN" will display. If so, do not continue with this procedure.
9.
Current and replacement TCU part numbers will display. Replacement part numbers will be:
1996 models - M05100096AA
1997 models - M05293114AC
Record the replacement part number displayed.
10.
When completed, disconnect the reprogramming unit and the EATX III/Engine harness.
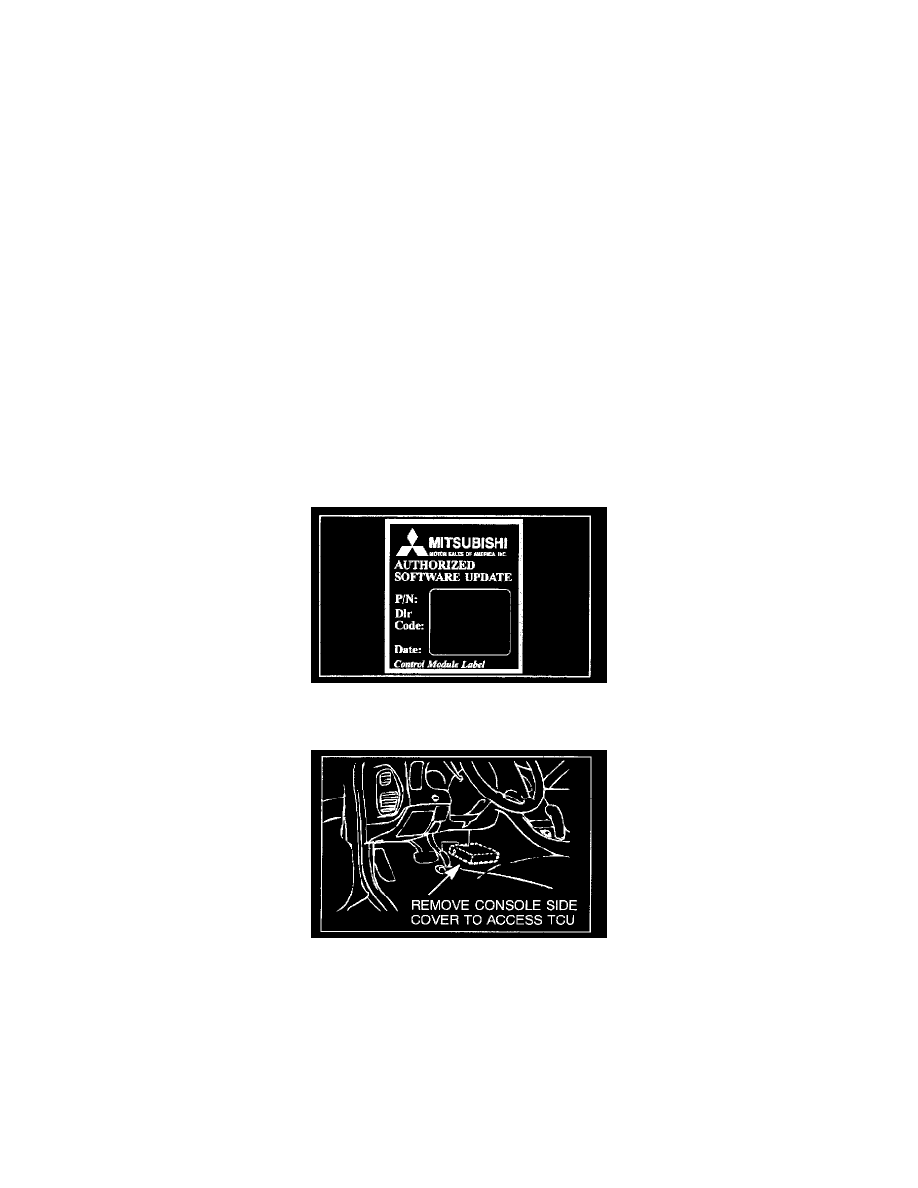
11.
Using a ball-point pen, enter the replacement TCU part number (noted in Step 9), your dealer code, and the current date on the Control Module
Label.
12.
Remove the center console side cover to access the TCU. Affix the Control Module Label to the side of the TCU. Then reinstall the console side
cover.