
Eclipse L4-2.4L SOHC (2004)
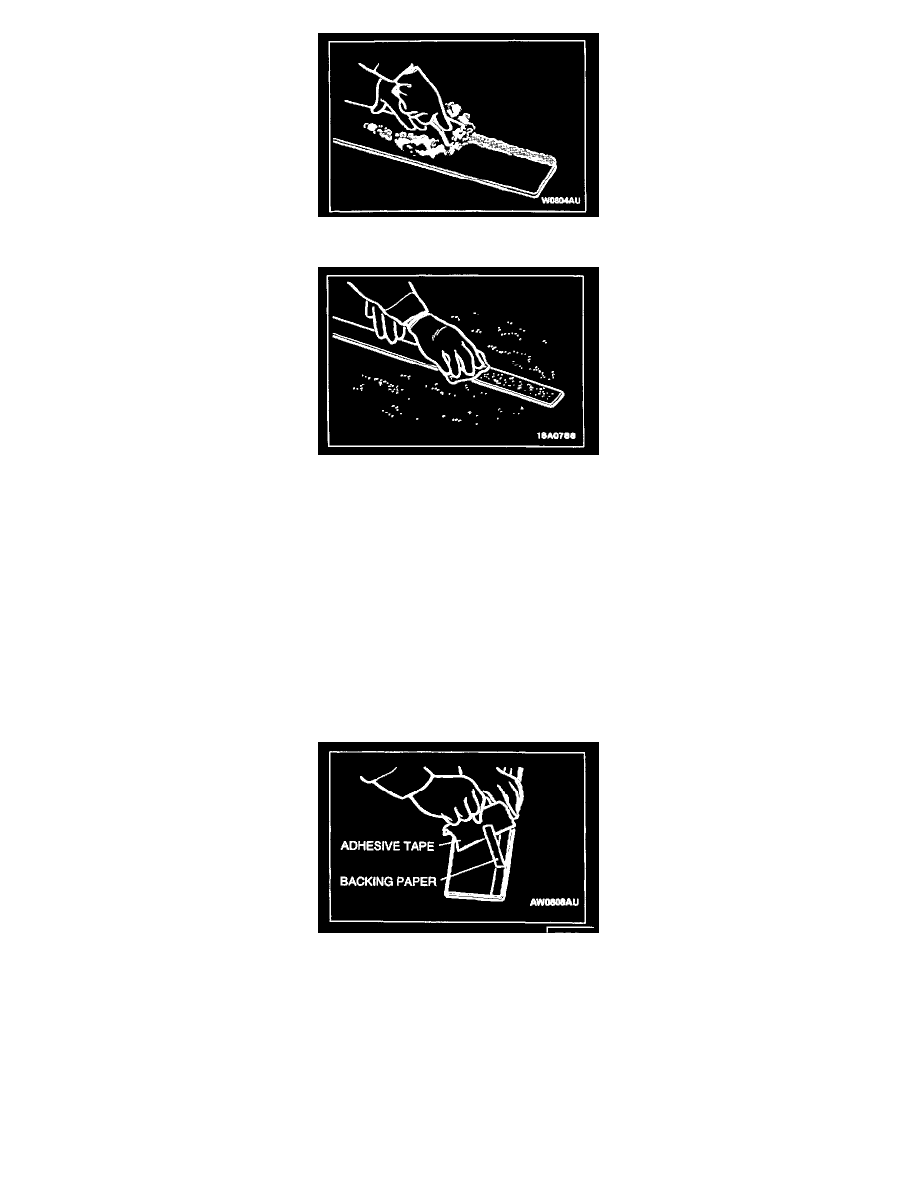
1. Scrape off the double-sided tape with a resin spatula or gasket scraper.
2. Use a shop towel moistened with 3M(TM) AAD Part number 8906 or equivalent to wipe the rear pillar garnish surface.
CAUTION: Do not remove all of the residual adhesive.
3. Remove a small portion of the residual adhesive.
CAUTION:
-
Always apply it on the entire surface, because a lot or little will reduce its strength.
-
Do not touch the coated surface.
4. Soak a sponge in the 3M(TM) AAD Part number 8608 Super Fast Urethane Primer or equivalent, and apply evenly to the Rear pillar garnish.
5. After applying the primer, let it dry for 3 to 30 minutes.
6. Affix the 3M(TM) AAD Part number 6382 or equivalent [3 mm (0.1 inch) wide and 5 mm (0.2 inch) thick] to the Rear pillar garnish.
Rear pillar garnish Installation
1. Tear off the double-sided tape backing paper.
NOTE: If you attach the adhesive tape to the edge of the backing paper, it will be easy to tear off.
2. Install the Rear pillar garnish.
NOTE: If the double-sided tape is difficult to affix during winter etc., warm the bonding surfaces of the body and the Rear pillar garnish to about
4O-60 degrees C (1O4-140 degrees F) before affixing the tape.
3. Firmly press in the Rear pillar garnish.