
Eclipse GT V6-3.0L SOHC (2000)
Compression Check: Testing and Inspection
COMPRESSION PRESSURE CHECK
1. Before inspection, check that the engine oil, starter and battery are normal. Also, set the vehicle in the following condition.
-
Engine coolant temperature: 80 - 95°C (176 - 203°F)
-
Lights and all accessories: OFF
-
Transaxle: Neutral (P range on vehicles with A/T)
2. Disconnect the spark plug cables.
3. Remove all of the spark plugs.
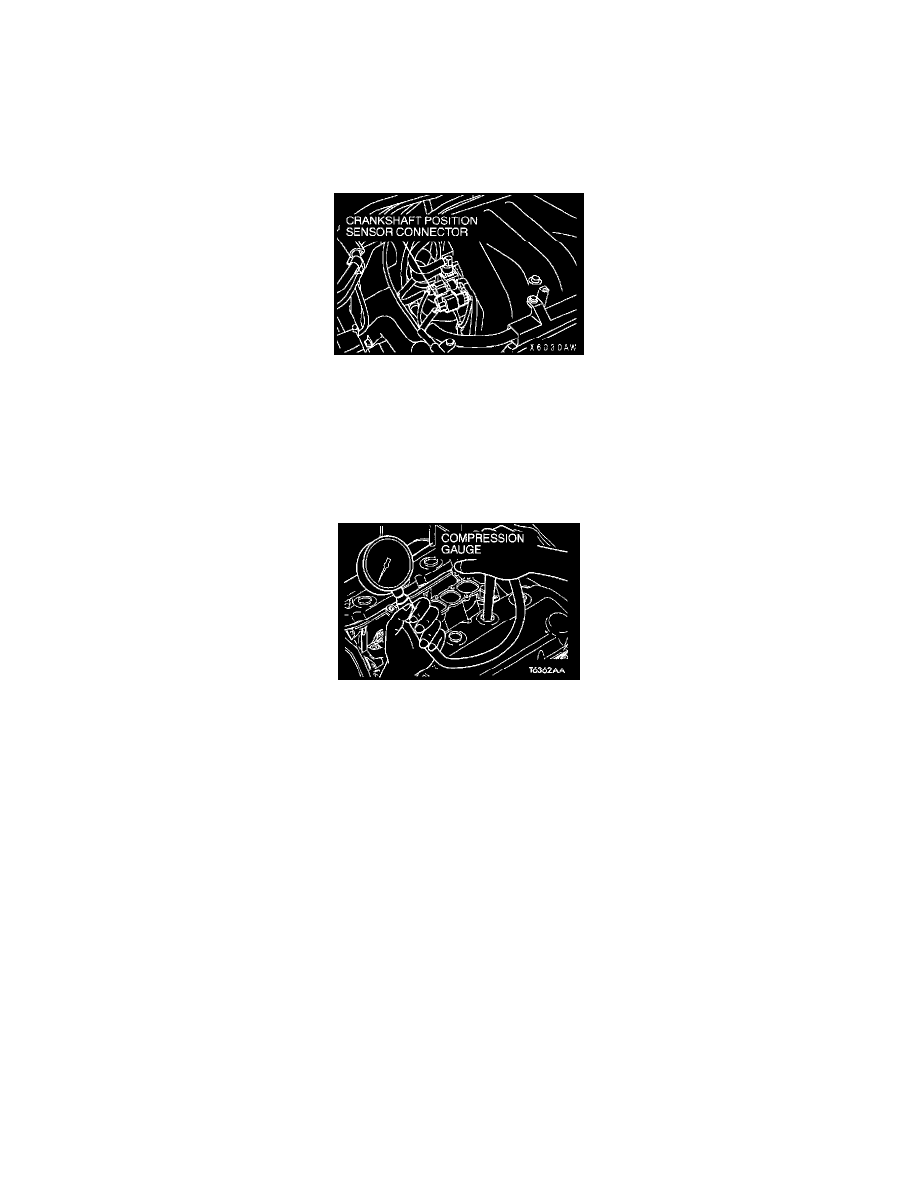
4. Disconnect the crankshaft position sensor connector.
NOTE: Doing this will prevent the engine control module from carrying out ignition and fuel injection.
WARNING: Keep your distance from the spark plug hole when cranking. Oil, fuel, etc., may spray out from the spark plug hole and may
cause serious injury.
5. Cover the spark plug hole with a rag during cranking. After the engine has been cranked, check for foreign material adhering to the rag.
6. Set the compression gauge into a spark plug mounting hole.
7. Crank the engine with the throttle valve fully open and measure the compression pressure.
Standard value: 824 kPa (119 psi)/250 - 400 r/min
Minimum limit: 575 kPa (83 psi)/250 - 400 r/min
8. Measure the compression of all the cylinders, and check that the pressure differences of the cylinders are below the limit.
Limit: 98 kPa (14 psi)
9. If there is a cylinder with compression or a compression difference that is outside the limit, pour a small amount of engine oil through the spark
plug hole, and repeat the operations in steps 6 to 8.
1. If the compression increases after oil is added, the cause of the malfunction is a worn or damaged piston ring and/or cylinder inner surface.
2. If the compression does not rise after oil is added, the cause is a burnt or defective valve seat, or pressure leaking from the gasket.
10. Reconnect the crankshaft position sensor connector.
11. Reinstall the spark plugs and spark plug cables.
12. Use the scan tool to erase the diagnostic trouble codes, or disconnect the negative battery cable for 10 seconds or more and then re-connect it.
NOTE: This will erase the diagnostic trouble code resulting from the distributor connector being disconnected.