
Eclipse RS L4-2350cc 2.4L SOHC MFI (2002)
STEP 3. Check headlight (LH) connector A-24 for damage.
Q: Is headlight (LH) connector A-24 in good condition?
YES: Go to Step 4.
NO: Repair or replace the connector. Refer to Harness Connector Inspection. Check that the headlights illuminate normally.
STEP 4. Check the wiring harness between headlight (LH) connector A-24 and ground.
Q: Is the wiring harness between headlight (LH) connector A-24 and ground In good condition?
YES: No action to be taken.
NO: Repair the wiring harness. Check that the headlights illuminate normally.
STEP 5. Check headlight (RH) bulb.
1. Remove the headlight (RH) bulb.
2. Check that the headlight (RH) bulb is not broken.
Q: Is headlight (RH) bulb normal?
YES: Go to Step 6.
NO: Replace the headlight bulb (RH).Check that the headlights illuminate normally.
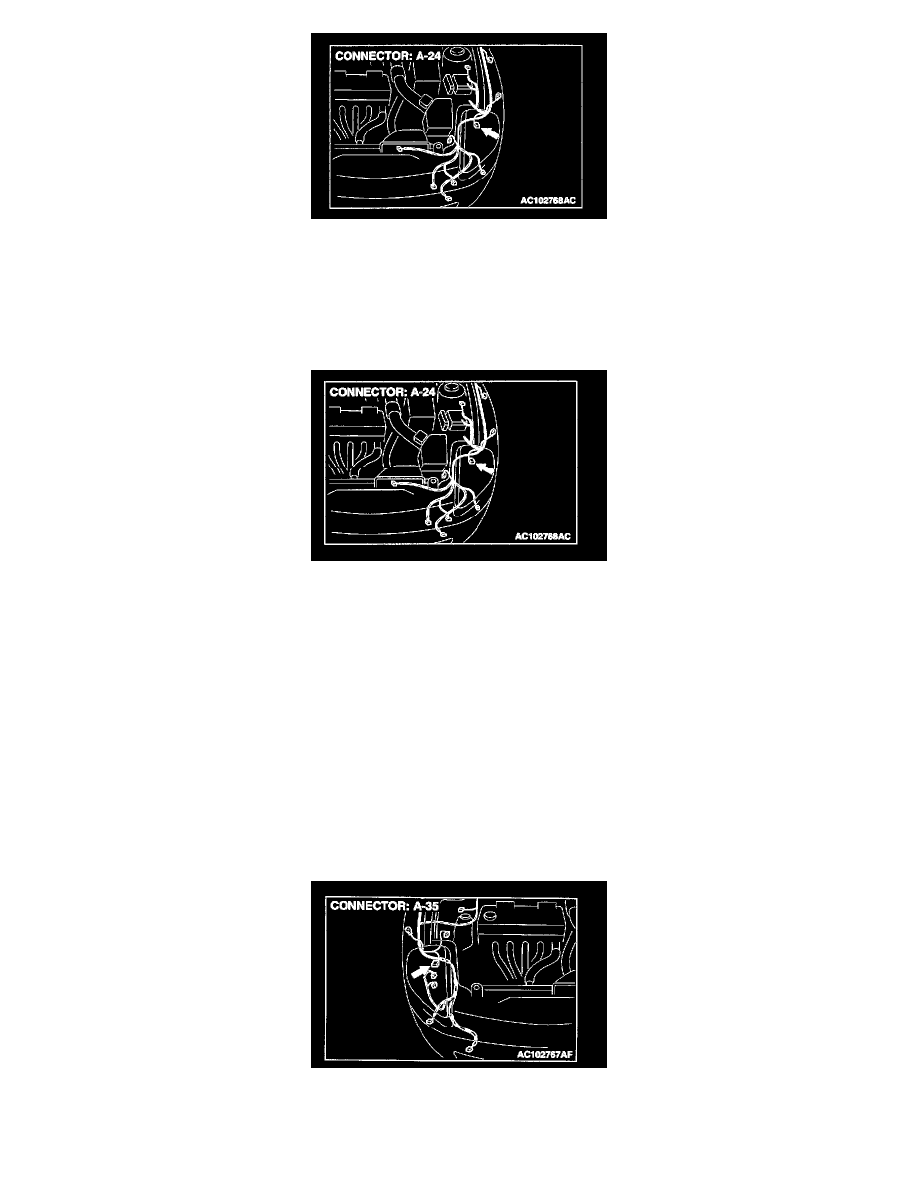
STEP 6. Check headlight (RH) connector A-35 for damage.
Q: Is headlight (RH) connector A-35 in good condition?