
Eclipse RS L4-2350cc 2.4L SOHC MFI (2002)
3. If the inner shaft and transaxle are tightly joined, tap the center bearing bracket lightly with a plastic hammer, etc. to remove the drive shaft
and inner shaft from the transaxle. <3.0L ENGINE-RH>
4. Cover the transaxle case with a shop towel to prevent foreign material from entering it.
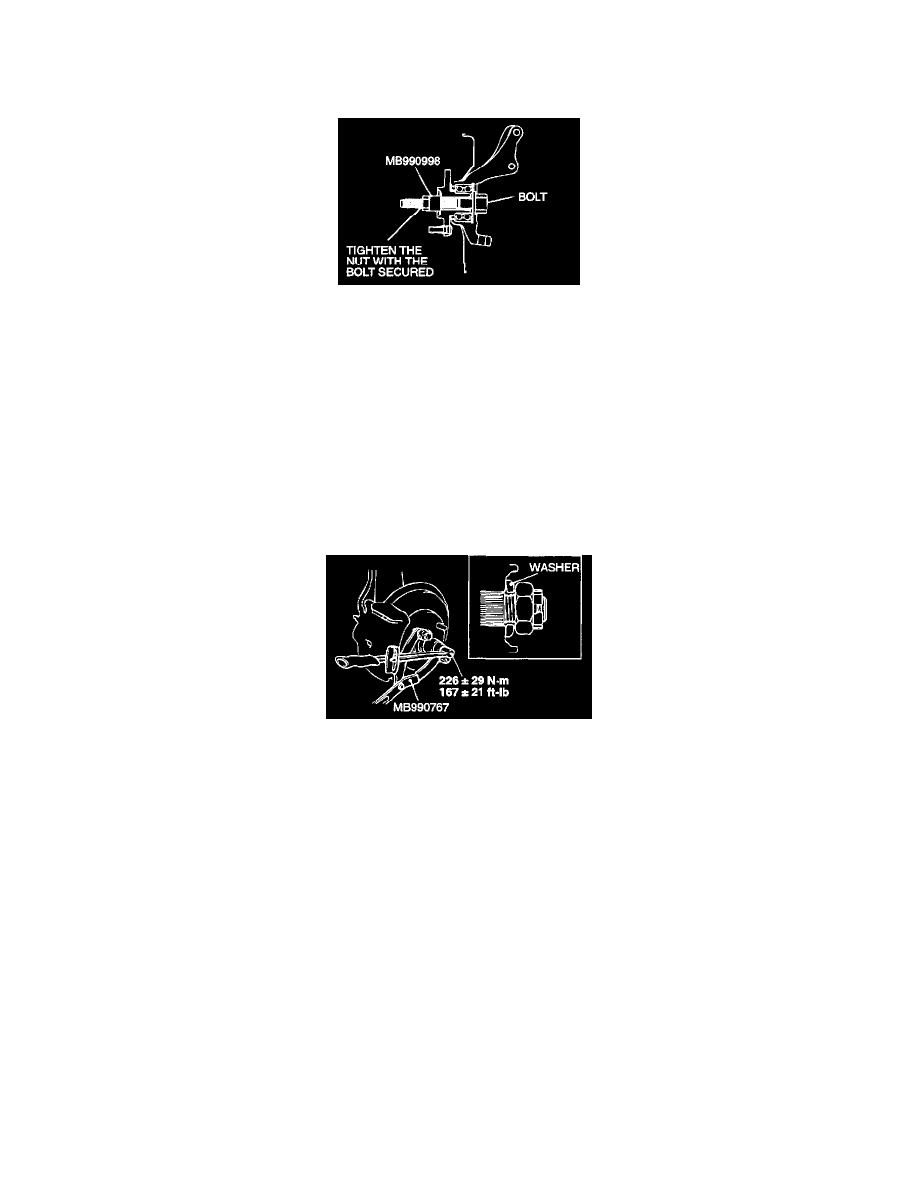
CAUTION: Do not apply the vehicle weight to the wheel bearing while loosening the driveshaft nut. If, however, the vehicle weight must be
applied to the bearing (in order to move the vehicle), temporarily secure the wheel bearing by using special tool MB990998.
INSTALLATION SERVICE POINTS
>>A<< DRIVESHAFT AND INNER SHAFT/DRIVESHAFT INSTALLATION
CAUTION:
^
Do not damage the transaxle oil seal with the spline of the shaft.
^
Do not damage the ABS rotor attached to the BJ outer race. Vehicles with ABS>
>>B<< DRIVESHAFT NUT INSTALLATION
1. Face the flat side of a washer to a driveshaft nut to install
CAUTION: Do not apply pressure to wheel bearing by the vehicle weight to avoid possible damage when driveshaft nut is loosened.
2. Use special tool MB990767 to fix the hub and tighten the driveshaft nut.
3. If the position of the cotter pin holes does not match, tighten the nut up to 255 Nm (188 ft. lbs.) maximum.
4. Install the cotter pin in the first matching holes and bend it securely.
INSPECTION
^
Check the driveshaft boot for damage or deterioration.
^
Check the ball joints for excessive play or poor operating condition.
^
Check the spline part for wear or damage.