
Eclipse RS L4-2350cc 2.4L SOHC MFI (2002)
>>A<< DYNAMIC DAMPER/DAMPER BAND/TJ BOOT INSTALLATION
1. Install the dynamic damper in the position shown in the illustration.
CAUTION:
^
There should be no grease adhered to the rubber part of the dynamic damper.
^
The damper band and the TJ boot band (small) are different in shape. Be careful not to assemble a wrong band by identifying a color of the
band.
2. Secure the damper bands.
3. Wrap plastic tape around the shaft spline, and then install the TJ boot band (small) and TJ boot.
>>B<< SPIDER ASSEMBLY INSTALLATION
CAUTION: The driveshaft joint uses special grease. Do not mix old and new or different types of grease.
1. Apply the repair kit grease to the spider axles and rollers of the spider assembly.
2. Face the chamfered portion of the spider assembly's spline toward the driveshaft, and then install the spider assembly to the driveshaft.
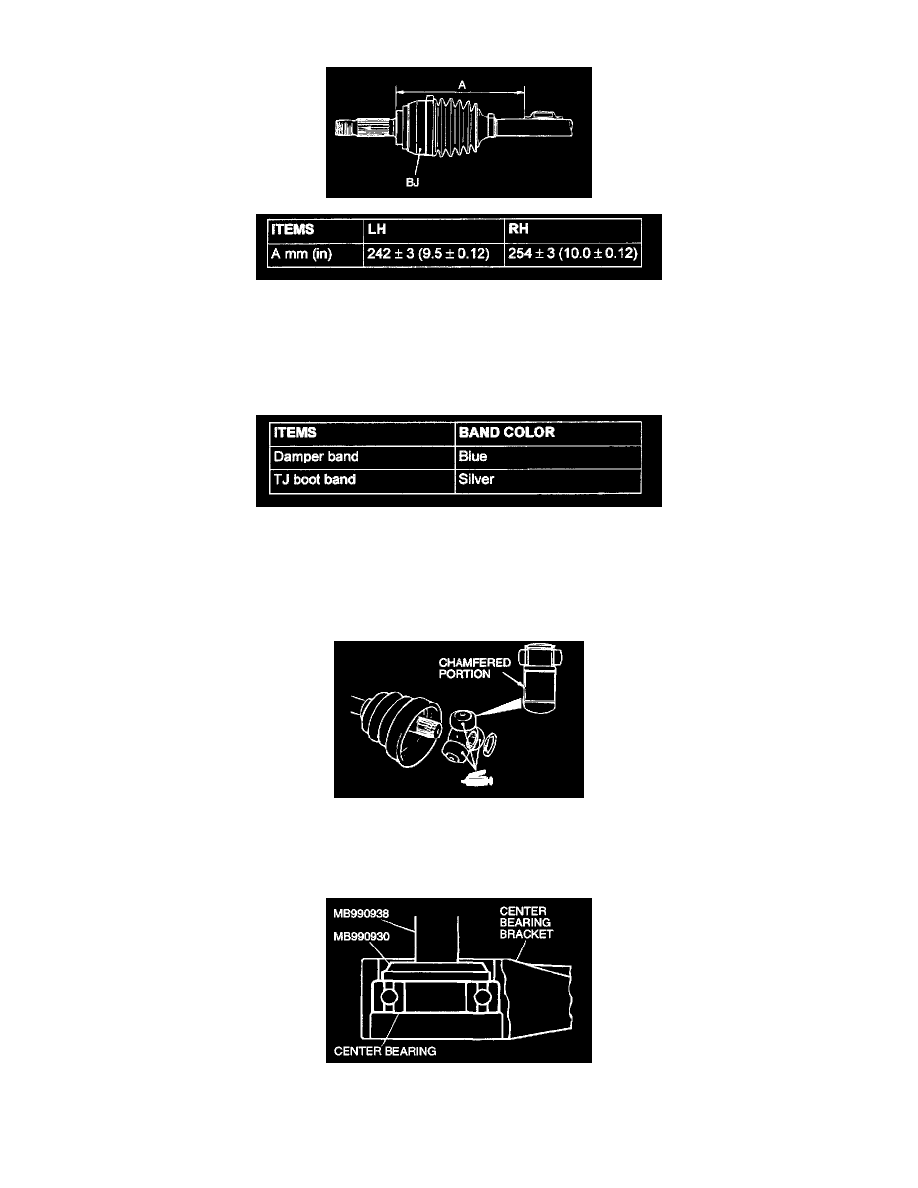
>>C<< CENTER BEARING INSTALLATION
Use special tools MB990930 and MB990938 to press the center bearing into the center bearing bracket.
>>D<< DUST SEAL INNER/DUST SEAL OUTER INSTALLATION