
Galant L4-1997cc 2.0L DOHC (1990)
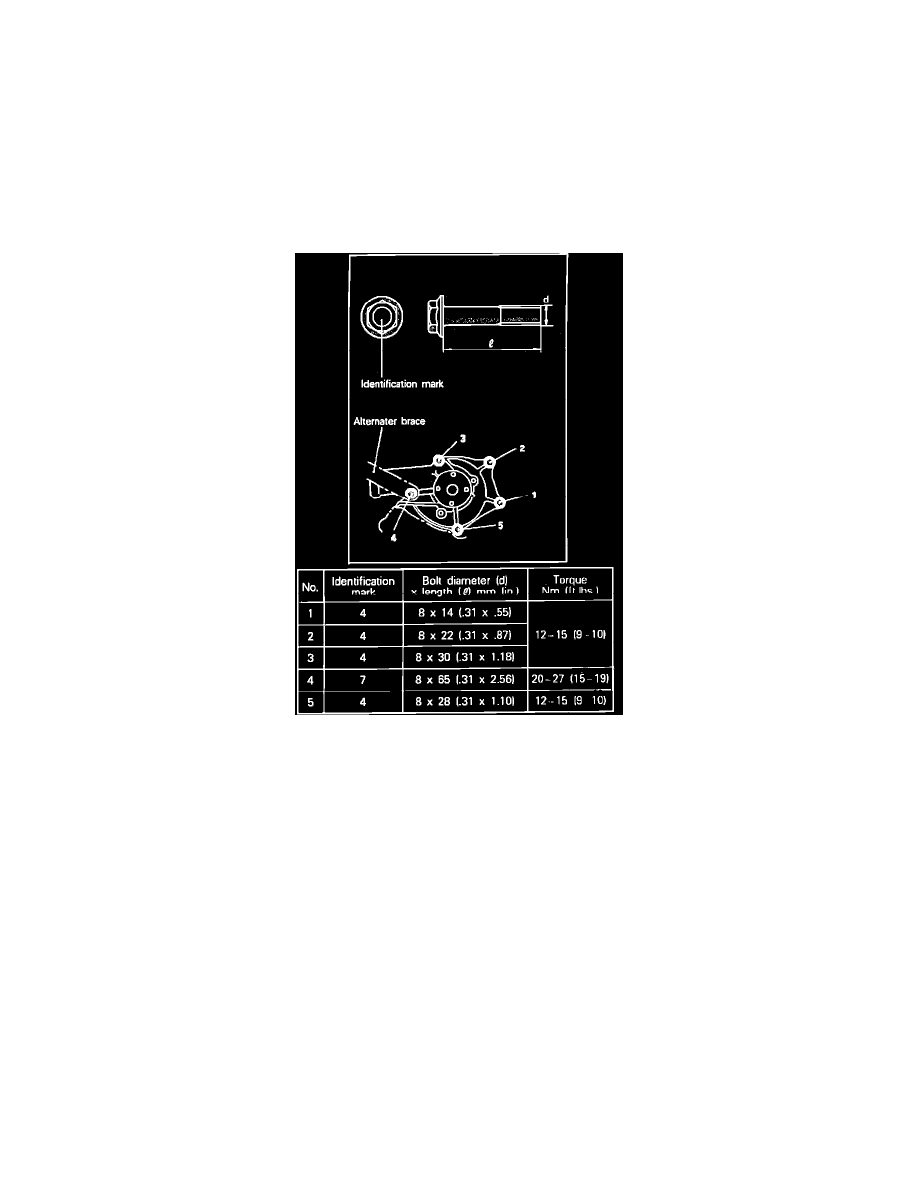
Fig. 58 Water Pump Assembly (Part 2 Of 2)
Remove water pump components in order as they appear, Fig. 58, noting the following:
1.
Disconnect battery ground cable.
2.
Remove engine undercover.
3.
Drain cooling system as follows:
a. Place temperature control lever in Hot position.
b. Carefully remove radiator cap.
c. Remove radiator drain plug.
4.
To remove engine mount bracket, slightly raise and support engine to remove engine weight from mount.
5.
Prior to removing water pump drive belt, loosen water pump attaching bolts.
6.
Remove automatic tensioner, timing belt and timing belt ``B.'' Refer to procedure outlined under TIMING BELT ASSEMBLY.
Fig. 59 Water Pump Attaching Bolts
7.
Reverse procedure to install, noting the following:
a. Coat OD of O-ring with water to ease installation.
b. Refer to bolt length chart, Fig. 59, when installing water pump attaching bolts.
c. Install timing belt ``B,'' timing belt and automatic tensioner. Refer to procedure outlined under TIMING BELT ASSEMBLY.