Galant V6-3.0L SOHC (2003)

1. Crankshaft sprocket
2. Idler pulley
3. Camshaft sprocket (Left bank)
4. Water pump pulley
5. Camshaft sprocket (Right bank)
6. Tensioner pulley
3. Turn the camshaft sprocket (Right bank) counterclockwise until the tension side of the timing belt is firmly stretched. Check all the timing
marks again.
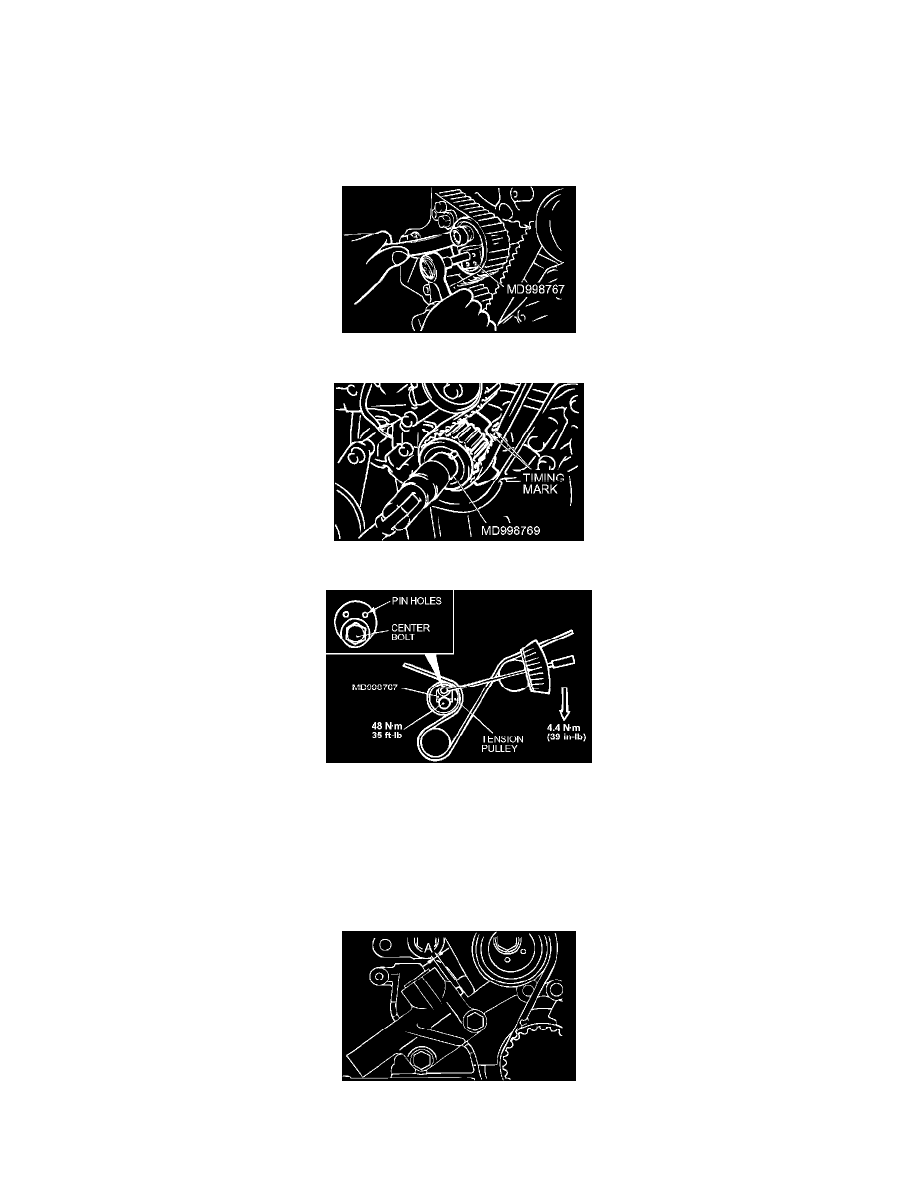
4. Use special tool MD998767 to push the tensioner pulley into the timing belt, then temporarily tighten the center bolt.
5. Use special tool MD998769 to turn the crankshaft 1/4 turn counterclockwise, then turn it again clockwise until the timing marks are aligned.
CAUTION: When tightening the center bolt, be careful that the tensioner pulley does not turn with the bolt.
6. Loosen the center bolt of the tensioner pulley. Use special tool MD998767 and a torque wrench to apply the tension torque to the timing belt
as shown in the illustration. Then tighten the center bolt to the specified torque.
Standard value: 4.4 Nm (39 inch lbs.) <Timing belt tension torque>
Tightening torque: 48 Nm (35 ft. lbs.)
7. Remove the setting pin that has been inserted into the auto-tensioner.
8. Turn the crankshaft clockwise twice to align the timing marks.
9. Wait for at least five minutes, then check that the auto tensioner pushrod extends within the standard value range.
Standard value (A): 3.8 - 5.0 mm (0.15 - 0.20 inch)
10. If not, repeat the operation in steps (5) to (9) above.
