
Lancer L4-2.4L SOHC (2005)
DIAGNOSIS
Required Special Tools:
-
MB991223: Harness Set
-
MB991958: Scan Tool (MUT-III Sub Assembly)
-
MB991824: Vehicle Communication Interface (V.C.I.)
-
MB991827: MUT-III USB Cable
-
MB991911: MUT-III Main Harness B
STEP 1. Check driver's seat belt switch connector D-20 for loose, corroded or damaged terminals, or terminals pushed back in the connector.
Q: Is the driver's seat belt switch connector D-20 in good condition?
YES: Go to Step 2.
NO: Repair or replace the damaged component(s). Refer to Harness Connector Inspection. If the functions, which are described in "CIRCUIT
OPERATION", work normally, the input signal from the driver's seat belt switch should be normal.
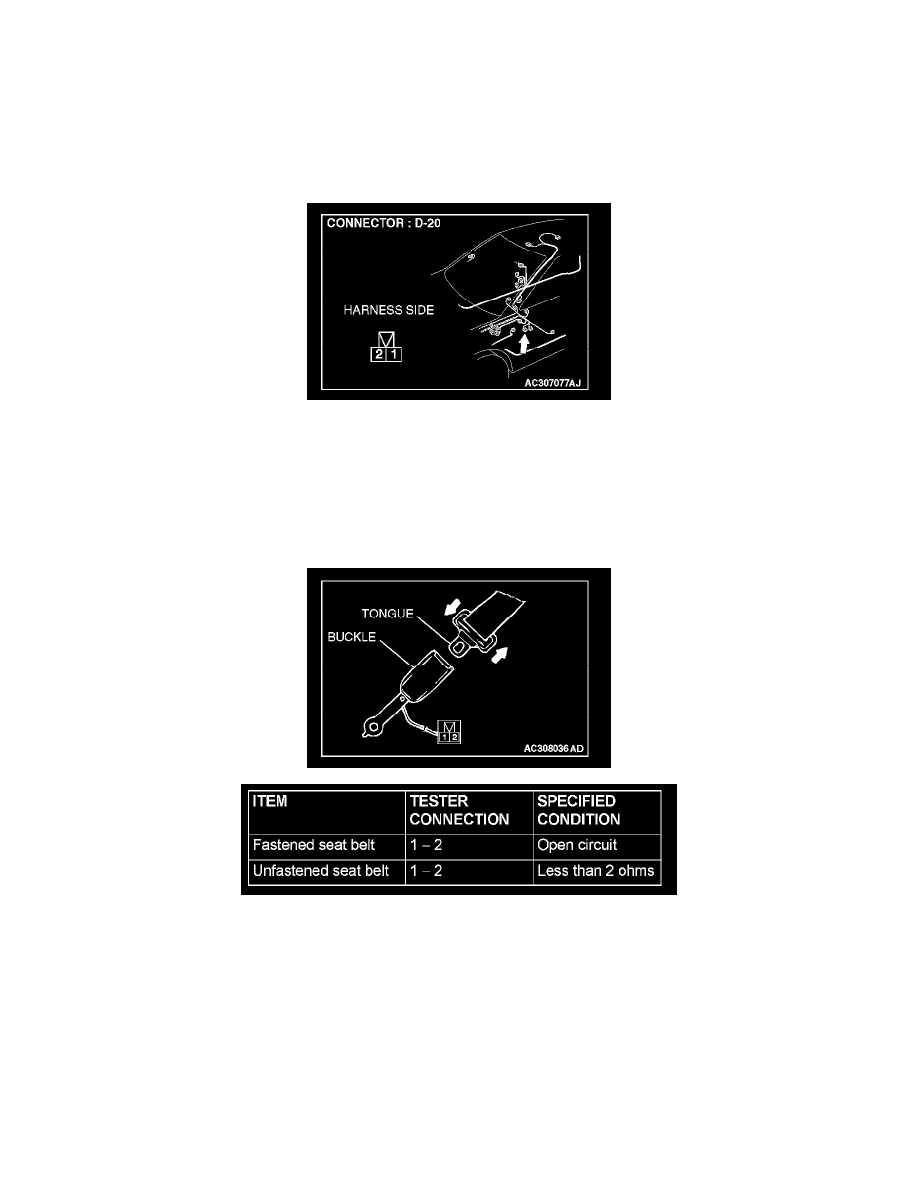
STEP 2. Check the driver's seat belt switch.
Disconnect driver's seat belt switch connector D-20. Then check continuity between the switch terminals.
Q: Is the driver's seat belt switch in good condition?
YES: Go to Step 3.
NO: Replace the driver's seat belt. If the functions, which are described in "CIRCUIT OPERATION", work normally, the input signal from the
driver's seat belt switch should be normal.
STEP 3. Check the battery ground circuit to the driver's seat belt switch. Measure the resistance driver's seat belt switch connector D-20.