
Mirage L4-1468cc 1.5L SOHC 12 Valve (1996)
Valve Clearance: Adjustments
1. With engine at operating temperature, remove rocker arm cover.
2. Disconnect high tension lead from ignition coil.
3. While observing rocker arms on No. 4 cylinder, rotate crankshaft clockwise until exhaust valve is closing and intake valve is slightly open. Ensure
timing mark on crankshaft pulley is aligned with "T mark on lower timing cover case and No. 1 cylinder is at top dead center (TDC) compression
stroke. Check and adjust valve clearance for both intake and exhaust valves of No. 1 cylinder, intake valve of No. 2 cylinder and exhaust valve of
No. 3 cylinder. If valve clearance is not as specified, adjust valves as follows:
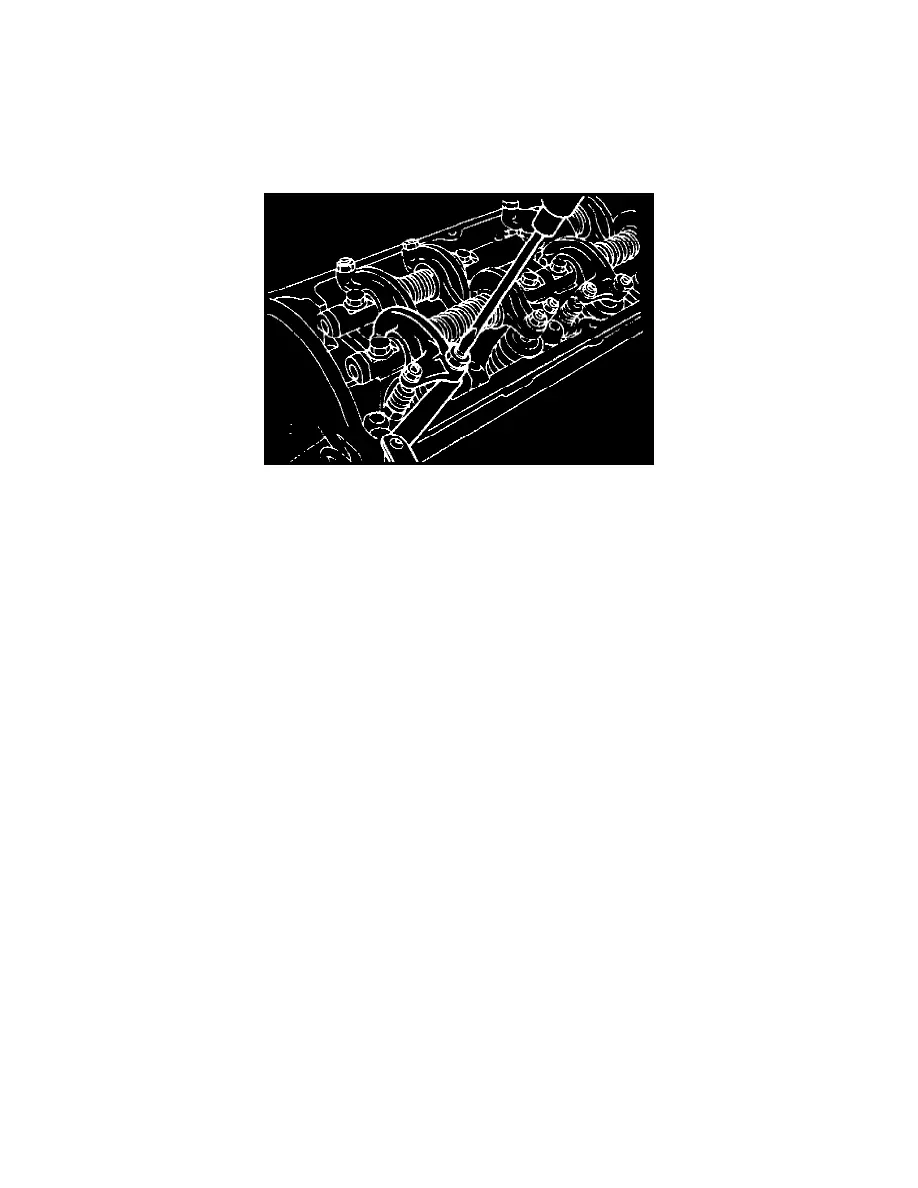
a. Loosen rocker arm locknut.
Fig. 7 Valve Clearance Adjustment
b. Turn adjusting screw while measuring clearance with a feeler gauge, Fig. 7, until screw contacts feeler gauge.
c. Hold adjusting screw in place and tighten locknut to specifications.
4. Rotate crankshaft clockwise 360 ° then check and adjust valve clearance for exhaust valve of No. 2 cylinder, intake valve of No. 3 cylinder and
intake and exhaust valves of No. 4 cylinder.
5. After completing adjustment, install rocker arm cover and connect ignition coil high tension lead.
6. Tighten rocker arm cover bolts to specifications.