
Mirage Sedan LS L4-1834cc 1.8L SOHC MFI (1999)
2. After installing the caliper support to the knuckle, install the pad clips and the pads to the caliper support.
Caution: Do not let any oil, grease or other contamination get onto the friction surfaces of the pads and brake discs.
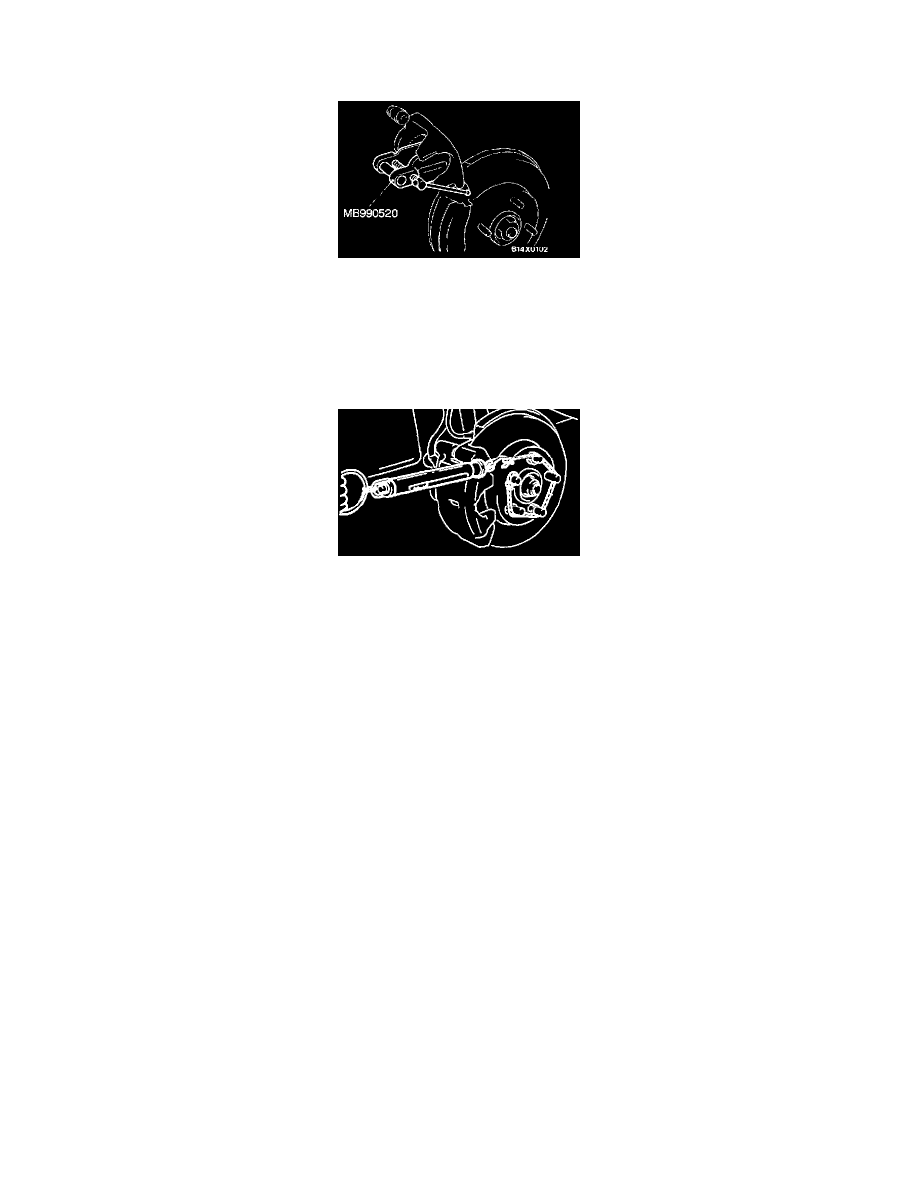
3. Clean piston and insert into cylinder with special tool.
4. Be careful that the piston boot does not become caught when lowering the caliper assembly, and tighten the slide pin (M14) to the specified
torque.
Tightening torque: 83-93 Nm (61-69 ft. lbs.)
5. Start the engine and then depress the brake pedal 2-3 times.
6. Stop engine.
7. Turn brake disc forward 10 times.
8. Use a spring scale to measure the rotation sliding resistance of the hub in the forward direction.
9. Calculate the drag force of the disc brake (difference between of values measured in item 8 and item 1.)
Standard value: 59 N (13 lbs.) or less <Vehicles with 13 inch front disc brake> 94 N (21 lbs.) or less <Vehicles with 14 inch front disc
brake>
10. If the drag force of the disc brake exceeds the standard value, disassemble piston and clean piston. Check for corrosion or worn piston seal,
and check the sliding condition of the slide pins.