
Mirage Sedan LS L4-1834cc 1.8L SOHC MFI (1999)
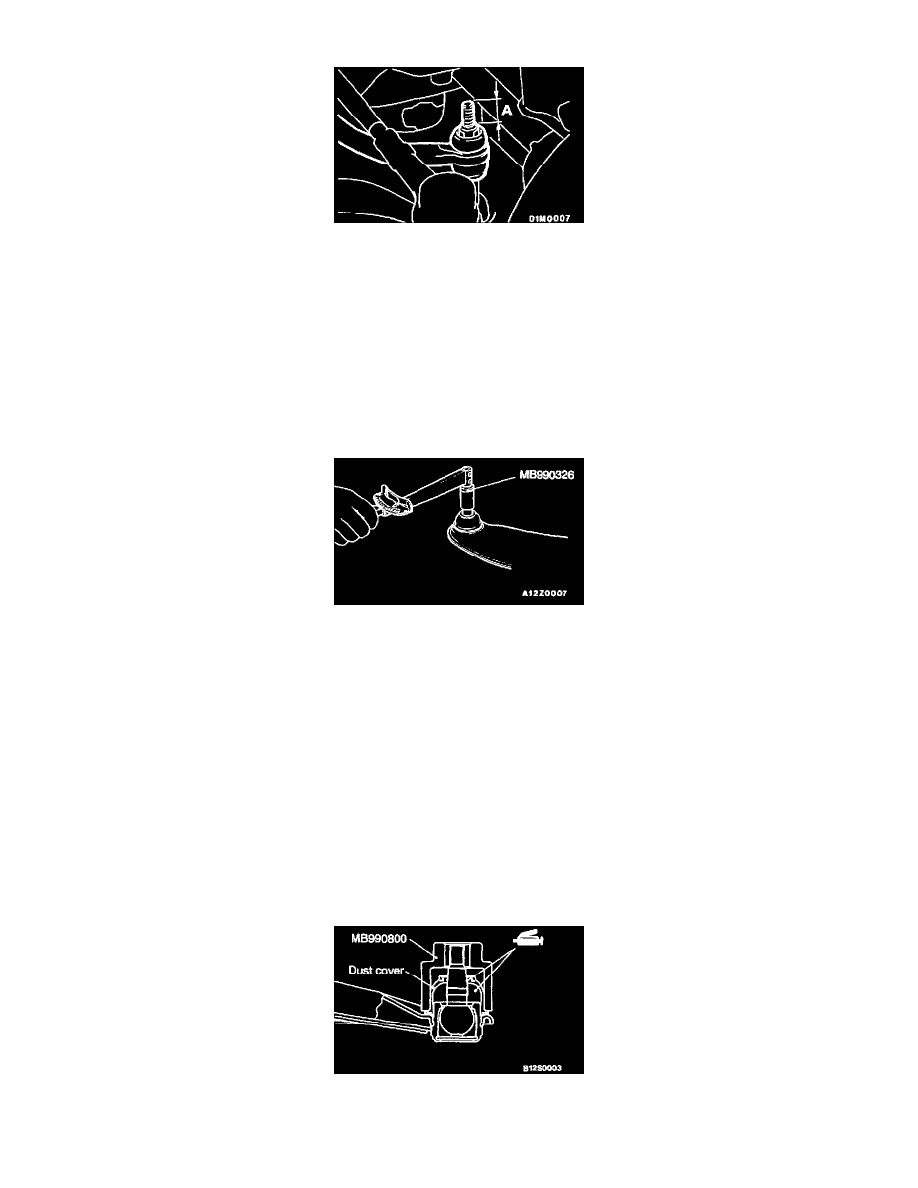
>A<Self-Locking Nut Installation
Tighten the self-locking nut so that the amount of protrusion of the end of the stabilizer bar mounting bolt is at the standard value.
Standard value (A): 22 mm (0.87 inch)
INSPECTION
-
Check the bushing for wear and deterioration.
-
Check the lower arm for bend or breakage.
-
Check the support bracket for deterioration or damage.
-
Check the ball joint dust cover for cracks.
-
Check all bolts for condition and straightness.
Ball Joint Breakaway Torque Check
1. After shaking the ball joint stud several times, install the nut to the stud and use the special tool to measure the breakaway torque of the ball joint.
Standard value: 1.0 - 6.4 Nm (9 - 56 inch lbs.)
2. When the measured value exceeds the standard value, replace the ball joint.
3. When the measured value is lower than the standard value, check that the ball joint turns smoothly without excessive play. If so, it is possible to
use that ball joint.
Ball Joint Dust Cover Check
1. Press the dust cover with a finger to check whether the dust cover is cracked or damaged.
NOTE: If the dust cover is cracked, the ball joint could be damaged, so if the dust cover is damaged during maintenance work, replace it.
2. When dust cover is cracked or damaged, replace the lower arm ball joint assembly.
Ball Joint Dust Cover Replacement
Replace the dust cover only when it has been cracked or damaged by mistake during the maintenance work.
1. Remove the dust cover.
2. Apply multipurpose grease to the lip and inside of the dust cover.
3. Drive in the dust cover with special tool until it is fully seated.