
Mirage Sedan LS L4-1834cc 1.8L SOHC MFI (1999)
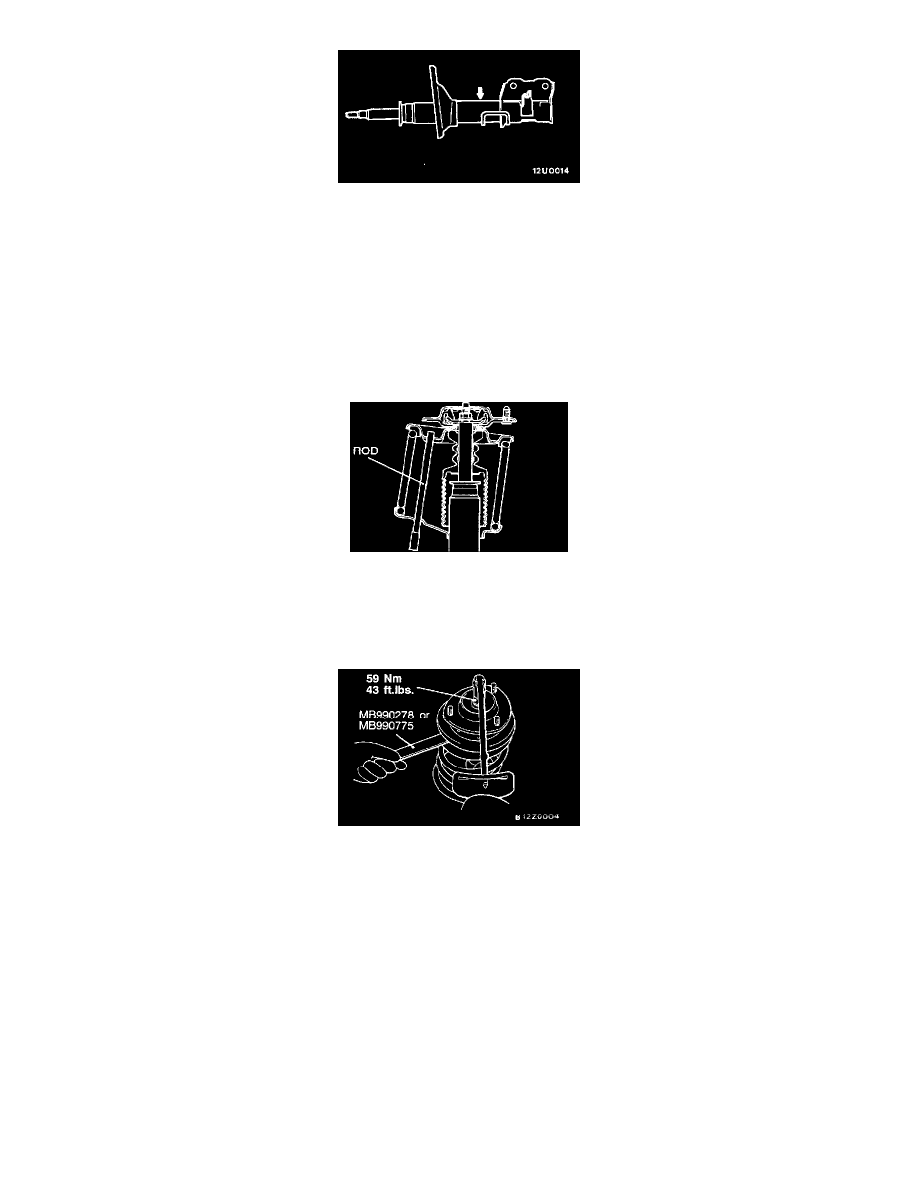
To discard the strut assembly, place the assembly horizontally with its piston rod extended. Then drill a hole of approx. 3 mm (0.12 inch) in
diameter at the location shown in the illustration and discharge the gas.
CAUTION: The gas Itself is harmless but it may issue out of the hole together with chips generated by the drill. Therefore, be sure to wear
goggles.
Reassembly Service Point
>A<Self-Locking Nut Installation
1. With the coil spring held compressed by the special tools (MB991237 and MB991238), provisionally tighten the self-locking nut.
CAUTION: Do not use an impact wrench to tighten the special tool bolt.
2. Line up the holes in the strut assembly spring lower seat with the hole in the spring upper seat.
NOTE: The alignment is easily accomplished with a rod.
3. Correctly align both ends of the coil spring with the grooves in the spring seat, and then loosen the special tools (MB991237 and MB991238).
4. Using the special tool, tighten the self-locking nut to the specified torque.
CAUTION: Do not use an impact wrench.
INSPECTION
-
Check the bearing for wear or rust.
-
Check the rubber parts for damage or deterioration.
-
Check the spring for deformation, deterioration or damage.
-
Check the shock absorber for deformation.