Montero V6-3.8L SOHC (2005)

Parking Brake Lever: Adjustments
PARKING BRAKE LEVER STROKE CHECK AND ADJUSTMENT
1. Pull the parking brake lever with a force of approximately 200 N (45 pounds) and count the number of notches.
Standard value: 5 - 7 notches
2. If the parking brake lever stroke is not within the standard value, adjust as described below.
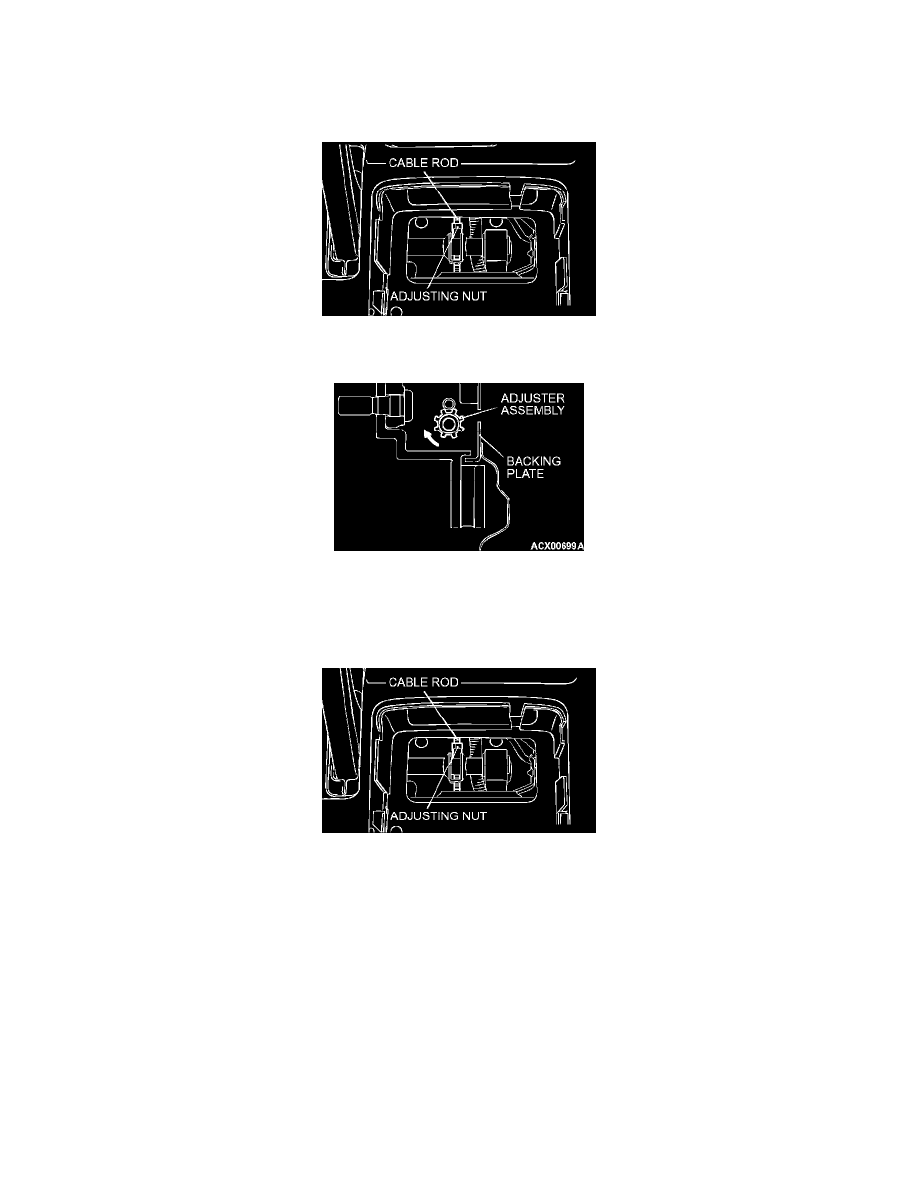
1. Remove the cup holder, and then loosen the adjusting nut to move it to the cable rod end so that the cable will be free.
2. Remove the rear wheels.
3. Remove the adjustment hole plug on the rear brake backing plate, and then use a flat-tip screwdriver to turn the adjuster in the direction of the
arrow (the direction which expands the shoe) so that the disc will not rotate. Return the adjuster three or four notches in the direction opposite
to the direction of the arrow.
CAUTION: If the parking brake lever stroke is below the standard value and the braking is too firm, the rear brakes may drag.
4. Turn the adjusting nut to adjust the parking brake lever stroke to the standard value. After adjusting, check that there is no space between the
adjusting nut and the parking brake lever.
5. Release the parking brake and turn the rear wheels to check that the rear brakes are not dragging.
