
Montero Sport 2WD V6-3.0L SOHC (1997)
Brake Drum: Testing and Inspection
CAUTION:
-
Whenever the shoe and lining assembly is replaced, replace both RH and LH assemblies as a set to prevent the vehicle from pulling to one side
when braking.
-
If there is a significant difference in the thicknesses of the shoe and lining assemblies on the left and right sides, check the sliding condition of the
piston.
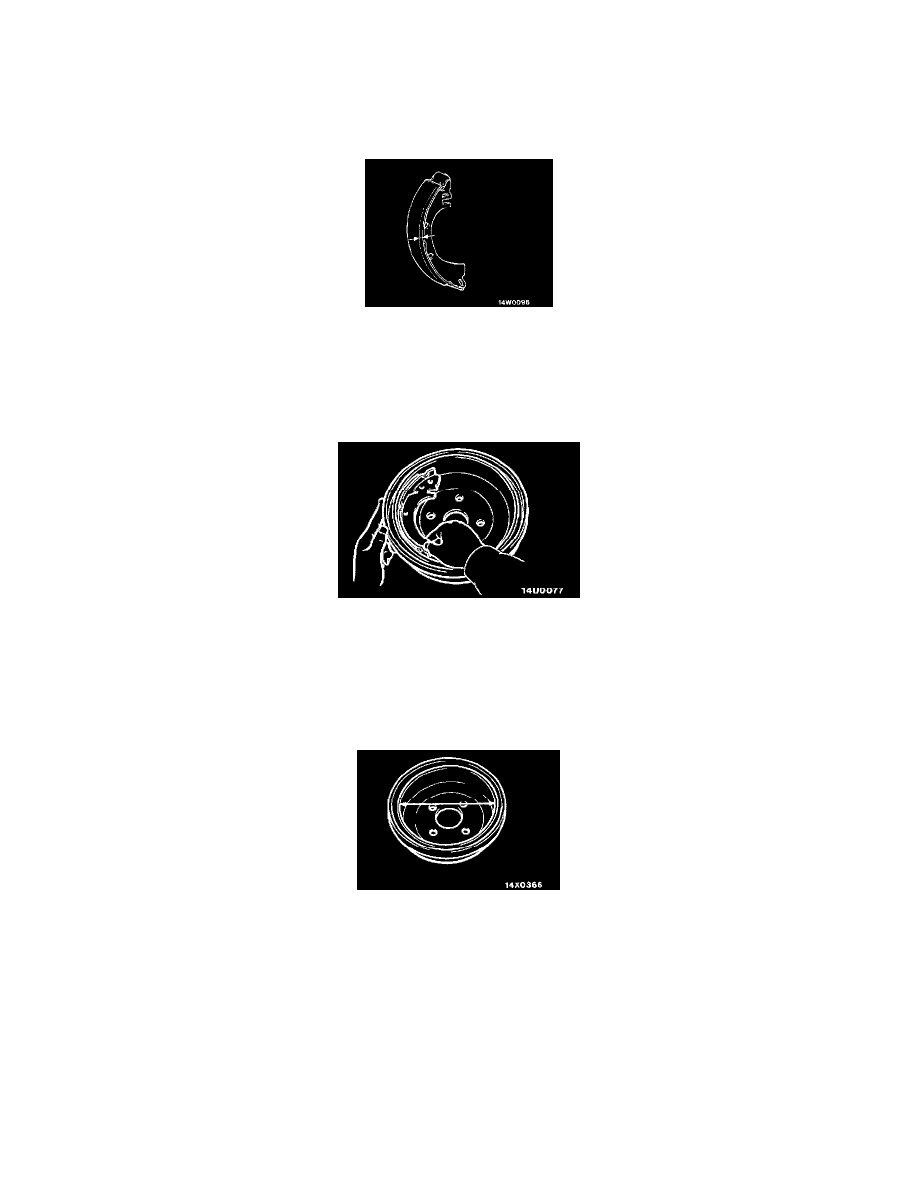
LINING THICKNESS
1. Remove the drum.
2. Measure the wear of the brake lining at the place worn the most. The standard value is 4.7 mm (0.19 inch). The limit is 1.0 mm (0.04 inch).
NOTE: Replace the shoe and lining assembly if brake lining thickness is less than the limit if it is not worn evenly.
LINING AND DRUM CONTACT CHECK
1. Remove the brake drum.
2. Remove the shoe and lining assembly.
3. Chalk the inner surface of the brake drum and rub against the shoe and lining assembly.
4. Replace the shoe and lining assembly or the brake drums if there is a very irregular contact area.
NOTE: Wipe off chalk after check.
INSIDE DIAMETER
1. Remove the brake drum.
2. Measure the inside diameter of the brake drum at two or more locations. The standard value is 270 mm (10.63 inch). The limit is 272 mm (10.71
inch).
3. Replace brake drums and shoe and lining assembly when wear exceeds the limit value or is badly unbalanced.