
Montero Sport 2WD V6-3.0L SOHC (1997)
Power Steering Fluid: Service and Repair
Bleeding System
1. Jack up the front wheels and support them by using a rigid rack.
2. Manually turn the oil pump pulley a few times.
3. Turn the steering wheel all the way to the left and to the right five or six times.
CAUTION: Be careful not to place the high-tension cable near the fuel rail.
4. Disconnect the high-tension cable.
CAUTION: If air bleeding is done while engine is running, the air will be broken up and absorbed into the fluid; be sure to do the bleeding only
while cranking.
5. While operating the starting motor intermittently, turn the steering wheel all the way to the left and right five or six times (for 15 to 20 seconds).
During air bleeding, refill the fluid so that the level never falls below the lower position of the filler.
6. Connect the high-tension cable. Start the engine (idling).
7. Turn the steering wheel to the left and right until there are no air bubbles in the oil reservoir.
8. Confirm that the fluid is not milky, and that the level is up to the specified position on the dipstick.
9. Confirm that there is very little change in the fluid level when the steering wheel is turned left and right.
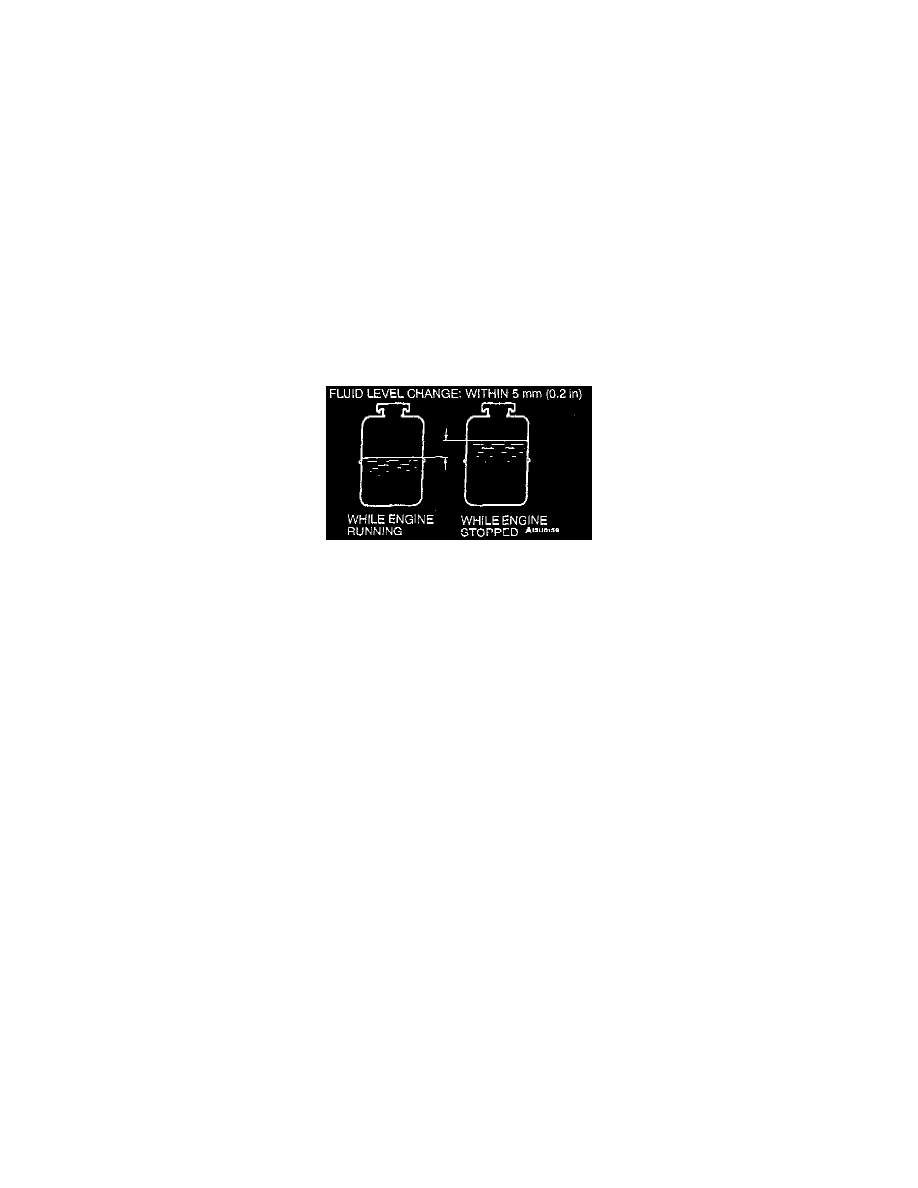
10. Check whether or not the change in the fluid level is within 5 mm (0.2 inch) when the engine is stopped and when it is running.
CAUTION: If the fluid level rises suddenly after the engine is stopped, the air has not been completely bled. If air bleeding is not complete, there
will be abnormal noises from the pump and the flow-control valve, and this condition could cause a lessening of the life of the pump, etc.
11. If the change of the fluid level is 5 mm (0.2 inch) or more, the air has not been completely bled from the system, and thus must be bled
completely.