
Montero Sport XS 2WD V6-3.5L SOHC (2001)
Drive/Propeller Shaft: Symptom Related Diagnostic Procedures
Inspection Procedure 1: Noise at Start
INSPECTION PROCEDURE 1: Noise at Start
DIAGNOSIS
STEP 1. Check If the propeller shaft mounting bolts and nuts are loose.
Q: Are the bolts and nuts tightened to 49 - 58 Nm (37 - 43 ft. lbs.)?
YES: Go to Step 2.
NO: Tighten the bolts and nuts to 49 - 58 Nm (37 - 43 ft. lbs.). Then go to Step 5.
STEP 2. Check the universal joint's journal bearing of front propeller shaft for wear or damage.
Q: Is wear or damage apparent?
YES: Replace the journal bearing. Then go to Step 5.
NO: Go to Step 3.
STEP 3. Check the BJ assembly's spline of front propeller shaft
Q: Is wear apparent?
YES: Replace the propeller shaft. Then go to Step 5.
NO: Go to Step 4.
STEP 4. Check the flange sleeve spline of rear propeller shaft for wear.
Q: Is wear apparent?
YES: Replace the rear propeller shaft. Then go to Step 5.
NO: Go to Step 5.
STEP 5. Check symptoms.
Q: Is the abnormal noise eliminated?
YES: Finish.
NO: Recheck from Step 1.
Inspection Procedure 2: Noise and Vibration at High Speed
INSPECTION PROCEDURE 2: Noise and Vibration at High Speed
DIAGNOSIS
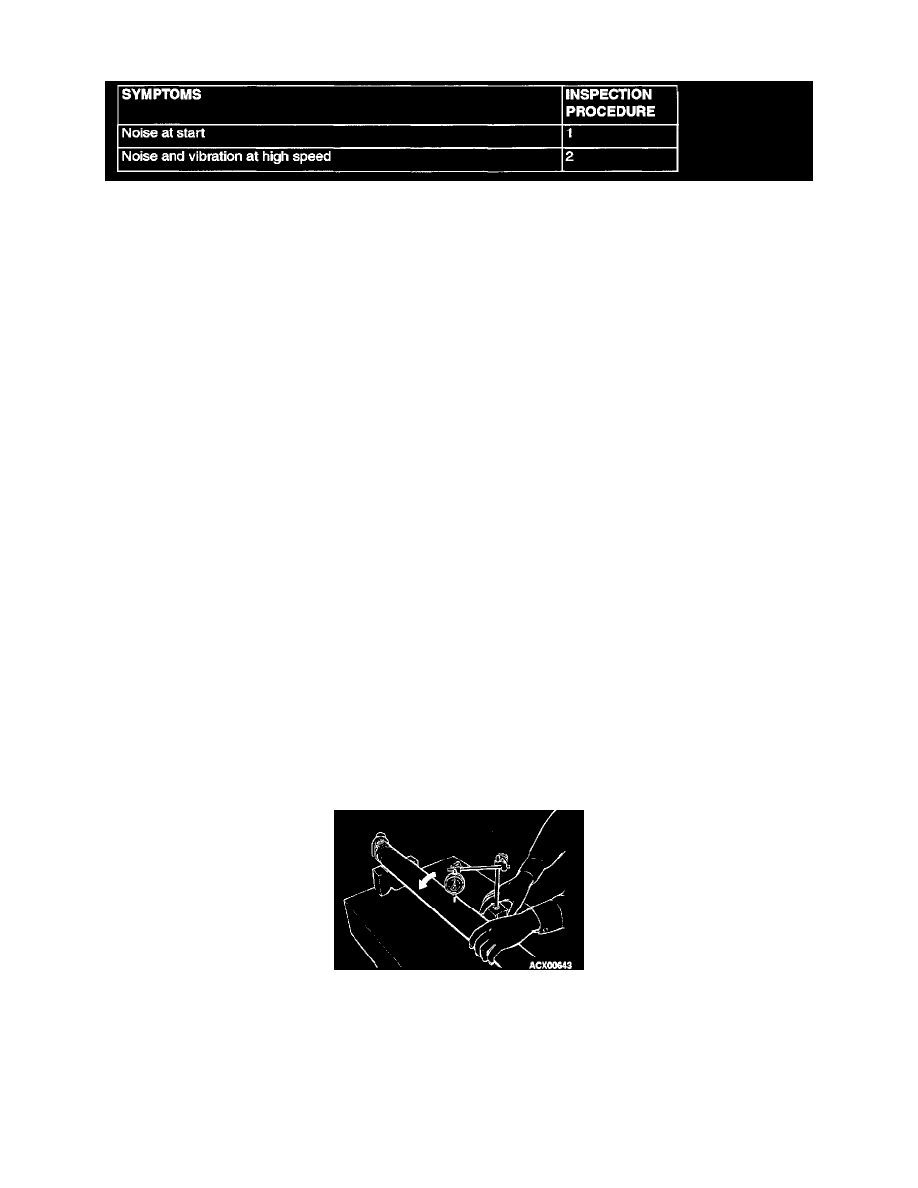
STEP 1. Check the front propeller shaft run-out.
Q: Is measured value within the limit: 0.6 mm (0.02 inch)?
YES: Go to Step 2.
NO: Replace the front propeller shaft. Then go to Step 5.
STEP 2. Check the front propeller shaft snap rings thickness.
Q: Are they correct?
YES: Go to Step 3.
NO: Replace the snap ring. Then go to Step 5.