
Montero XLS 4WD V6-3.5L SOHC (2001)
STEP 7. Check the harness wires between ignition switch (IG1) and combination meter connector D-03.
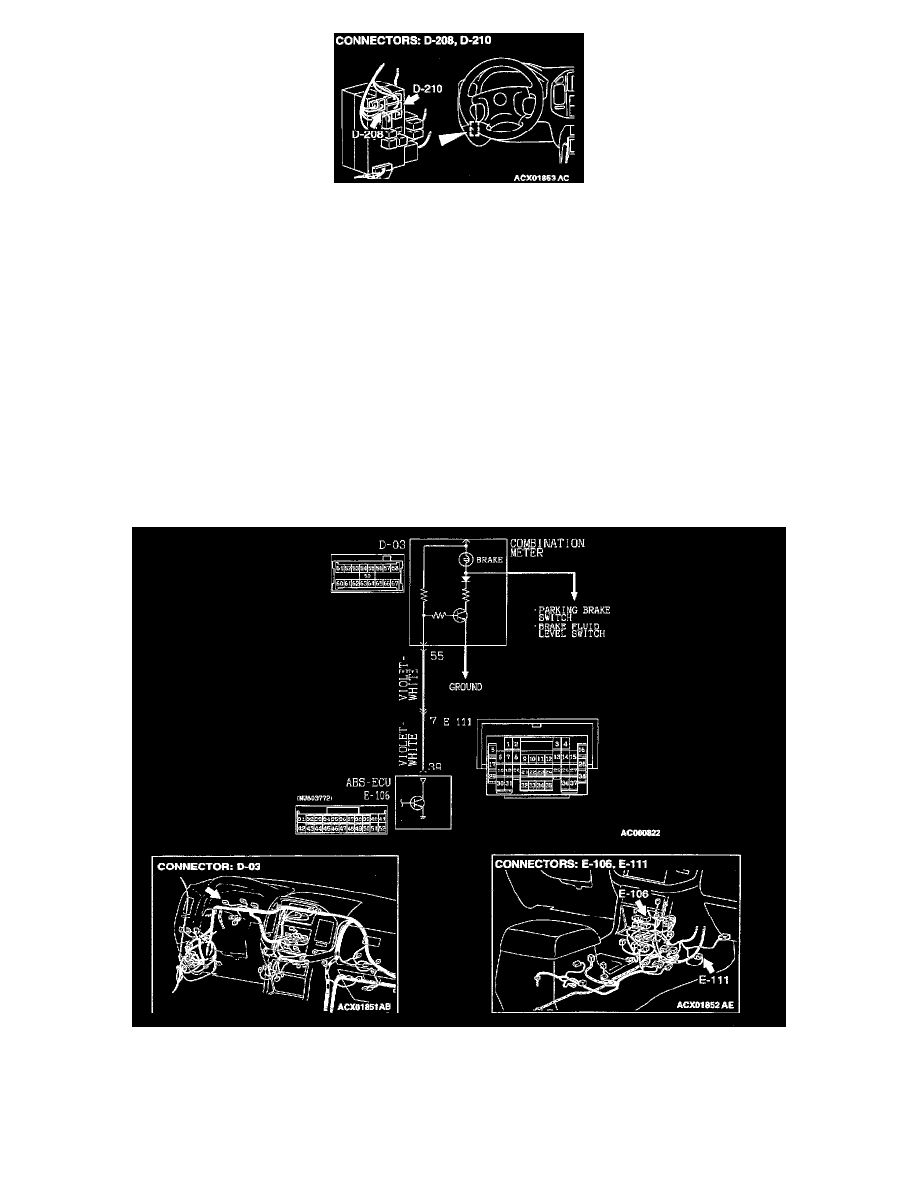
NOTE: After inspecting junction block connectors D-208 and D-210, inspect the wire. If junction block connectors D-208 and D-210 are damaged,
repair or replace them. If the connector has been repaired or replaced, go to Step 8.
Q: Is any harness wires between ignition switch (IG1) and combination meter connector D-03 damaged?
YES: Repair them and then go to Step 8.
NO: Go to Step 8.
STEP 8. Check symptoms
Q: Does the brake warning light illuminate for 3 seconds when the ignition switch is turned to the "ON" position with engine stopped?
YES: This diagnosis is complete.
NO: Start over at Step 1.
Inspection Procedure 2: Brake Warning Light Stays Illuminated
INSPECTION PROCEDURE 2: The brake warning light remains illuminated after the engine is started.
Brake Warning Light Circuit
CAUTION: First of all, check the parking brake switch circuit and the brake fluid level switch circuit.
NOTE: This diagnosis procedure is limited to cases where communication with the scan tool is possible (ABS-ECU power supply is normal) and no
diagnostic trouble code outputs.
CIRCUIT OPERATION