Raider 4WD V6-3.7L SOHC (2007)

2. Remove vapor hose at ESIM switch.
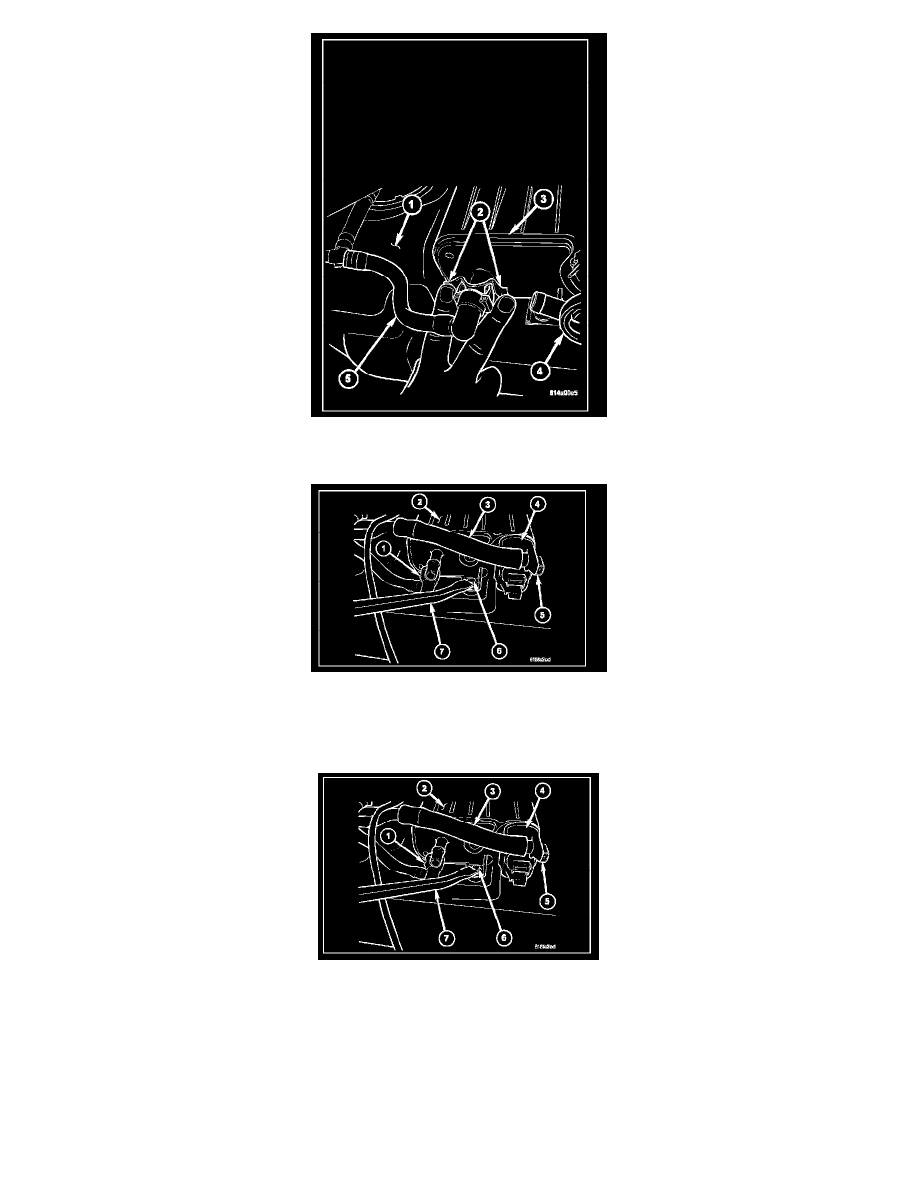
3. Remove vapor line (5) from EVAP canister (3) by pressing on both tabs (2) simultaneously.
4. Using a screwdriver (7), pry up and remove plastic mounting clip (6) and remove canister (2) from top of fuel tank. Note: The opposite end of the
canister is supported by two plastic legs.
INSTALLATION - CLUB CAB
1. Guide the two plastic canister locating legs into the top of fuel tank.
2. Install pin (6) and press down.
3. Install electrical connector ESIM switch.
4. Install all vapor hoses and lines to both the EVAP canister and ESIM switch.
5. The vapor/vacuum lines and hoses must be firmly connected. Also check the vapor/ vacuum lines at the ESIM switch, filter and EVAP canister
purge solenoid for damage or leaks. If a leak is present, a Diagnostic Trouble Code (DTC) may be set.
6. Install plastic shield in front of left-rear tire.
7. Install left-rear tire.
INSTALLATION - 4 DOOR DOUBLE CAB
