
Removal and Replacement of Raider 4WD V6-37L SOHC (2007) Air Bag Component
diagnosis or service. Disconnect and isolate the battery negative (ground) cable, then wait two minutes for the system capacitor to discharge before
performing further diagnosis or service. This is the only sure way to disable the supplemental restraint system. Failure to take the proper
precautions could result in accidental airbag deployment.
-
To avoid personal injury or death, service of this unit should be performed only by Mitsubishi-trained and authorized dealer service technicians.
Failure to take the proper precautions or to follow the proper procedures could result in accidental, incomplete, or improper airbag deployment
and possible occupant injuries.
-
To avoid personal injury or death, use extreme care to prevent any foreign material from entering the driver airbag, or becoming entrapped
between the driver airbag cushion and the driver airbag trim cover. Failure to observe this warning could result in occupant injuries upon airbag
deployment.
-
To avoid personal injury or death, the driver airbag trim cover must never be painted. Replacement trim covers are serviced in the original colors.
Paint may change the way in which the material of the trim cover responds to an airbag deployment. Failure to observe this warning could result in
occupant injuries upon airbag deployment.
NOTE: The following procedures can be used to replace the driver airbag trim cover and horn switch unit for service. If the driver airbag is faulty
or deployed, the entire driver airbag, trim cover and horn switch must be replaced as a unit.
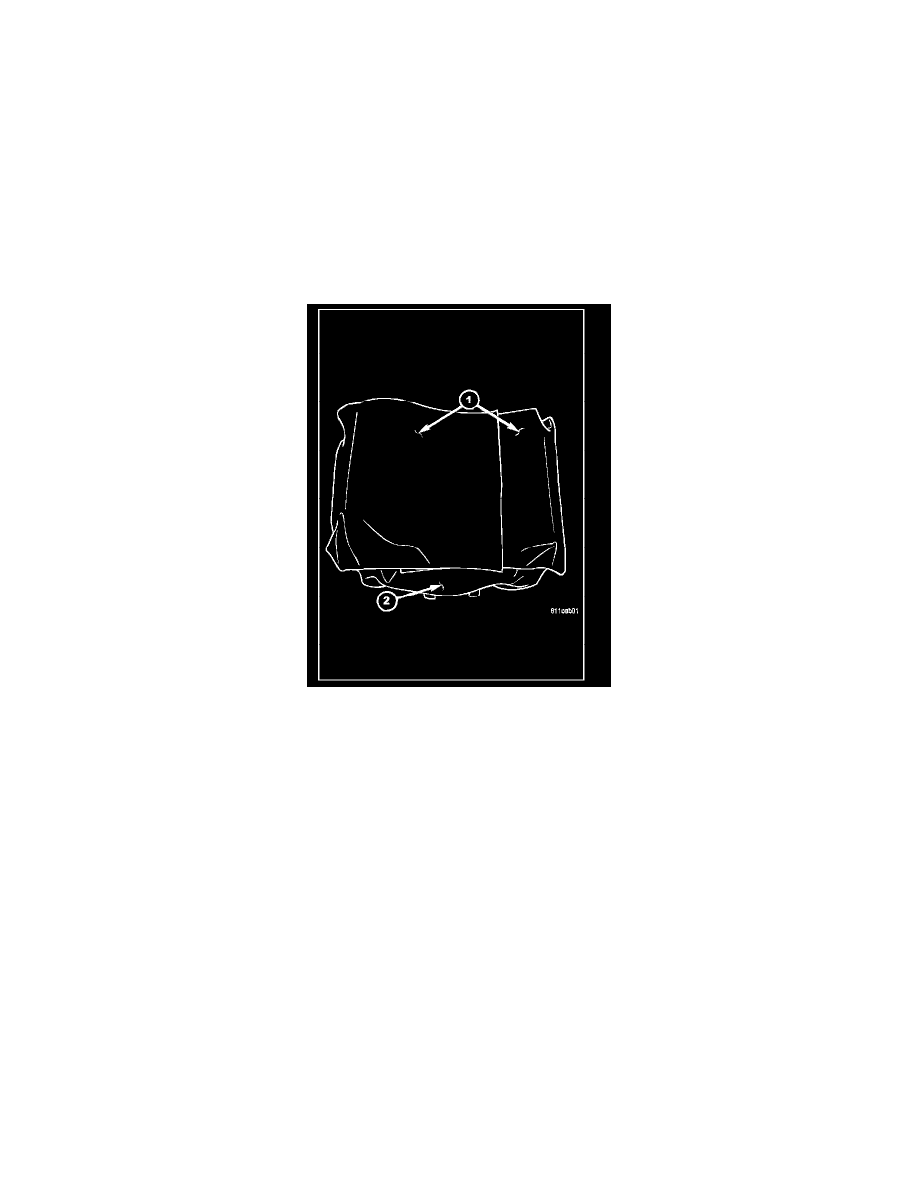
1. Place the driver airbag on a suitable work surface with the airbag cushion facing up.
2. Fold the two flaps (1) of cushion material up around the sides and over the top of the airbag cushion retainer strap (2).
3. Position the new driver airbag trim cover over the airbag cushion, then push the receptacle of the trim cover down evenly over the cushion. Be
certain that the cushion material flaps remain oriented over the cushion retainer strap as they were in Step 2.
4. Turn the driver airbag and the new driver airbag trim cover over as a unit, and place the unit on a suitable clean and dry work surface with the
airbag cushion facing down. Be certain to take the proper precautions to prevent the trim cover from receiving cosmetic damage during the
following procedures.