
Cutlass Ciera FWD V6-181 3.0L (1984)
Intake Manifold: Service and Repair
Installation
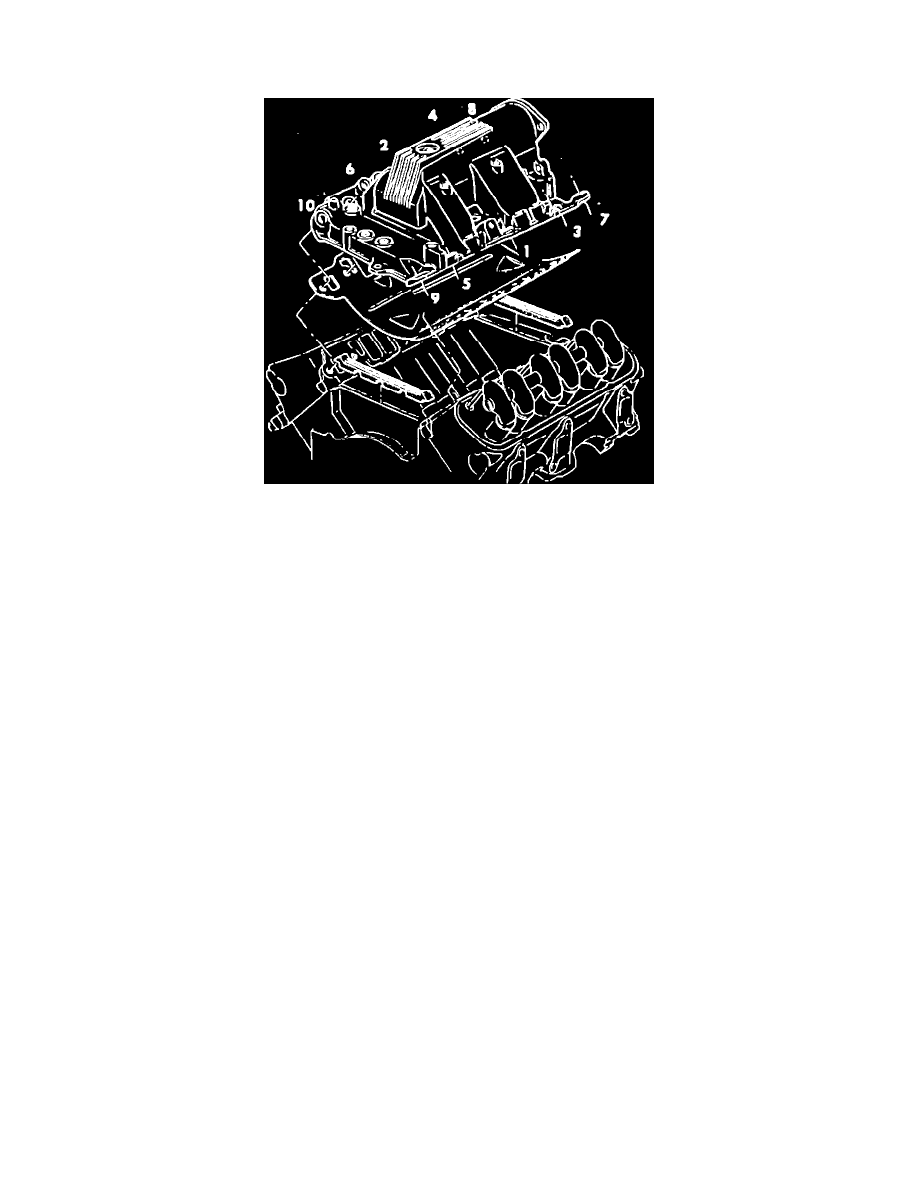
Fig 1 Intake Manifold Bolt Tightening Sequence
1. Remove intake manifold gasket and rubber manifold seals.
IMPORTANT: Be sure pointed end of seal fits snugly against block and heads. Before installing intake manifold seals, apply GM 1052366 sealer, Fel
Pro-RTV Black or equivalent to ends of seals. New intake manifold gasket and seals must be used whenever a manifold is removed.
2. Install intake manifold bolts.
3. Tighten intake manifold bolts starting with one and two gradually tighten until both are snug. Continue to tighten in sequence shown in Fig. 1.
Tighten bolts to 61 N-m (45 lb.ft.).
4. Install accessory mounting brackets as needed.
5. Install distributor cap and rotor.
6. Connect wiring at distributor, temperature sending unit and CCC harness.
7. Connect booster vacuum pipe at manifold.
8. Connect vacuum hoses at carburetor or throttle body to vacuum manifold and transaxle vacuum modulator line if equipped.
9. Install upper radiator hose.
10. Install heater hose and coolant bypass hose.
11. Fill engine coolant.
12. Connect accelerator linkage, springs and bracket.
13. Connect fuel line at carburetor.
14. Connect cruise control chain if equipped.
15
Install air cleaner.
16. Connect negative battery cable.