
G8 V6-3.6L (2008)
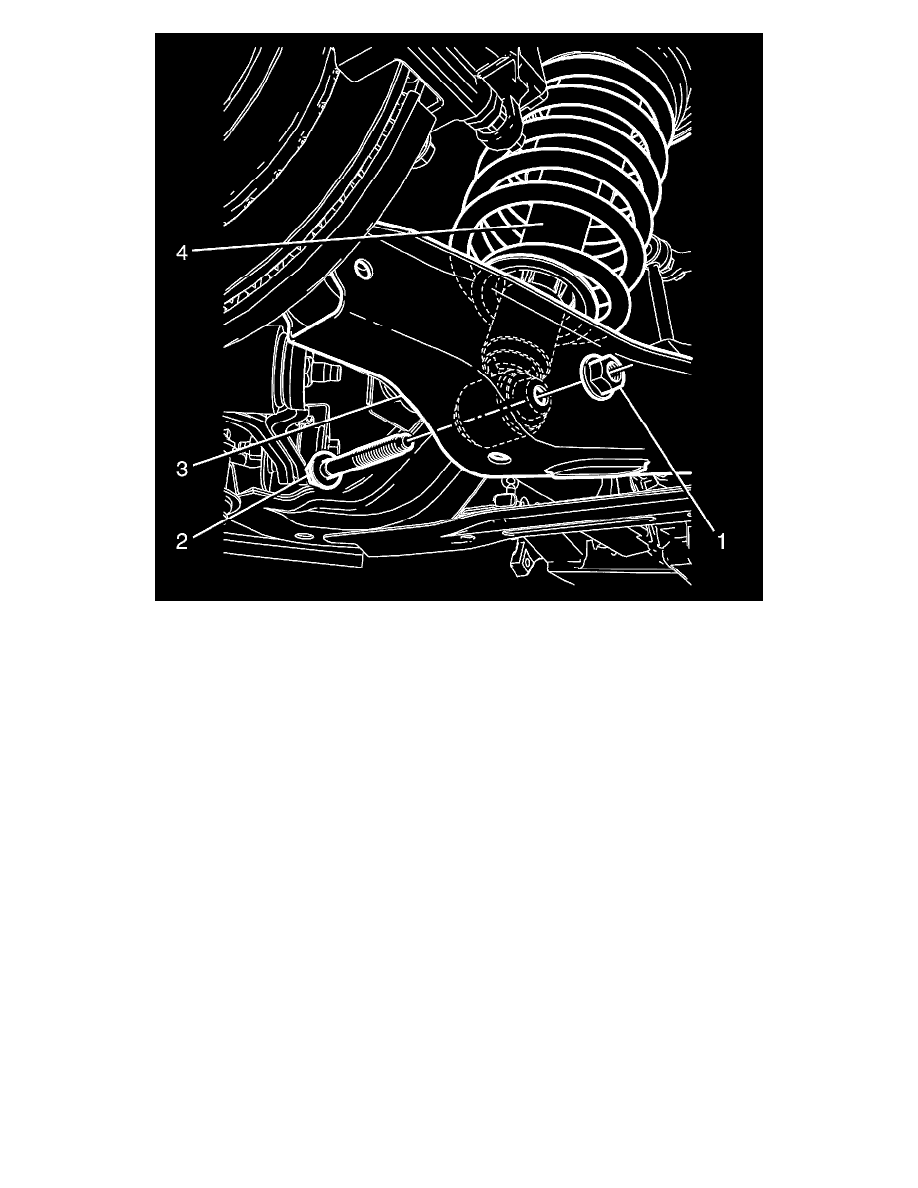
16. Connect the rear strut assembly (4) to the lower control arm (3).
Important: Do not fully tighten the lower control arm to strut assembly retaining bolt (2) and nut (1) at this stage.
17. Install the lower control arm to strut assembly retaining bolt (2) and NEW nut (1).
Do not fully tighten at this stage.
18. Install the rear wheel hub and knuckle assembly. Refer to Knuckle Replacement (See: Steering and Suspension/Steering/Front Steering
Knuckle/Service and Repair/Rear Suspension/Knuckle Replacement) in rear Suspension.
19. Install the stabiliser shaft. Refer to Stabilizer Shaft Replacement (See: Steering and Suspension/Suspension/Stabilizer Bar/Service and
Repair/Rear Suspension) .
20. Install the stabiliser shaft link. Refer to Stabilizer Shaft Link Replacement (See: Steering and Suspension/Suspension/Stabilizer Bar/Stabilizer
Link/Service and Repair/Rear Suspension) .
Important: Make sure the intermediate brake cable is clear of the rear frame to body mount prior to securing the frame retaining bolts.
21. Lower the vehicle to the frame.
22. Index the rear side frame mounts to the rear locator sleeves located on the body.
23. Lower the vehicle until the frame mounts contact the body rail.