
Montana V6-3.4L VIN E (2002)
and the tripot bushing. Damage to the sealing surface may lead to water and dirt intrusion and premature wear of the constant velocity joint.
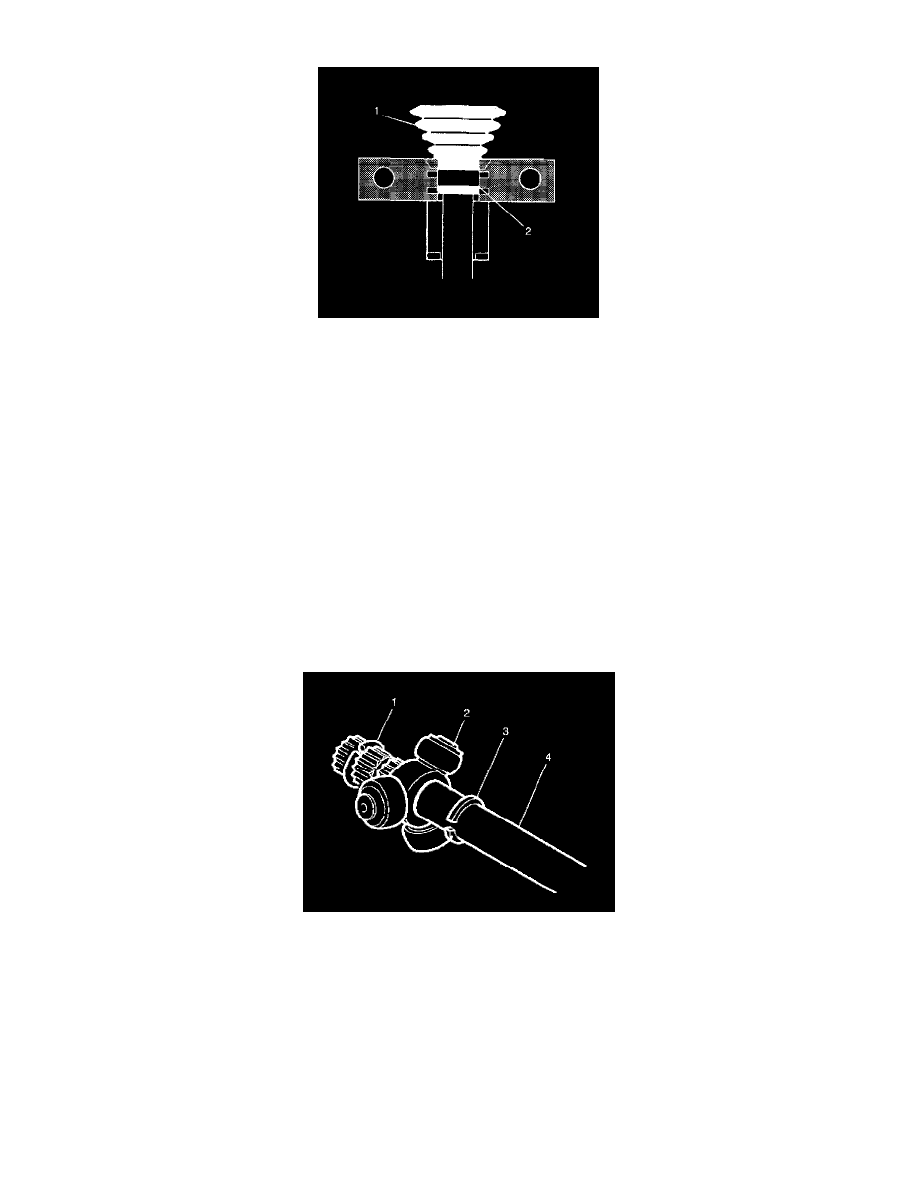
5. Align the swage ring (2) by performing the following steps:
5.1.
Place the top half of J 41048 on the lower half of J 41048.
Important: Align the following items:
^
The inboard seal (1)
^
The housing
^
The swage ring (2)
5.2.
Insert the bolts.
Notice: Refer to Fastener Notice in Service Precautions.
5.3.
Tighten the bolts by hand until snug.
^
Tighten each bolt 180 degrees at a time using a ratchet wrench. Alternate between each bolt until both sides are bottomed.
5.4.
Loosen the bolts.
5.5.
Separate the dies.
5.6.
Check the swage ring (2) for any "lip" deformities. If present, place the ring (2) back into the J 41048 ensuring the swage ring (2) covers the
whole swaging area.
5.7.
Re-swage the swage ring (2).
6. Install the spacer ring (3) on the halfshaft bar (4) and beyond the second groove.
Important: Ensure that the counterbored face of the tripot joint spider (2) faces the end of the halfshaft bar (4).
7. Slide the tripot joint spider assembly (2) toward the spacer ring (3) as far as it will go on the halfshaft bar (4).
8. Install the halfshaft bar retaining ring (1) in the groove of the halfshaft bar (4) using J 8059.
9. Slide the tripot joint spider assembly (2) towards the end of the halfshaft bar (4).
10. Reseat the spacer ring (1) in the groove on the halfshaft bar (4).
11. Place approximately half of the grease from the service kit in the inboard seal. Use the remainder of the grease to repack the housing.
12. Install the trilobal tripot bushing to housing. Ensure the trilobal tripot bushing is flush with the face of the housing.
13. Position the larger new clamp on the inboard seal.
14. Slide the housing over the tripot joint spider assembly on the halfshaft bar.
15. Slide the large diameter of the inboard seal, with the larger clamp in place, over the outside of the trilobal tripot bushing and locate the lip of the