
Trans Sport V6-191 3.1L (1990)
should be used anytime service is performed on or near the drive axles.
6.
Place seal protector part No. J-34754 or equivalent on drive axle joints, Fig. 5.
7.
Remove brake line bracket from strut assembly, then remove strut to steering knuckle bolts, Fig. 4.
8.
Remove strut assembly from vehicle. Care should be taken to avoid chipping or scratching the spring coating when handling front
suspension coil spring. Damage could cause premature wear.
9.
After removing strut assembly support steering knuckle to prevent axle joint overextension.
10.
Reverse procedure to install.
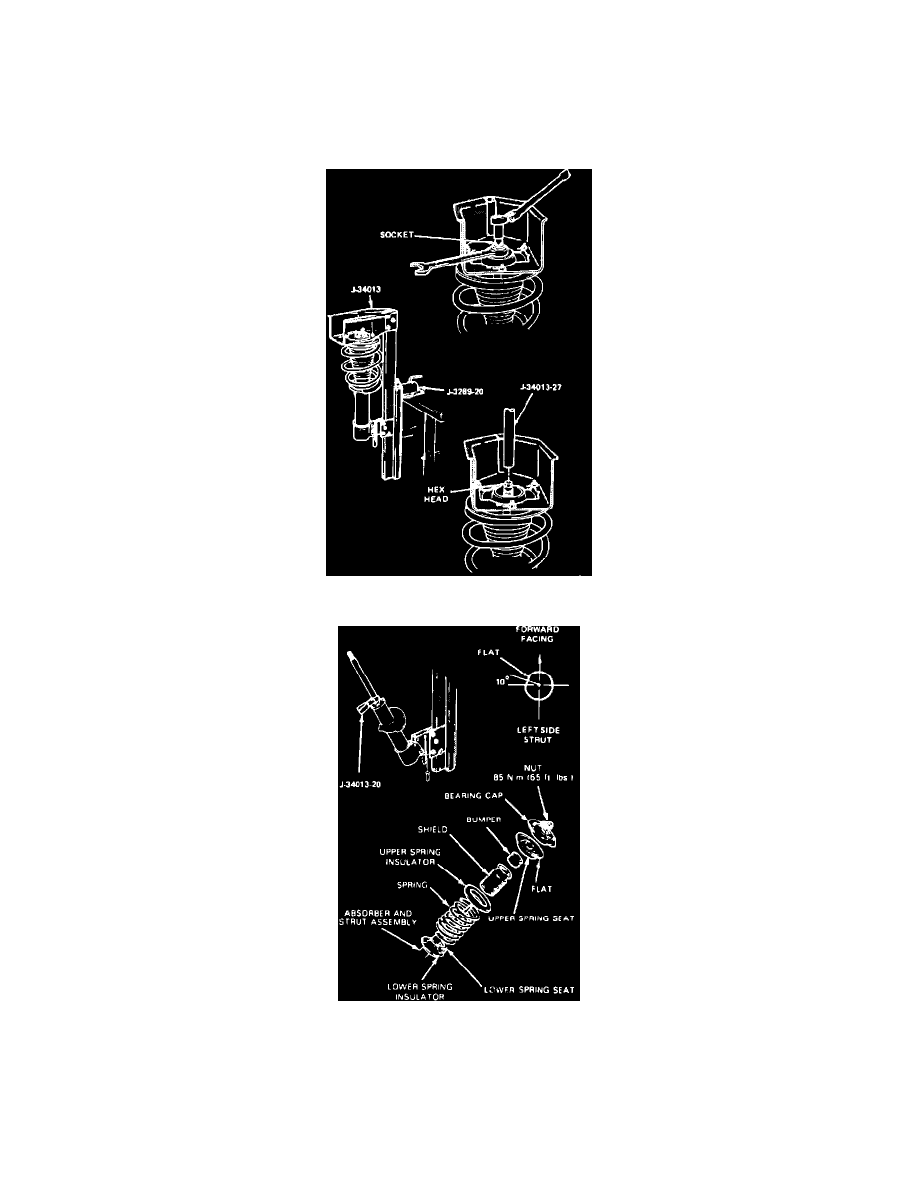
Fig. 6 Mounting Strut Assembly In Spring Compressor
Fig. 7 Removing & Installing Strut Assembly Components
DISASSEMBLE
1.
Remove strut assembly from vehicle as described above.
2.
Mount strut compressor tool No. J-34013 or equivalent into holding fixture tool No. J-3289-20 or equivalent as shown in Fig. 6.
3.
Mount strut into compressor, then compress strut approximately 1/2 inch after initial contact with top cap.
4.
Remove nut from strut dampener shaft and place guide rod tool No. J-34013-27 or equivalent on top of dampener shaft. Use this rod to guide