
Vibe AWD L4-2.4L (2009)
5. Remove the 2 nuts (3, 4) on the lower side of the strut.
6. If necessary, remove the old bolt from the upper bolt position (2) and install the new bolt.
7. If necessary, remove the old bolt from the lower bolt position (1) and install the new bolt.
Note: DO NOT fully tighten the nuts.
8. Install and hand tighten the 2 nuts.
9. If you removed the front tire and wheel assembly, install the front tire and wheel assembly. Refer to Tire and Wheel Removal and Installation (
See: Wheels and Tires/Service and Repair).
Note: The weight of the vehicle must be on the tires.
10. Lower the vehicle onto the alignment equipment.
11. Measure the alignment.
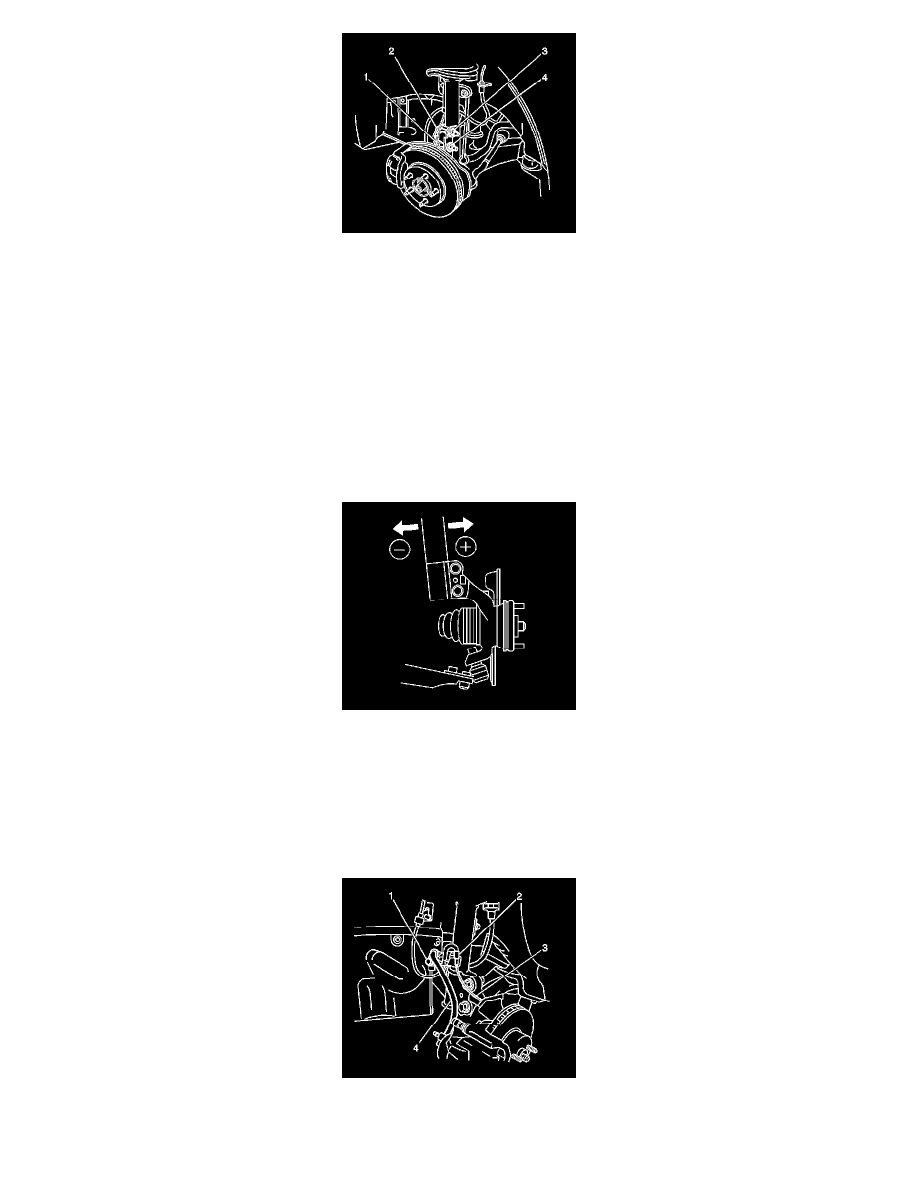
12. Push or pull on the top of the tire and wheel assembly in order to move the camber to the specification.
13. Verify the cross camber is within the specification.
Caution: Refer to Fastener Caution (See: Service Precautions/Vehicle Damage Warnings/Fastener Caution).
14. Hold the bolts and tighten the nuts that retain the strut to the knuckle.
Tighten the nuts to 240 Nm (177 lb ft).
15. Install the bolt (1) in order to retain the front speed sensor harness to the strut bracket.
Tighten the bolt to 29 Nm (21 lb ft).