
911 Carrera 2 Targa F6-3600cc 3.6L SOHC (1992)
Only if the windscreen is re-installed
-
During long idle periods apply activator -H3- to the remaining adhesive.
Note!
Only with new windscreens
1.
Clean glass with cleaning solution -H1-.
2.
Apply primer -H2- to the glass flange in the area of the marking.
Note!
A ventilation period of at least 10 minutes must be observed between the cleaning of the glass and the application of the primer! No cleaning
solution residues may remain on the window frame or the body.
Installing the windscreen
Caution!
Danger of material damage if specified curing time of adhesive is not observed!
^
The vehicle must not be used until the curing time has elapsed.
In order to ensure that the bonded joint is sufficiently strong, the following boundary conditions must be adhered to:
^
Curing time: 3 hours
^
Temperature: at feast 10 °C
^
Fixing time: approx 1 hour
Note!
The removed windscreen can be reinstalled if there is no prior damage to the windscreen and the windscreen was removed without damage.
1
-
Prepare 2-component bonding material for processing
-
--> Rep. Gr. 6; Processing of Porsche 2-component window bonding agents in Cayenne manual
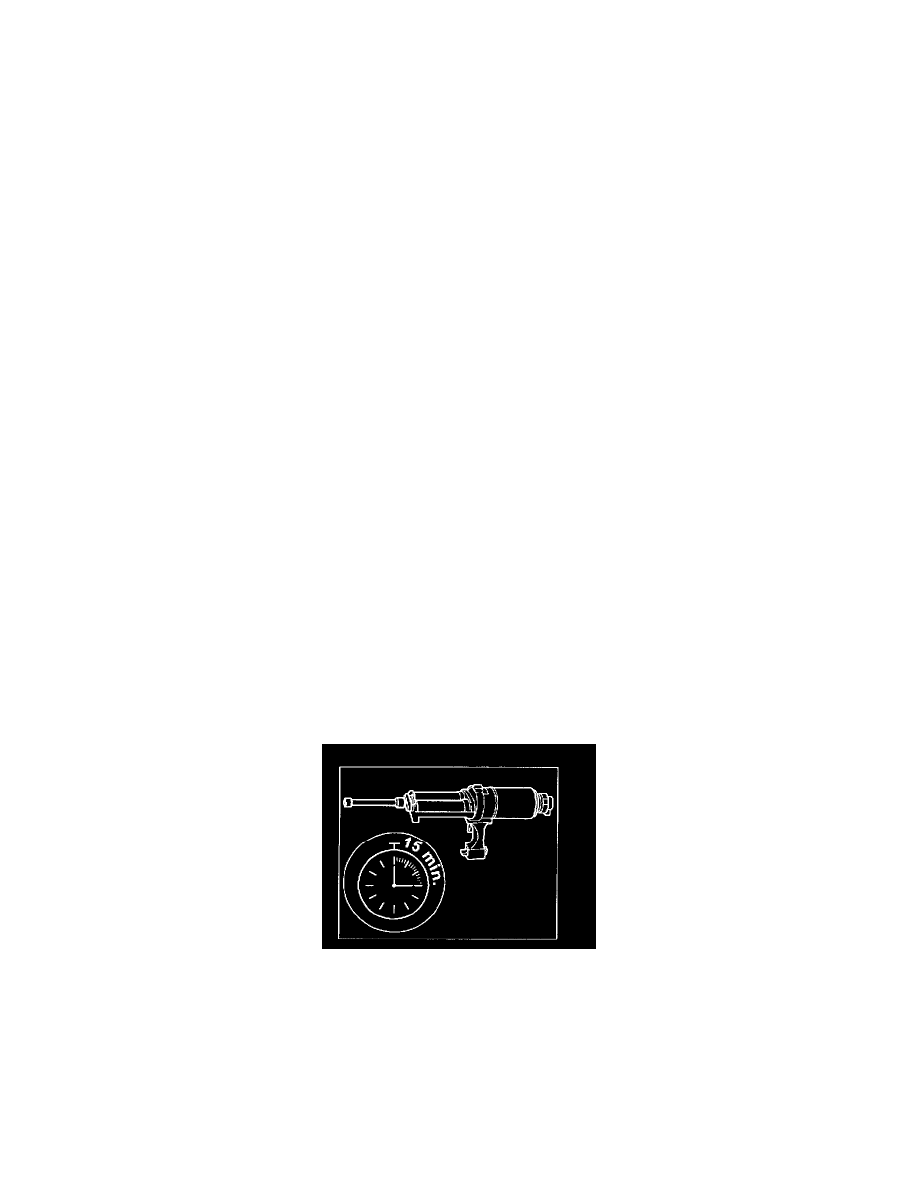
Note!
^
The bonding material has an open time of -15 mm- which means that the bonding material must be applied and the car window must be
assembled within this period of time.
^ In order to ensure that the substance is completely mixed, apply a 30 mm long adhesive run of fresh adhesive to a piece of cardboard before
processing.