
911 Carrera Coupe F6-3600cc 3.6L SOHC (1997)
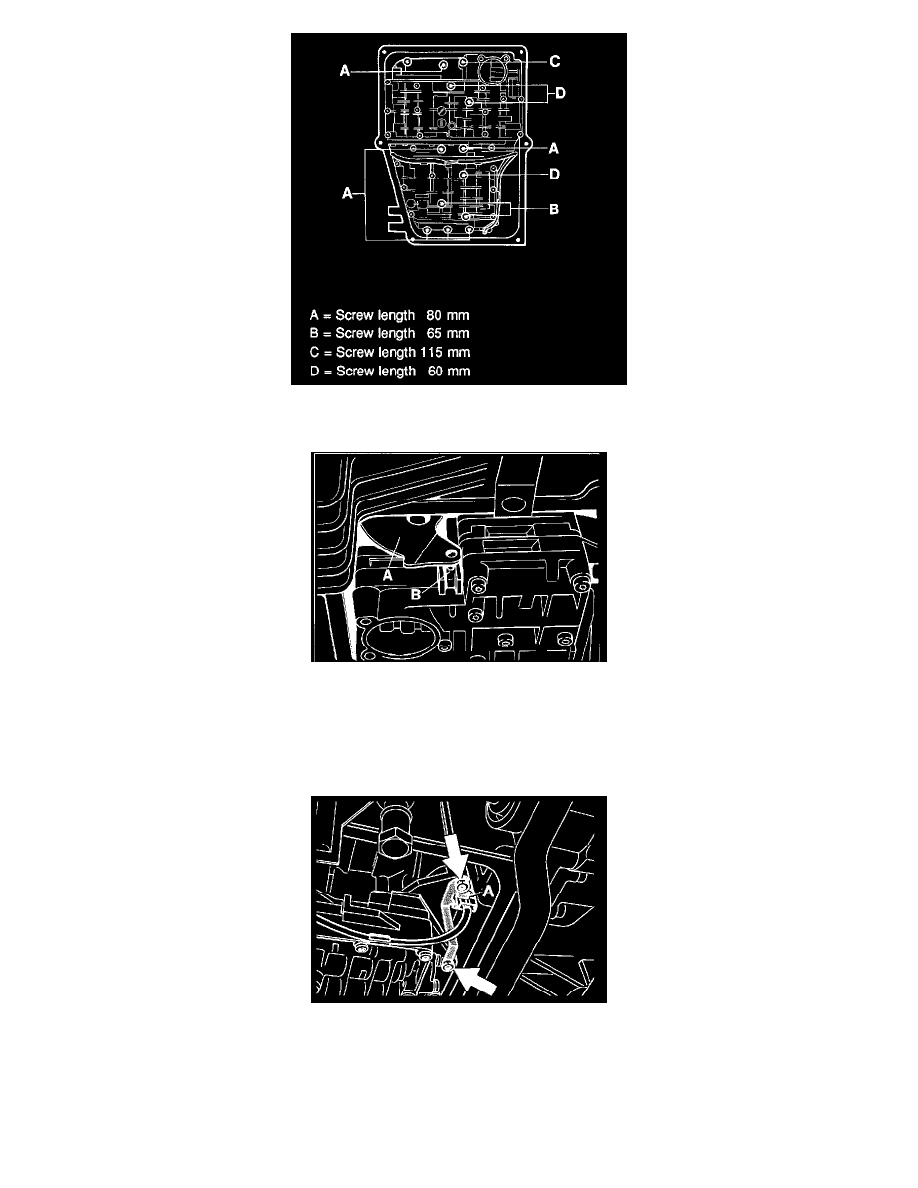
4. Screw in the fixing screws for the hydraulic control unit and counter slightly.
-
Pay attention to screw lengths.
A Notched Disc
B Selector Slide
5. Position hydraulic control unit.
-
To do this, move notched disk to position 1 (1st gear) and push hydraulic control unit back until it rests against the notched disk.
-
Tighten fixing screws to: 8 Nm in this position.
6. Insert pulse sensor and mount holding plate so that the lugs engage in the connector grooves.
7. Fit ATF strainer with O-ring.
-
Tightening to: 8 Nm.
8. Place two magnets in the beads of the ATF pan, fit seal and secure the pan with the holding brackets so that the short legs press onto the ATF pan.