911 Turbo AWD F6-3600cc 3.6L SOHC Twin Turbo (1997)

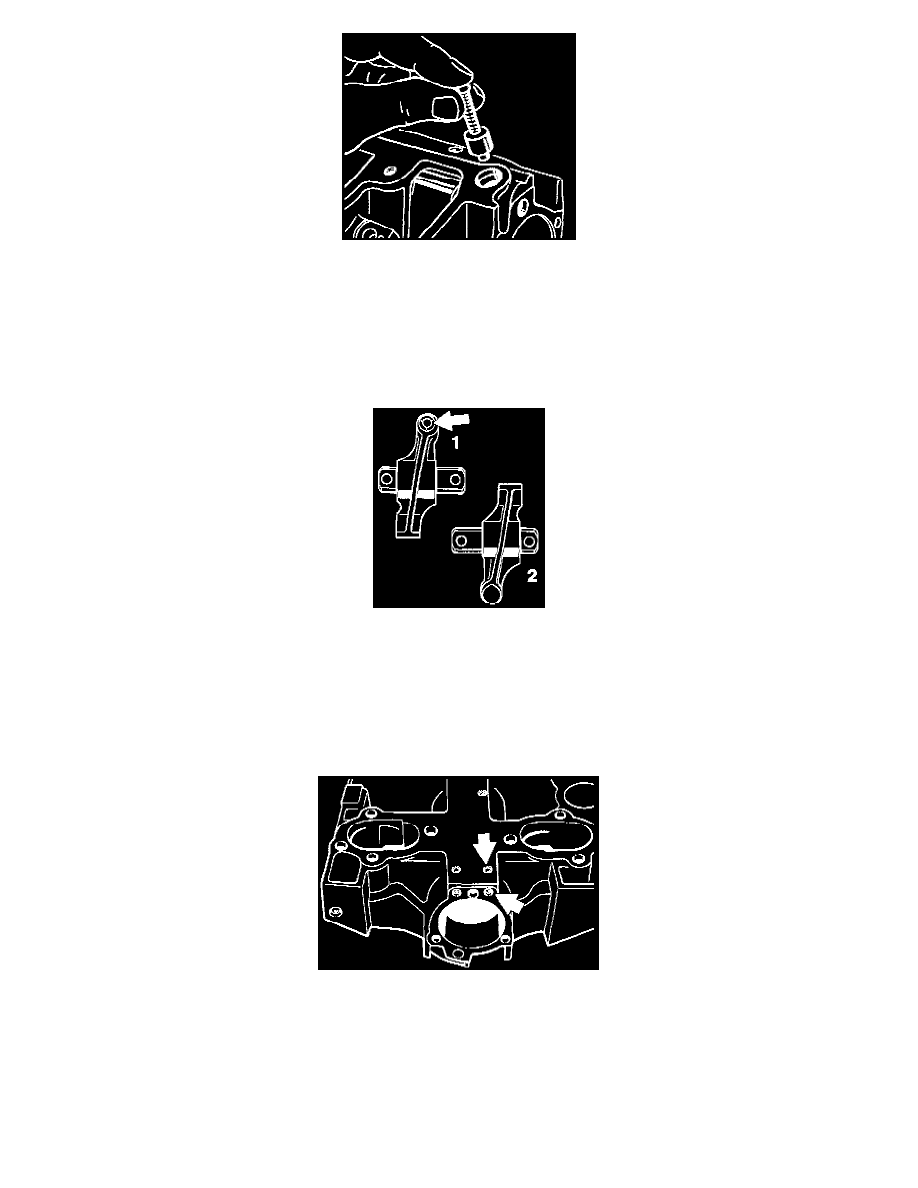
Turn original plug (Part No. 993.105.345.00) down to an outside dia. of 12.4 mm. Tap M 5 thread into plug and screw in suitable screws, e.g. M 5 x
35. Push spray tube into camshaft housing. Smaller bores (6 bores) face camshaft. Use auxiliary tool to position spray tube. Coat new plug with
Optimoly HT and press in flush.
Installation
Apply a coating of Optimoly HT to the new plug and press in flush.
Installation Position Of Rocker Arms
1 - Inlet rocker arm
Identification:
Valve lifter bore is drilled, plugged with cover and punched (arrow).
2 - Exhaust rocker arm
Valve lifter bore not drilled
Checking Presence Of Sealing Balls
Balls (6) on camshaft housing sealing face, balls (2) on front face (pulley side). 2 lateral balls are only present on engine with air injection.
Sealing The Camshaft Housing Sealing Face
NOTE:
-
Use only Loctite 574 to seal
-
Loctite 574 hardens only when contact with metal is made and air ingress is prevented.
-
After having applied the sealant, bolt up the crankcase sections within approximately 10 minutes since the sealant bead applied directly to the
metal surface will otherwise start to cure.
