
Brake judder
- Make
- Rover
- Model
- 800 Technical Bulletins
- Section
- Brake judder › Brake judder
BRAKE JUDDER
- Model
- 100, 200, 400, 600, 800, Metro, Maestro, Montego, Mini
- Affected vehicles
- All
- Date
- 1995-02-22
- Reference
- R3591bu
Bulletin text
100, 200, 400, 600, 800, Metro, Maestro, Montego, Mini
AFFECTED RANGE:
All
PROBLEM:
BRAKE JUDDER
CAUSE:
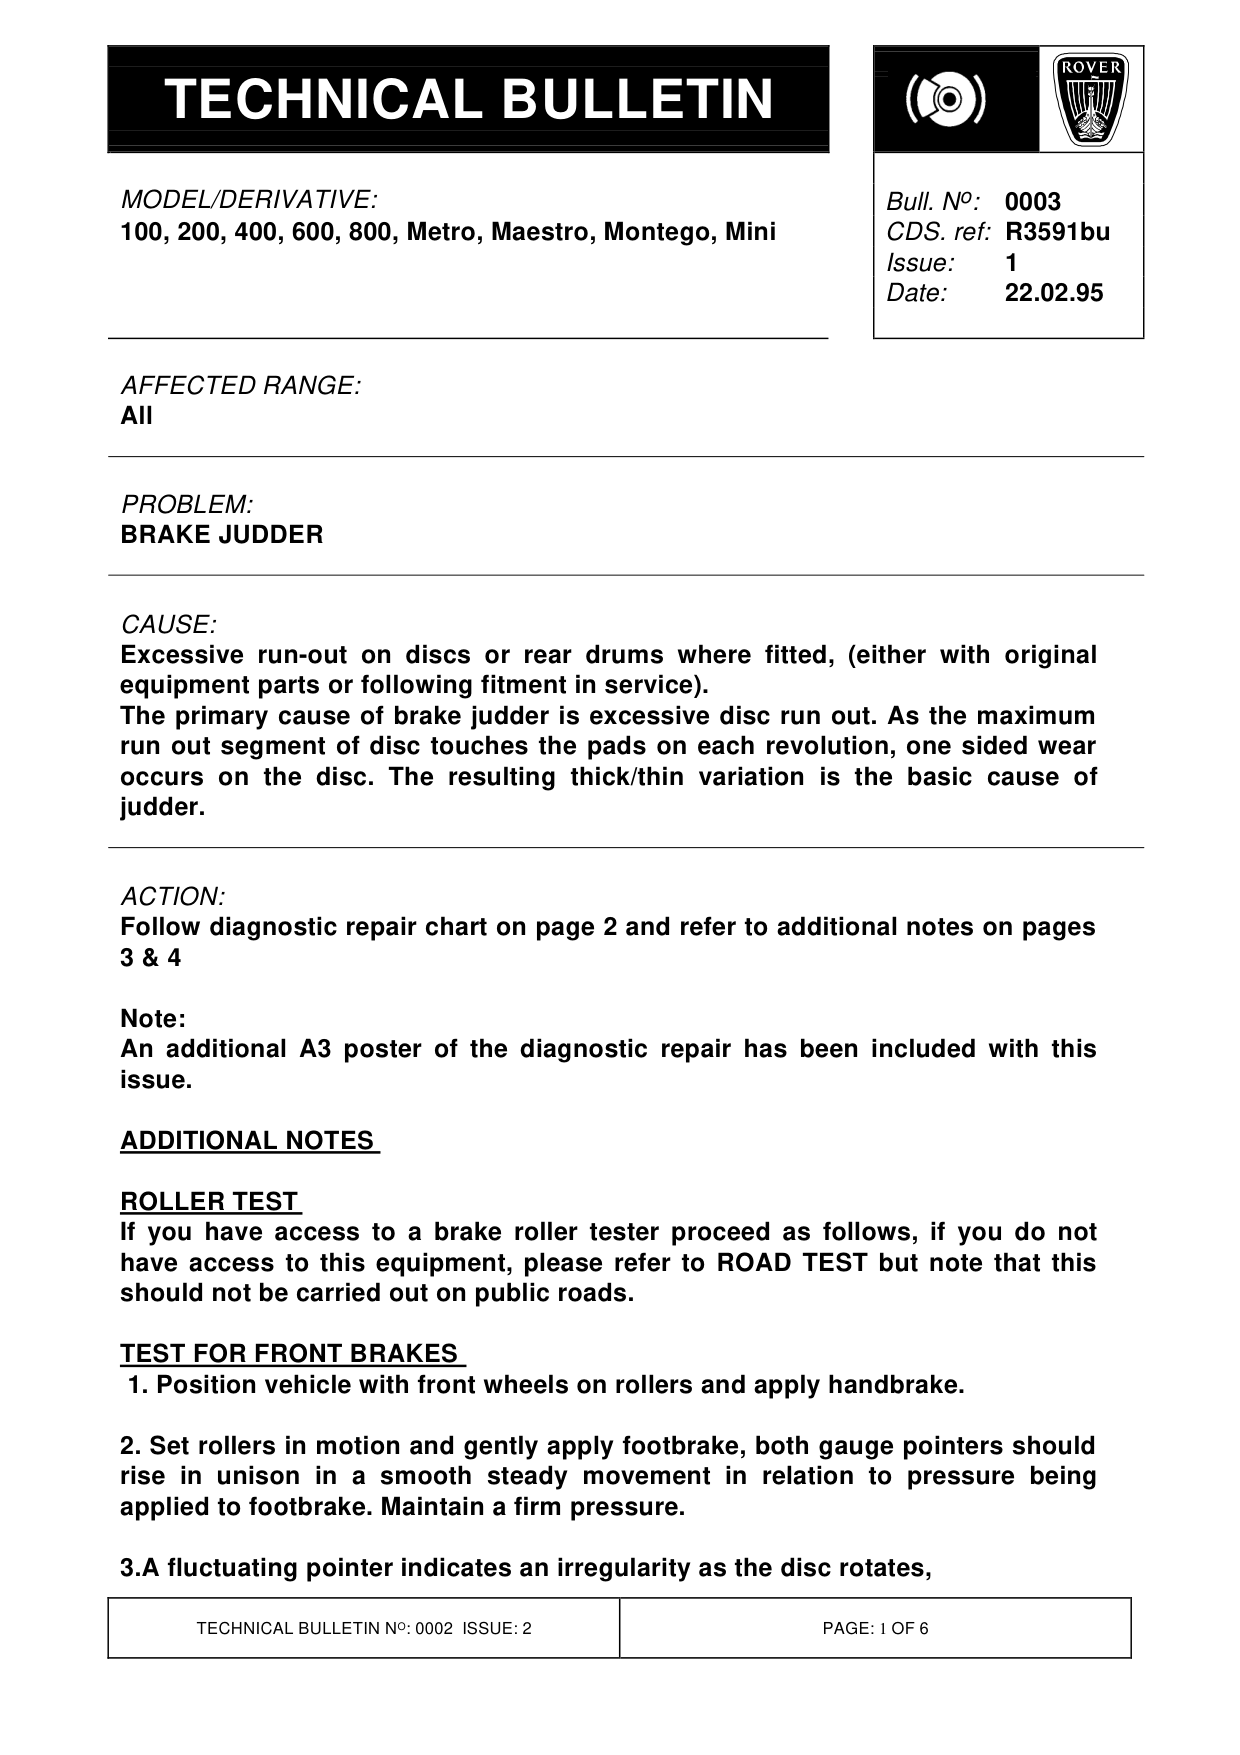
Excessive run-out on discs or rear drums where fitted, (either with original equipment parts or following fitment in service). The primary cause of brake judder is excessive disc run out. As the maximum run out segment of disc touches the pads on each revolution, one sided wear occurs on the disc. The resulting thick/thin variation is the basic cause of judder.
ACTION:
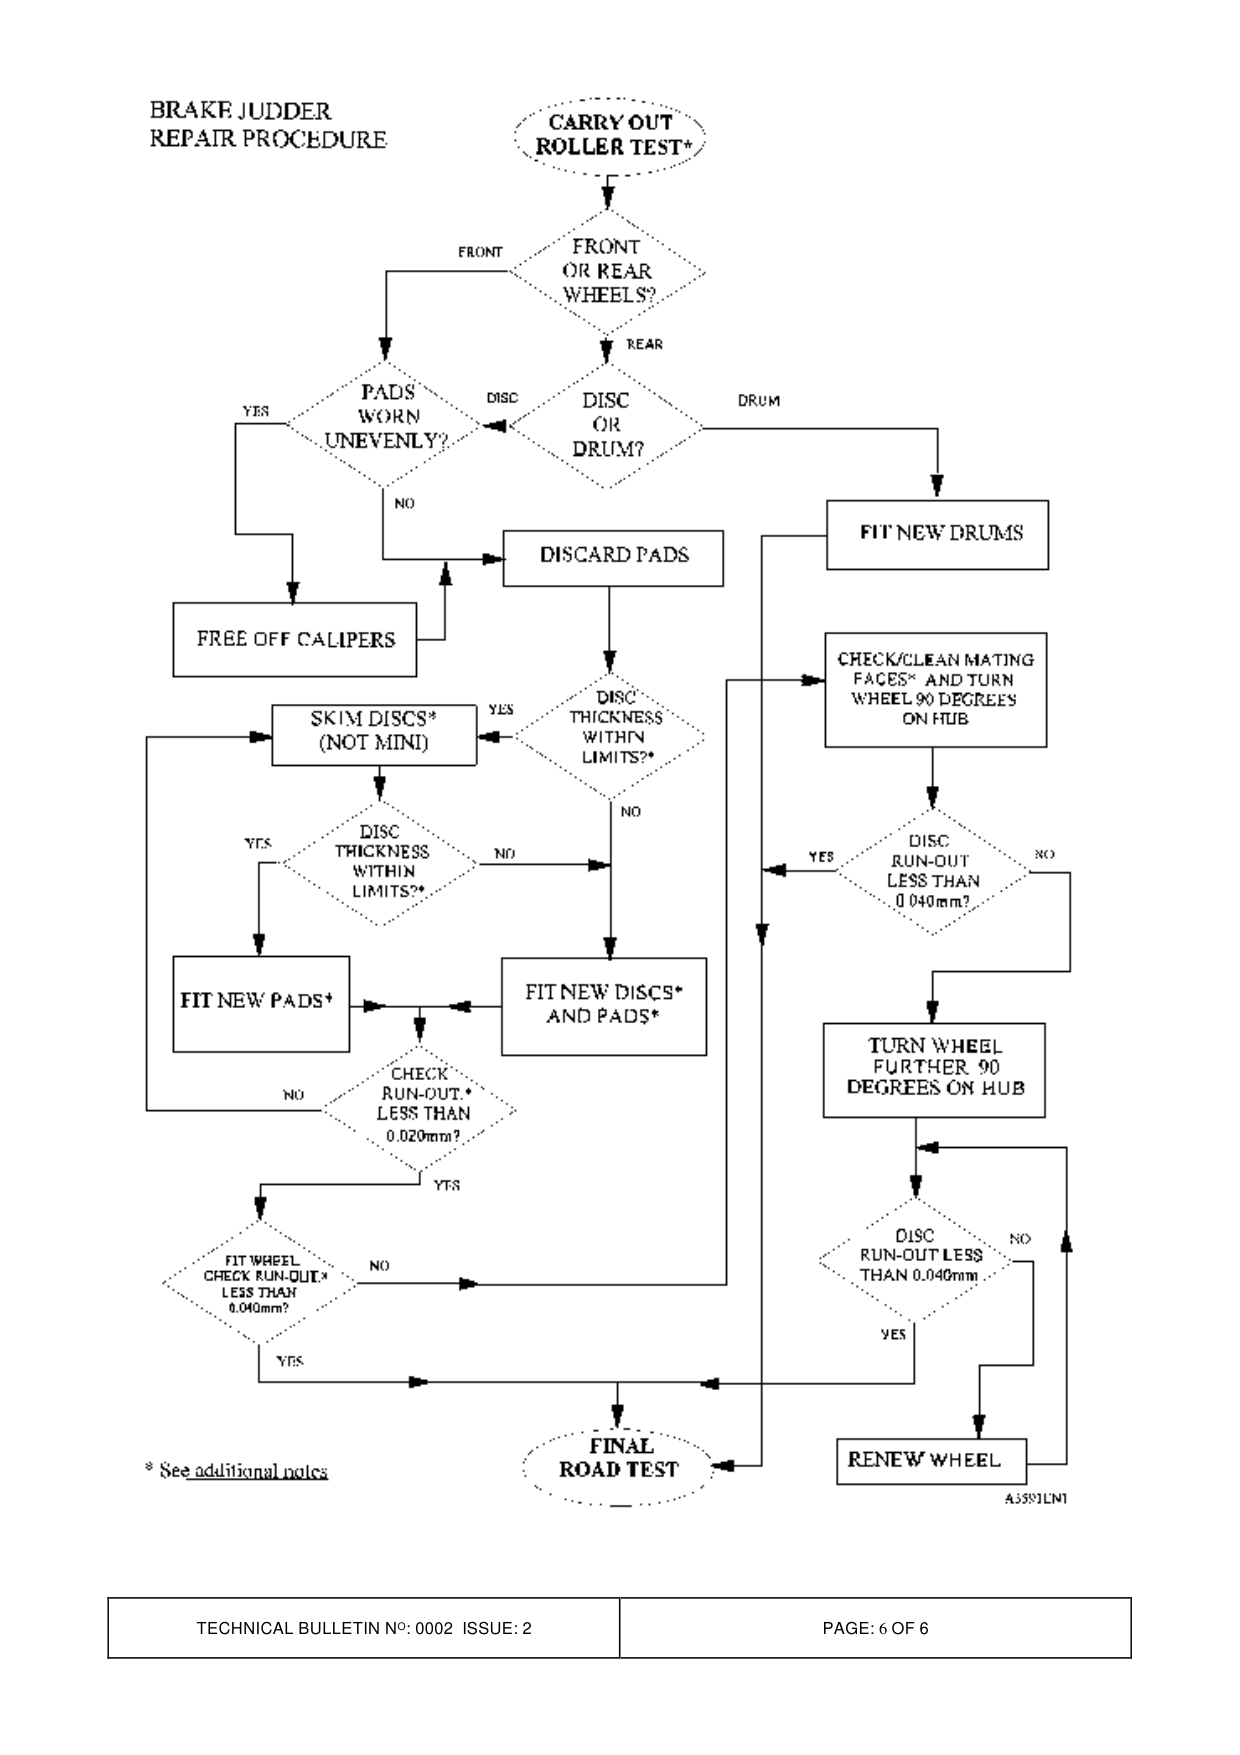
Follow diagnostic repair chart on page 2 and refer to additional notes on pages 3 & 4
Note: An additional A3 poster of the diagnostic repair has been included with this issue.
ADDITIONAL NOTES
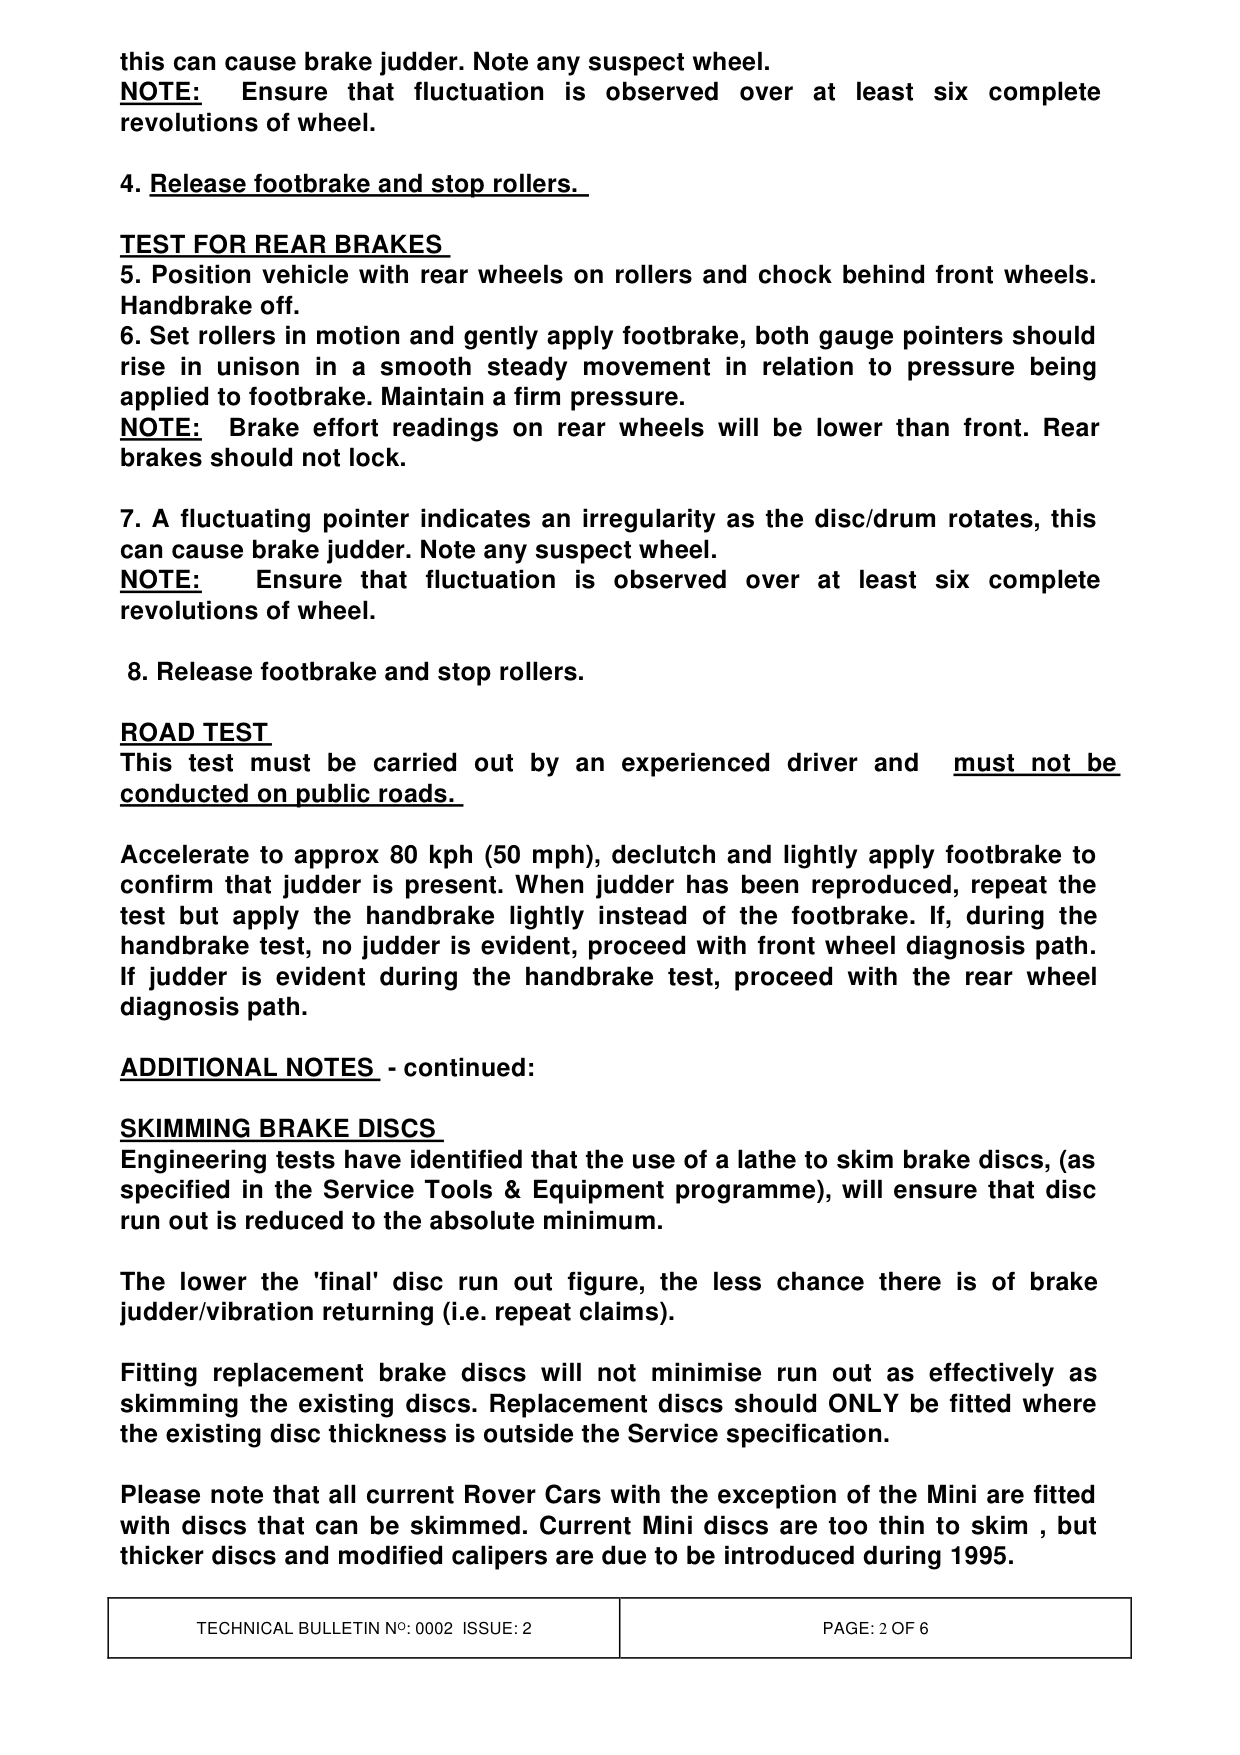
ROLLER TEST If you have access to a brake roller tester proceed as follows, if you do not have access to this equipment, please refer to ROAD TEST but note that this should not be carried out on public roads.
TEST FOR FRONT BRAKES 1. Position vehicle with front wheels on rollers and apply handbrake.
2. Set rollers in motion and gently apply footbrake, both gauge pointers should rise in unison in a smooth steady movement in relation to pressure being applied to footbrake. Maintain a firm pressure.
3.A fluctuating pointer indicates an irregularity as the disc rotates,
Bull. N o : 0003
1 22.02.95
this can cause brake judder. Note any suspect wheel. NOTE: Ensure that fluctuation is observed over at least six complete revolutions of wheel.
4. Release footbrake and stop rollers.
TEST FOR REAR BRAKES 5. Position vehicle with rear wheels on rollers and chock behind front wheels. Handbrake off. 6. Set rollers in motion and gently apply footbrake, both gauge pointers should rise in unison in a smooth steady movement in relation to pressure being applied to footbrake. Maintain a firm pressure. NOTE: Brake effort readings on rear wheels will be lower than front. Rear brakes should not lock.
7. A fluctuating pointer indicates an irregularity as the disc/drum rotates, this can cause brake judder. Note any suspect wheel. NOTE: Ensure that fluctuation is observed over at least six complete revolutions of wheel.
8. Release footbrake and stop rollers.
ROAD TEST This test must be carried out by an experienced driver and conducted on public roads.
Accelerate to approx 80 kph (50 mph), declutch and lightly apply footbrake to confirm that judder is present. When judder has been reproduced, repeat the test but apply the handbrake lightly instead of the footbrake. If, during the handbrake test, no judder is evident, proceed with front wheel diagnosis path. If judder is evident during the handbrake test, proceed with the rear wheel diagnosis path.
ADDITIONAL NOTES - continued:
SKIMMING BRAKE DISCS Engineering tests have identified that the use of a lathe to skim brake discs, (as specified in the Service Tools & Equipment programme), will ensure that disc run out is reduced to the absolute minimum.
The lower the 'final' disc run out figure, the less chance there is of brake judder/vibration returning (i.e. repeat claims).
Fitting replacement brake discs will not minimise run out as effectively as skimming the existing discs. Replacement discs should ONLY be fitted where the existing disc thickness is outside the Service specification.
Please note that all current Rover Cars with the exception of the Mini are fitted with discs that can be skimmed. Current Mini discs are too thin to skim , but thicker discs and modified calipers are due to be introduced during 1995.
must not be
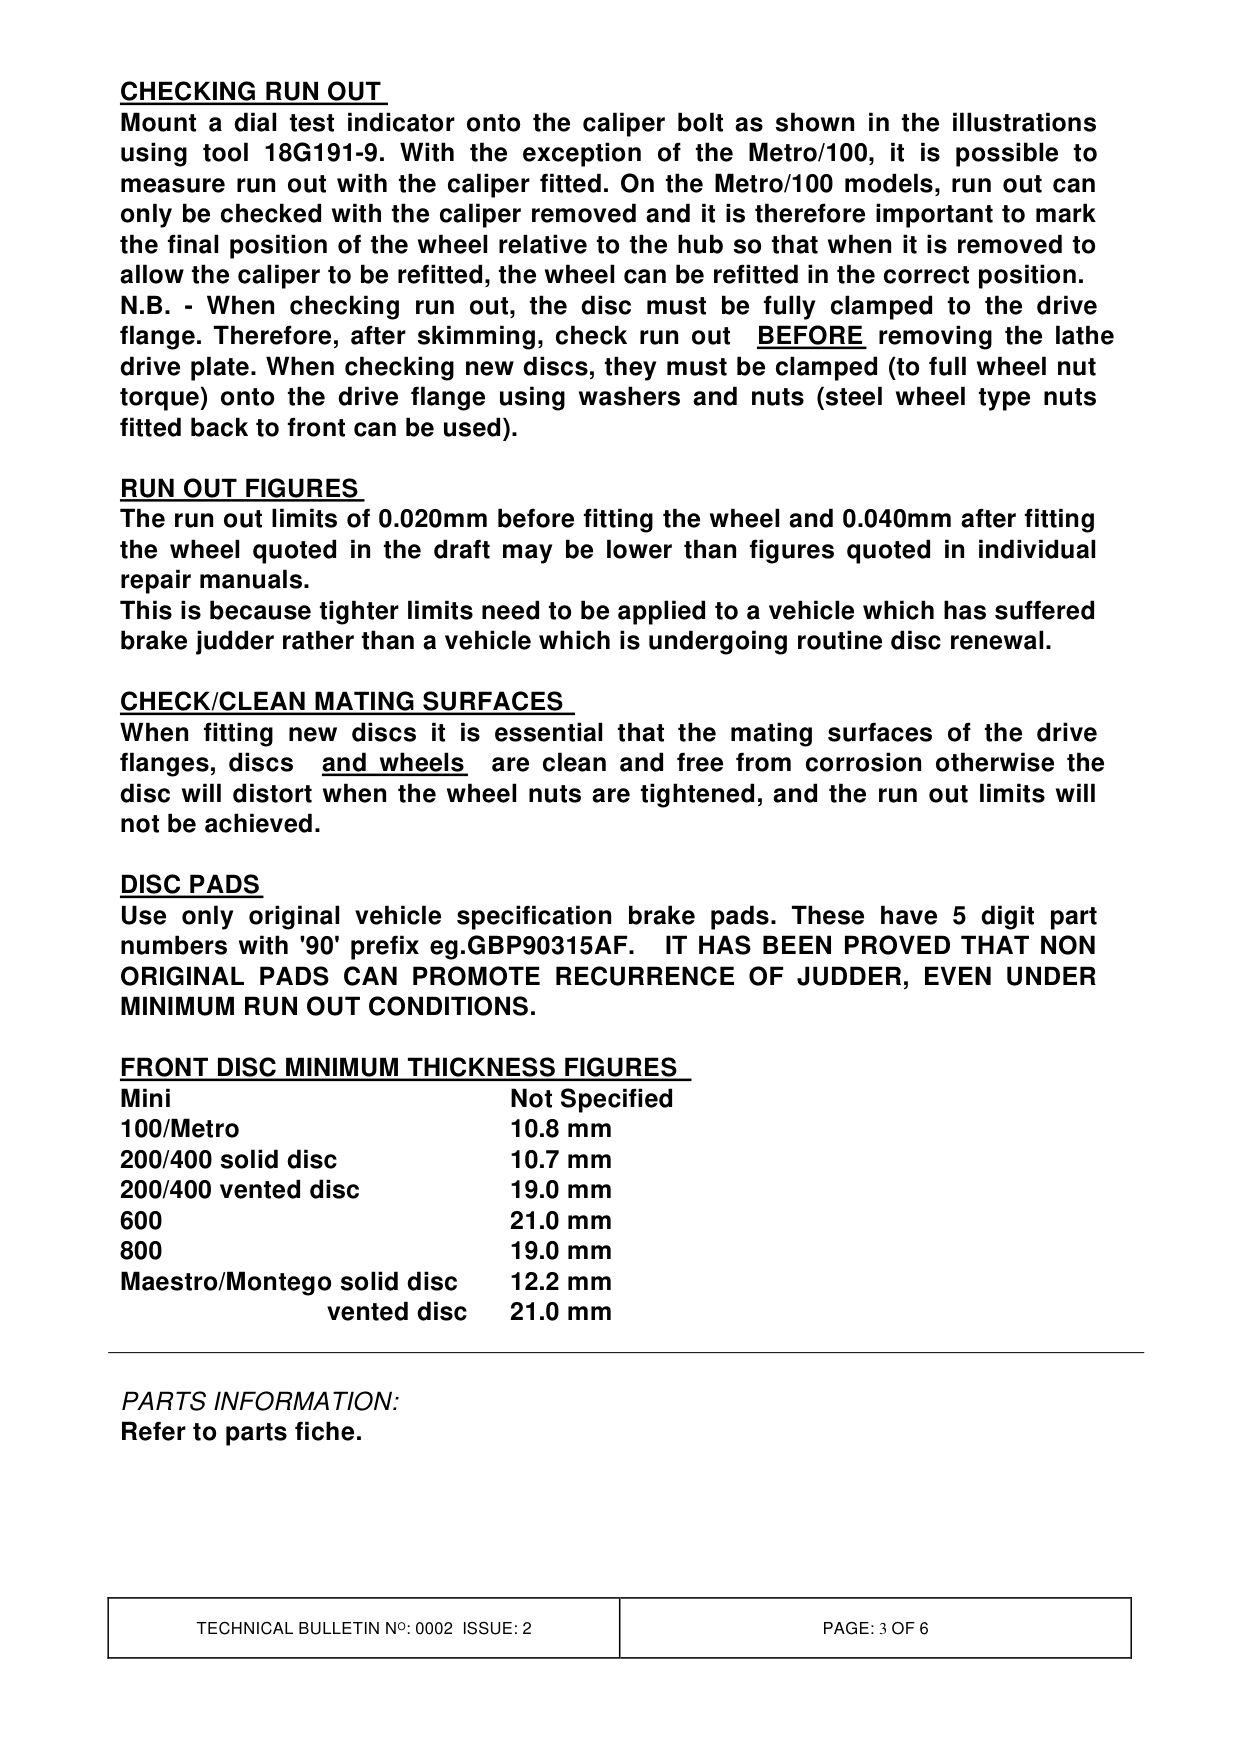
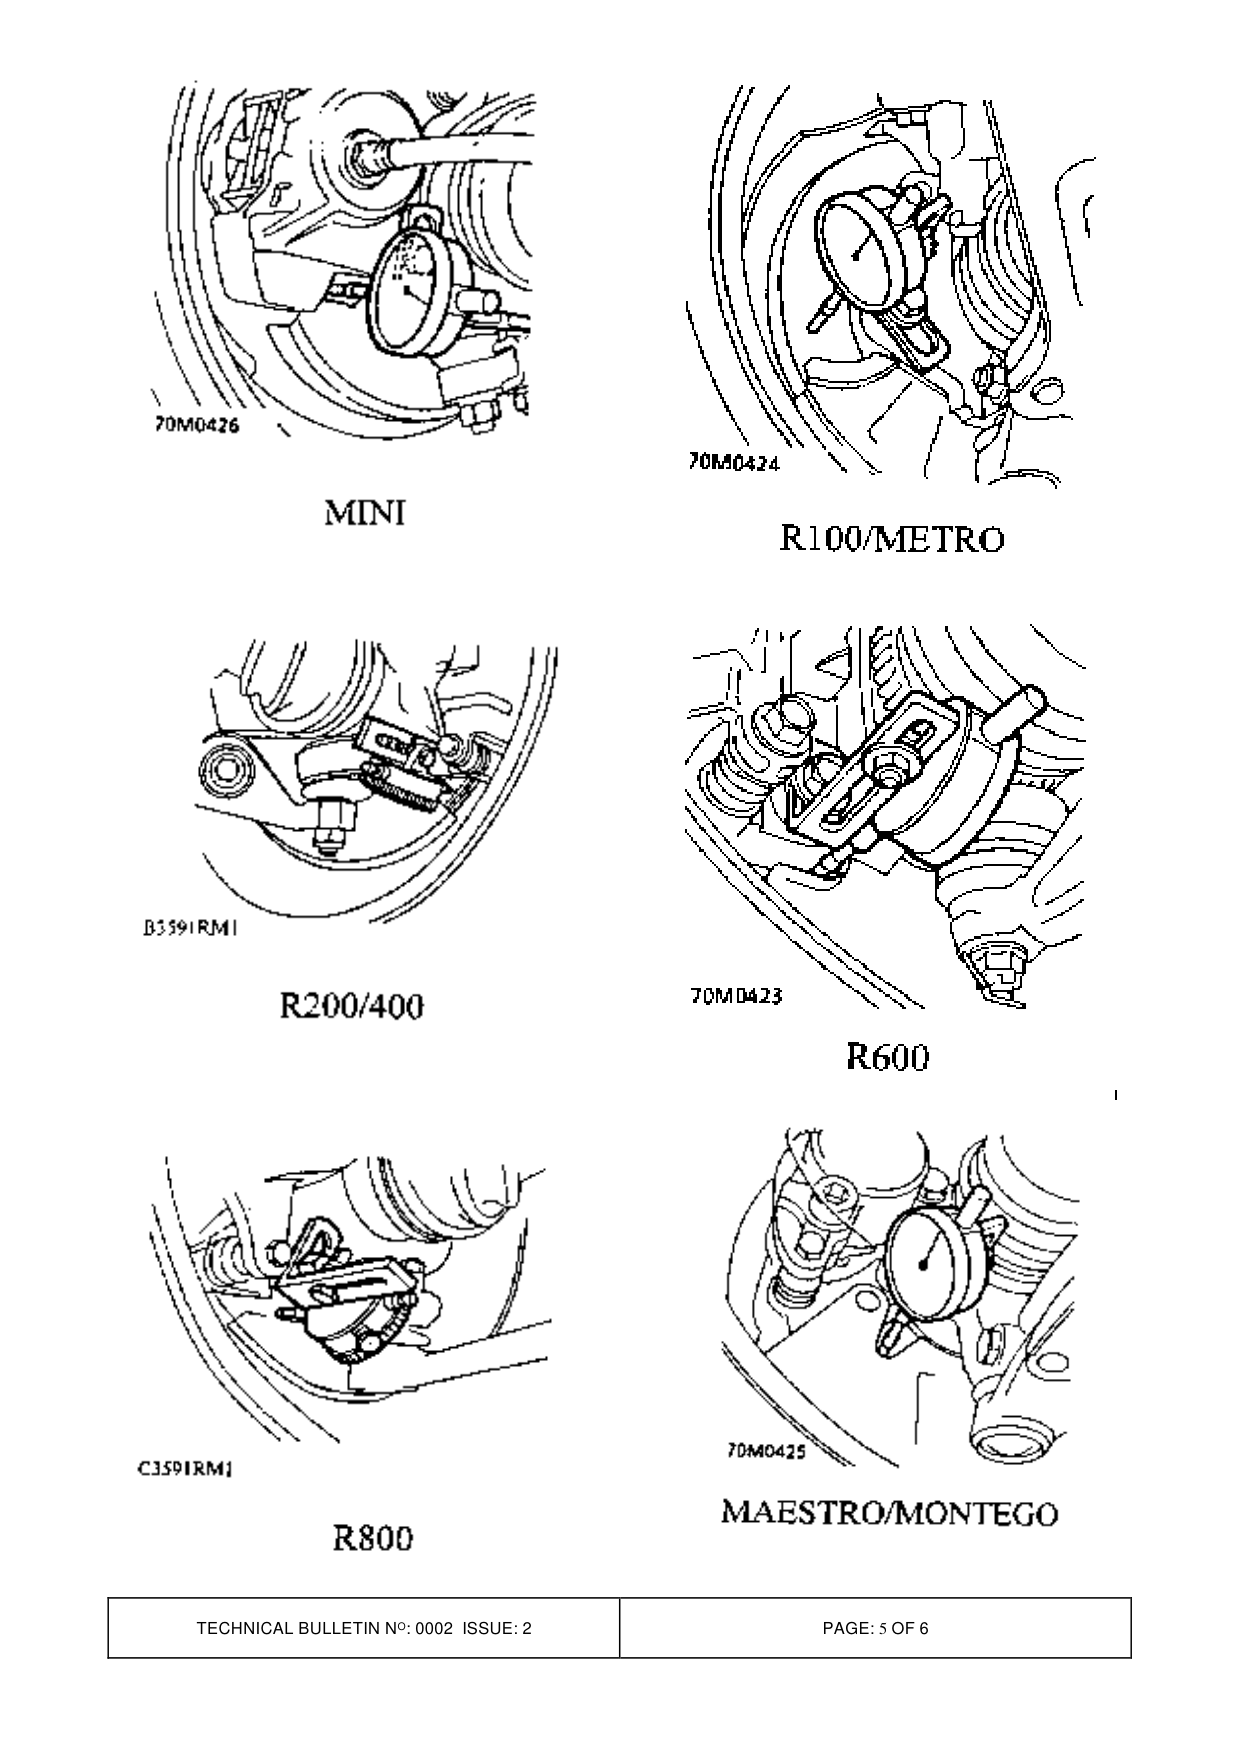
CHECKING RUN OUT Mount a dial test indicator onto the caliper bolt as shown in the illustrations using tool 18G191-9. With the exception of the Metro/100, it is possible to measure run out with the caliper fitted. On the Metro/100 models, run out can only be checked with the caliper removed and it is therefore important to mark the final position of the wheel relative to the hub so that when it is removed to allow the caliper to be refitted, the wheel can be refitted in the correct position. N.B. - When checking run out, the disc must be fully clamped to the drive flange. Therefore, after skimming, check run out BEFORE removing the lathe drive plate. When checking new discs, they must be clamped (to full wheel nut torque) onto the drive flange using washers and nuts (steel wheel type nuts fitted back to front can be used).
RUN OUT FIGURES The run out limits of 0.020mm before fitting the wheel and 0.040mm after fitting the wheel quoted in the draft may be lower than figures quoted in individual repair manuals. This is because tighter limits need to be applied to a vehicle which has suffered brake judder rather than a vehicle which is undergoing routine disc renewal.
CHECK/CLEAN MATING SURFACES When fitting new discs it is essential that the mating surfaces of the drive flanges, discs and wheels are clean and free from corrosion otherwise the disc will distort when the wheel nuts are tightened, and the run out limits will not be achieved.
DISC PADS Use only original vehicle specification brake pads. These have 5 digit part numbers with '90' prefix eg.GBP90315AF. IT HAS BEEN PROVED THAT NON ORIGINAL PADS CAN PROMOTE RECURRENCE OF JUDDER, EVEN UNDER MINIMUM RUN OUT CONDITIONS.
FRONT DISC MINIMUM THICKNESS FIGURES Mini Not Specified 100/Metro 10.8 mm 200/400 solid disc 10.7 mm 200/400 vented disc 19.0 mm 600 21.0 mm 800 19.0 mm Maestro/Montego solid disc 12.2 mm vented disc 21.0 mm
PARTS INFORMATION:
Refer to parts fiche.
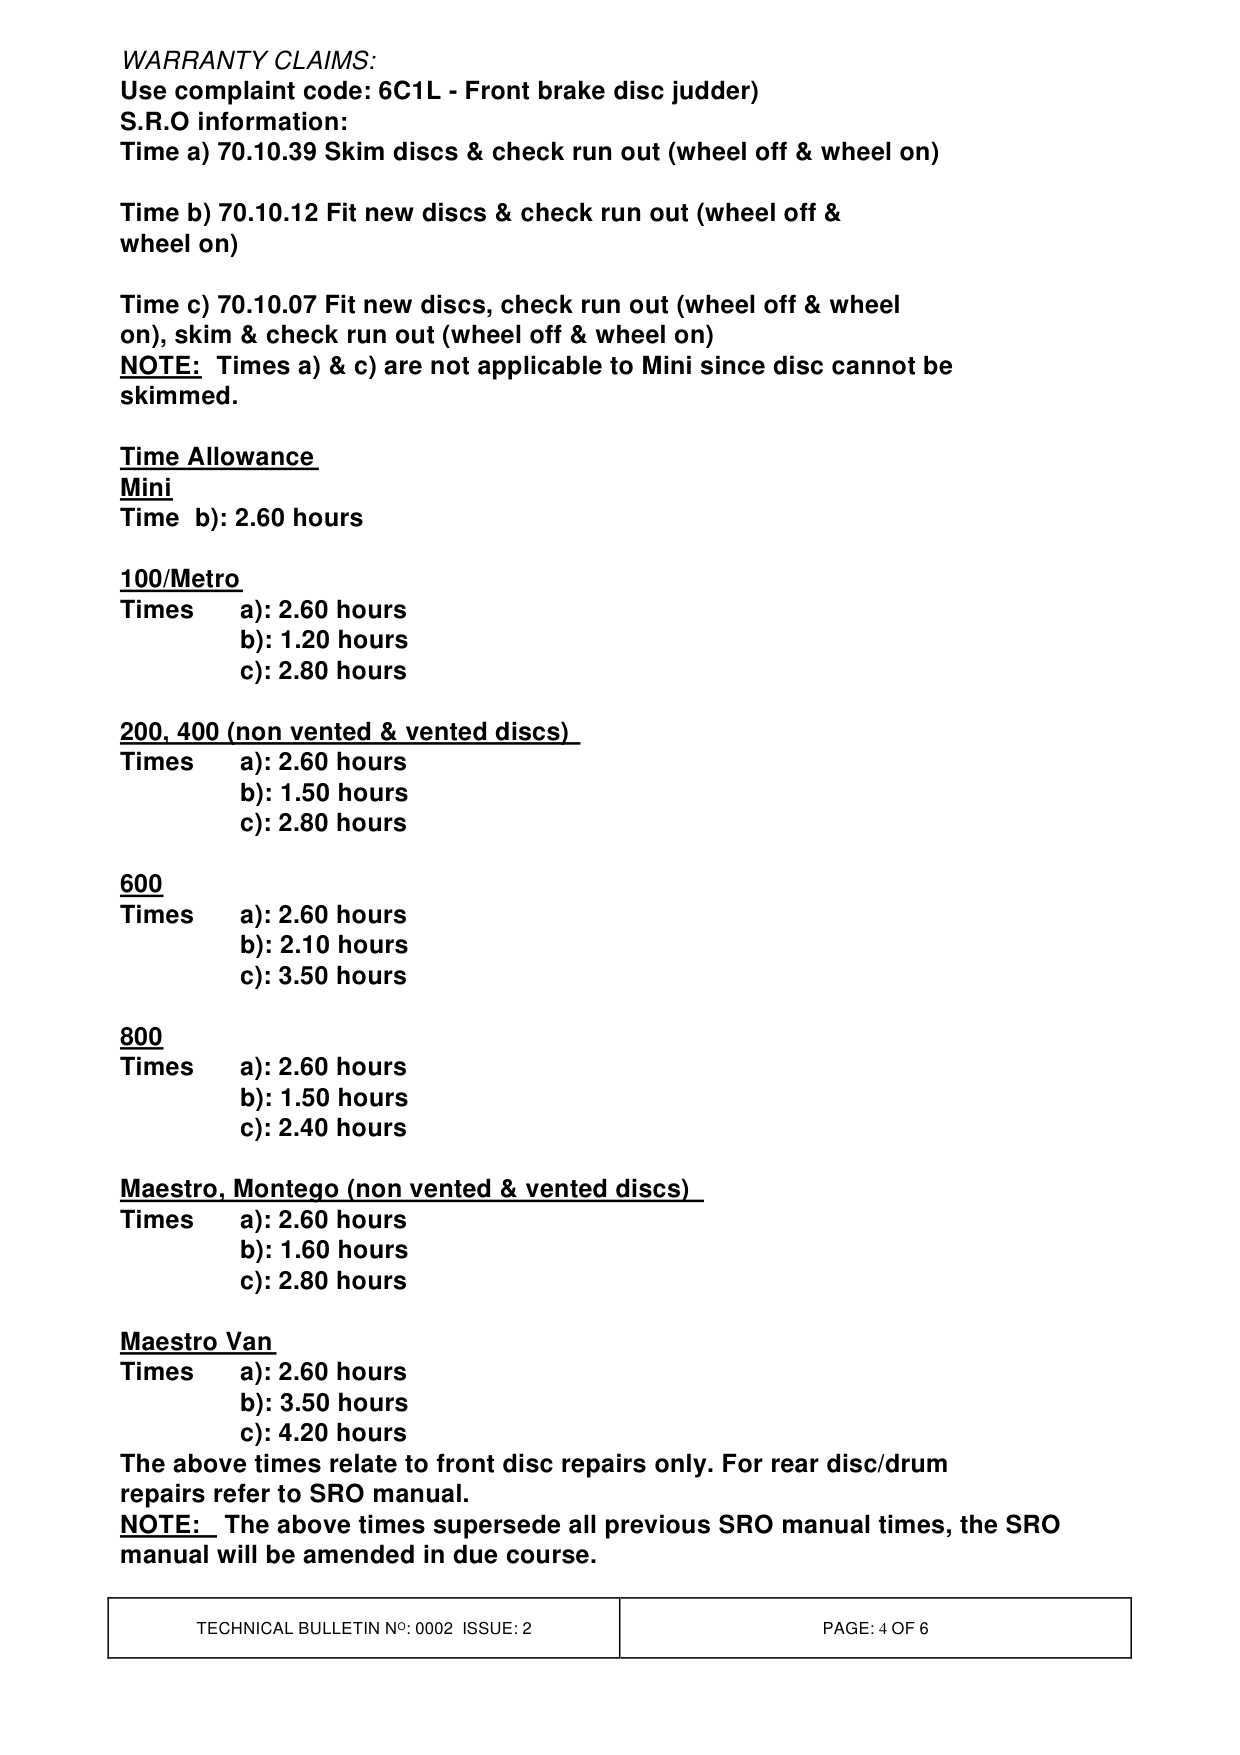
WARRANTY CLAIMS: Use complaint code: 6C1L - Front brake disc judder) S.R.O information: Time a) 70.10.39 Skim discs & check run out (wheel off & wheel on)
Time b) 70.10.12 Fit new discs & check run out (wheel off & wheel on)
Time c) 70.10.07 Fit new discs, check run out (wheel off & wheel on), skim & check run out (wheel off & wheel on) NOTE: Times a) & c) are not applicable to Mini since disc cannot be skimmed.
Time Allowance Mini Time b): 2.60 hours
100/Metro Times a): 2.60 hours b): 1.20 hours c): 2.80 hours
200, 400 (non vented & vented discs) Times a): 2.60 hours b): 1.50 hours c): 2.80 hours
600 Times a): 2.60 hours b): 2.10 hours c): 3.50 hours
800 Times a): 2.60 hours b): 1.50 hours c): 2.40 hours
Maestro, Montego (non vented & vented discs) Times a): 2.60 hours b): 1.60 hours c): 2.80 hours
Maestro Van Times a): 2.60 hours b): 3.50 hours c): 4.20 hours The above times relate to front disc repairs only. For rear disc/drum repairs refer to SRO manual. NOTE: The above times supersede all previous SRO manual times, the SRO manual will be amended in due course.
Parts & tools for this job For Rover 800
- PARTBrake padsSearch: Rover 800 brake pads
- TOOLBrake bleeder kitSearch: one man brake bleeder kit
- FLUIDBrake fluidSearch: brake fluid
Links open Amazon search results in a new tab. As an Amazon Associate I earn from qualifying purchases.