
Astra L4-1.8L (2009)
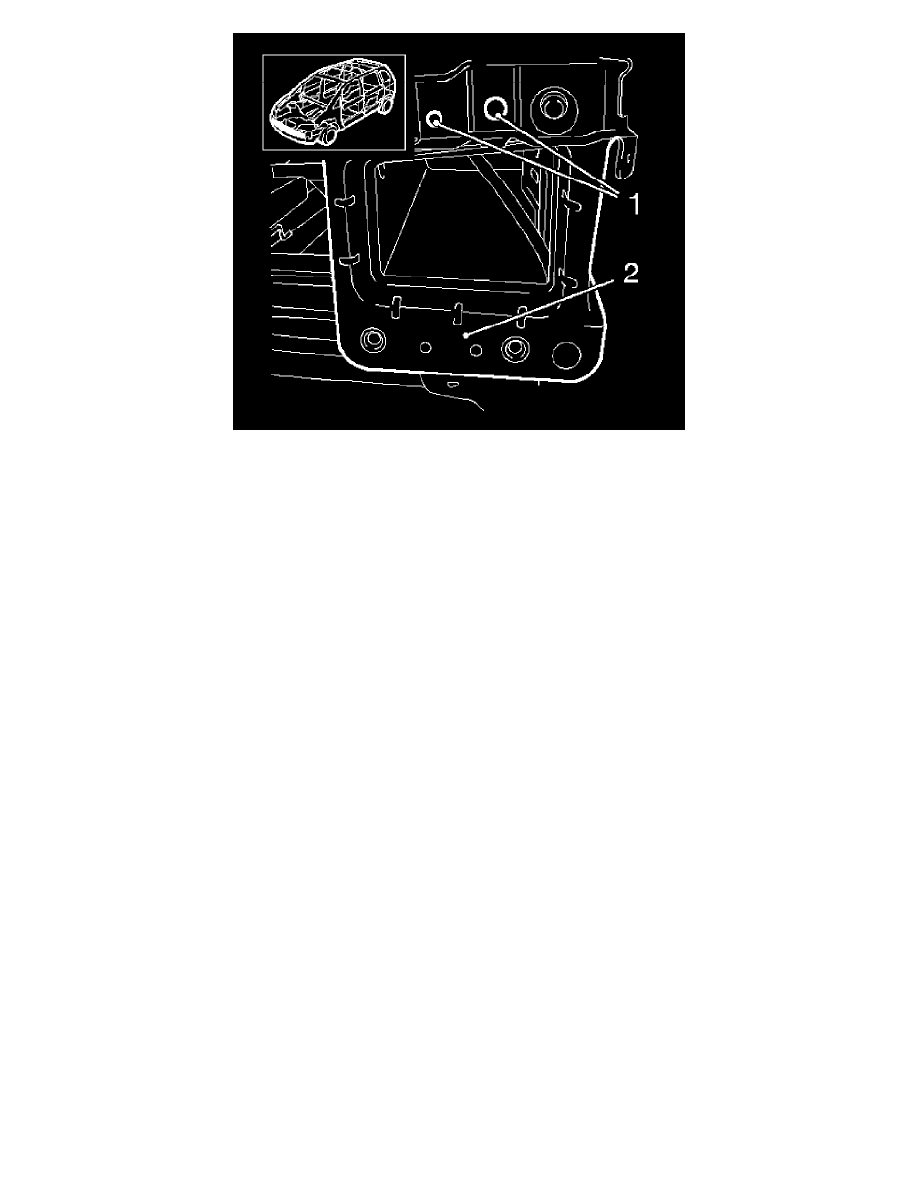
1. Prime the connecting flange side member (2) and the drilled holes (1) in top front.
Caution: Refer to Fastener Caution (See: Service Precautions/Vehicle Damage Warnings/Fastener Caution).
Note: When replacing the impact bar, the new parts do not require painting in the service department.
2. Install the impact bar bracket.
Tighten the 4 bolts (1) to 10 Nm (89 lb in).
Mark the heads of the bolts with paint.
Note: Observe protective wax corrosion protection measures.
3. Apply the cavity sealing/protective wax to the mounting surfaces and connecting flanges.
4. Connect the wiring harness to impact bar bracket.
Fasten the 2 cable ties.
5. Install the windshield washer reserve tank.
Tighten the 2 bolts to 3.5 Nm (32 lb in).
*
Install the 2 hoses the into guide.
*
Install the rear window wash system hose to the pump.
*
Install the front window wash system hose to the pump.
*
Connect windshield washer pump wiring harness plug.
6. For vehicles with a high-pressure headlamp wash system, connect the pump wiring harness plug.
7. Install the impact bar. Refer to Front Bumper Impact Bar Replacement (See: Front Bumper Impact Bar Replacement).
8. Install the headlamps. Refer to Headlamp Replacement - Left Side (See: Lighting and Horns/Headlamp/Service and Repair) , Headlamp
Replacement - Right Side (See: Lighting and Horns/Headlamp/Service and Repair) , or Headlamp Replacement (with Dipped Beam) (See:
Lighting and Horns/Headlamp/Service and Repair).
9. Install the front bumper fascia. Refer to Front Bumper Fascia Replacement (See: Front Bumper Cover / Fascia/Service and Repair/Front Bumper
Fascia Replacement).