
Astra L4-1.8L (2009)
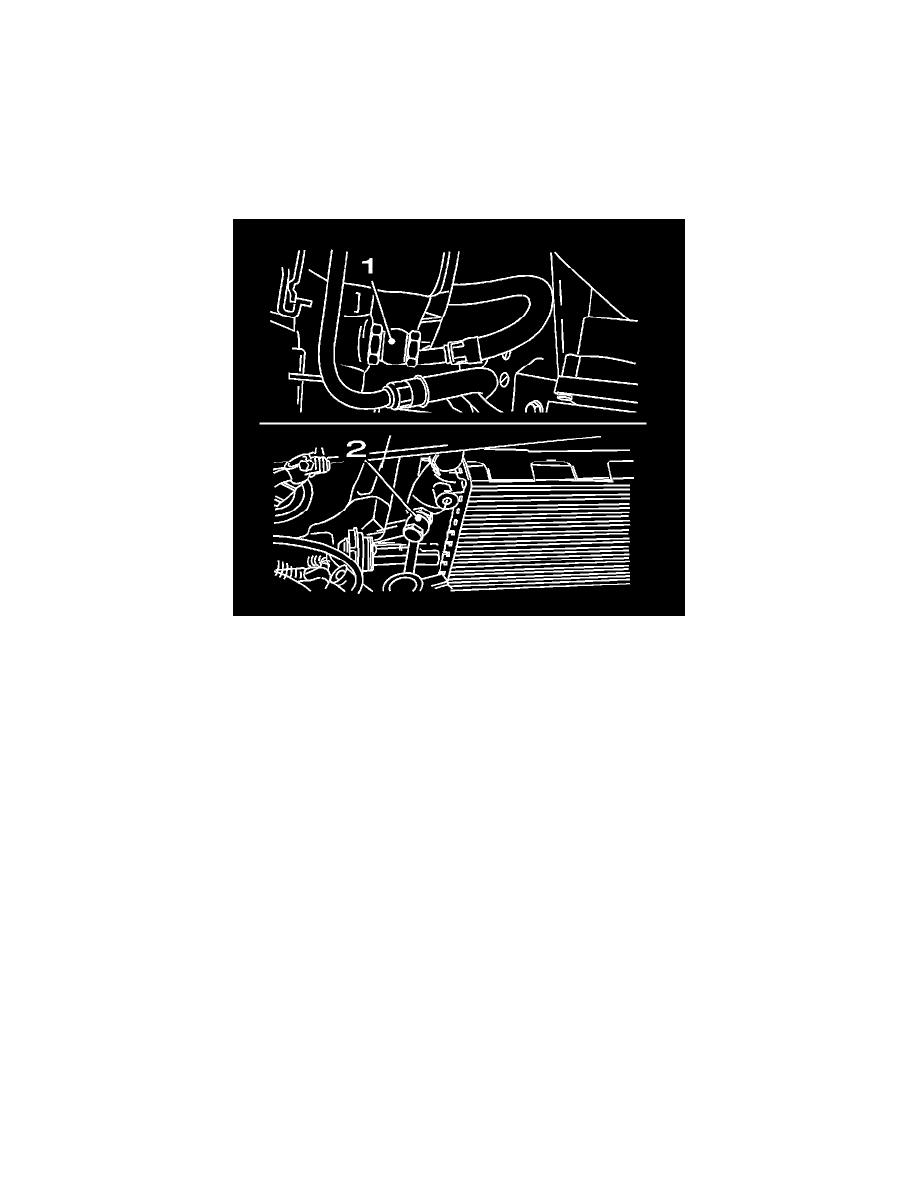
Note: Note the installation position of the fluid cooler line to ensure the connecting hoses are not kinked or twisted once assembled. Take the
engine tilting movement into account.
3. Remove the lower fluid cooler line (3) with the connection hose from the fluid cooler.
Remove the bolt.
4. Remove the upper fluid cooler line (4) with the connection hose from the fluid cooler.
Remove the bolt.
Installation Procedure
Caution: Refer to Fastener Caution (See: Service Precautions/Vehicle Damage Warnings/Fastener Caution).
Note: Note the installation position.
1. Install the lower fluid cooler line (3) with the connection hose to the fluid cooler.
Use NEW seal rings.
Tighten the bolt 25 Nm (18 lb ft).
Note: Note the installation position.
2. Install the upper fluid cooler line (4) with the connection hose to the fluid cooler.
Use NEW seal rings.
Tighten the bolt 25 Nm (18 lb ft).