
ION L4-2.2L VIN F (2004)
Constant Velocity Joint: Service and Repair
Inner Joint and Seal Replacement
Wheel Drive Shaft Inner Joint and Seal Replacement
^
Tools Required
-
SA9161C Axle Boot Clamp Installer
-
SA9198C C/V Joint Snap Ring Pliers
-
SA9203C Axle Boot Clamp Installer
Disassembly Procedure
Important: Do not cut through the inboard boot and damage sealing surface of the outer housing and the trilobal tripot bushing.
1. Disconnect the small boot retaining clamp from the axle shaft using a side cutter. Discard the small boot retaining clamp.
2. Using a small bladed screwdriver, remove the earless clamp and discard.
3. Remove the larger boot retaining clamp from the tripot joint with side cutter and dispose.
4. Separate the inboard boot from the trilobal tripot bushing at the large diameter.
5. Slide the boot away from the joint along the axle shaft.
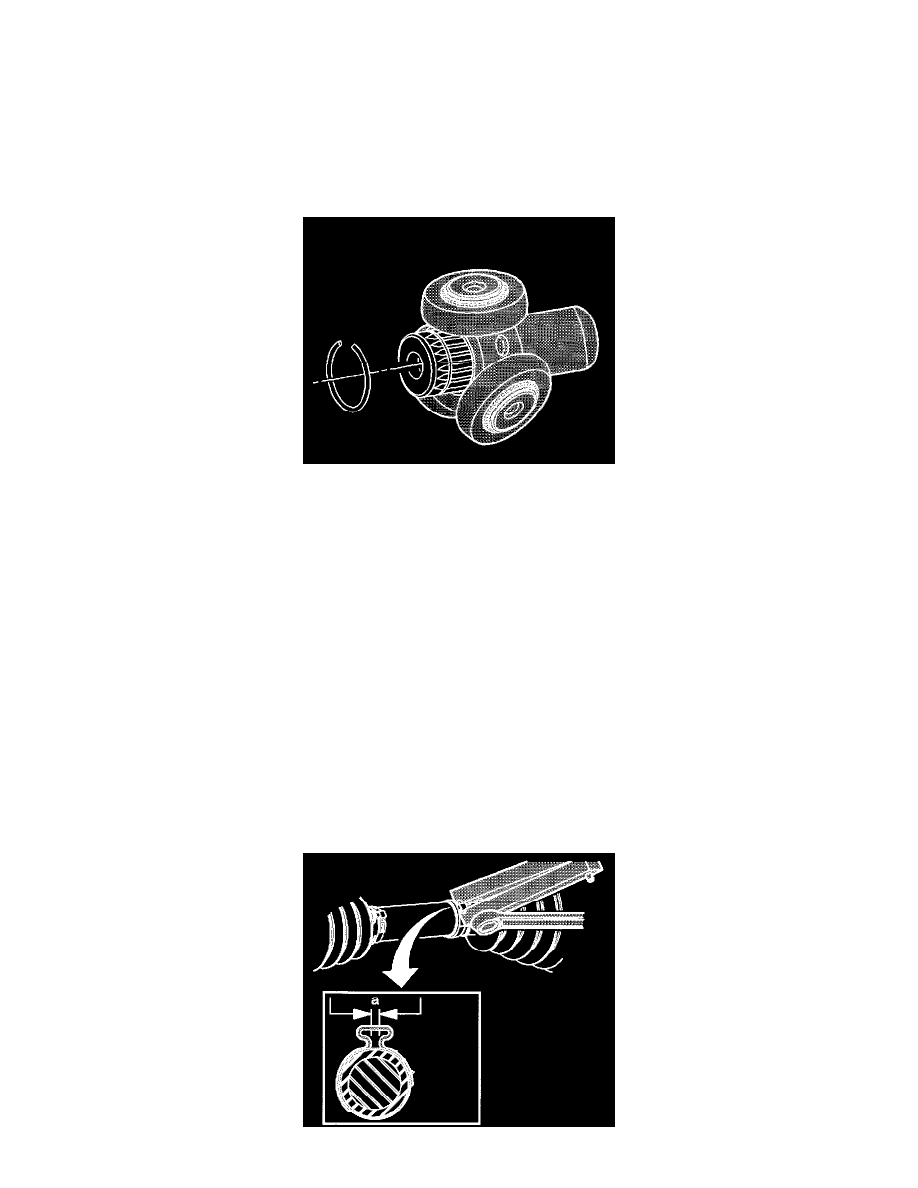
6. Remove the housing from the tripot joint spider and the axle shaft.
7. Remove the retaining ring from the groove and the axle shaft.
8. Slide the tri-pot joint spider assembly off the axle shaft. If necessary, use a brass hammer.
9. Thoroughly degrease the tri-pot housing and allow to dry prior to assembly.
10. Remove the trilobal tripot bushing from the housing.
11. Inspect the following parts for damage or wear:
^
The inboard boot
^
The tripot joint spider assembly
^
The housing
^
The trilobal tripot bushing
^
The tripot balls
^
The needle rollers
Assembly Procedure