
L300 V6-3.0L VIN R (2001)
4. Remove molding around rear window carefully trying not to excessively stretch it.
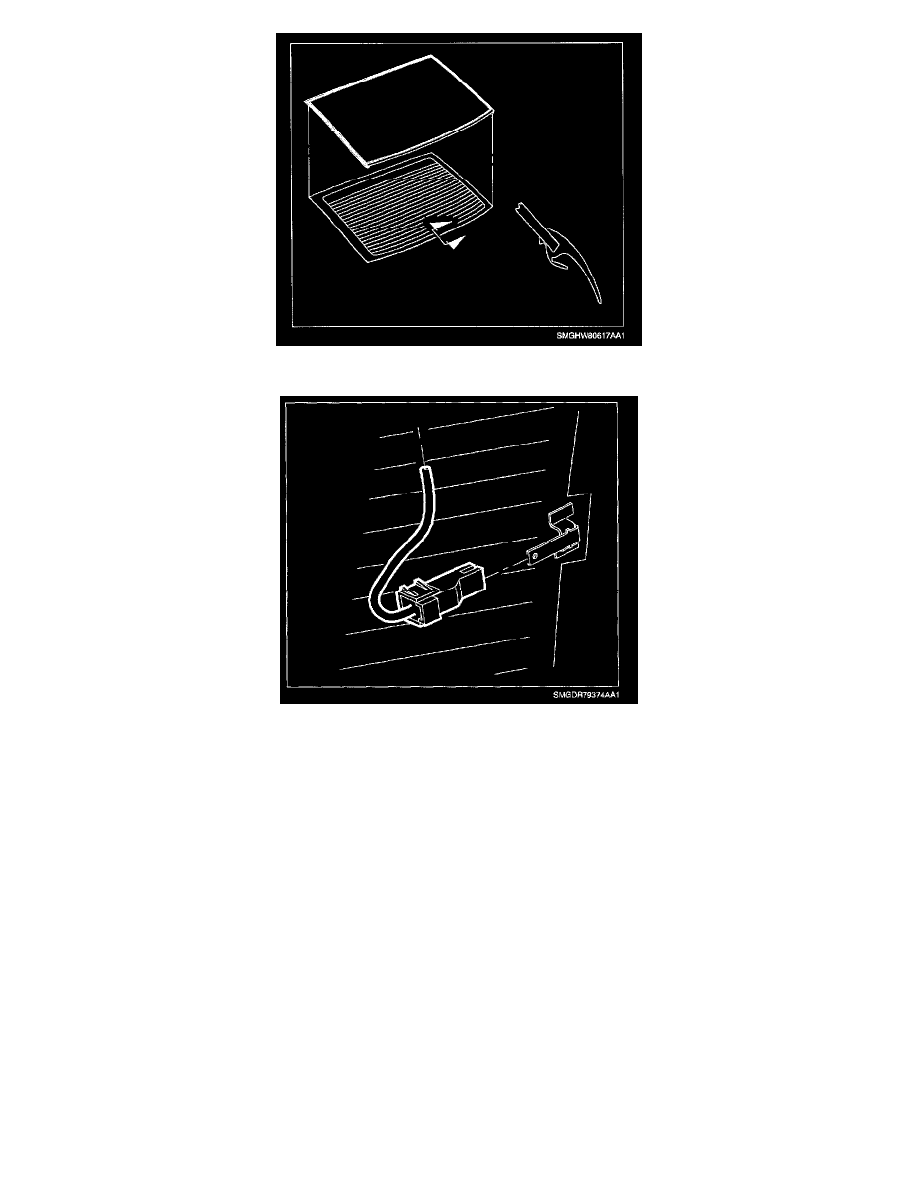
5. Remove electrical connectors from rear window defogger bus bars. Locate electrical connectors and mark location both inside and outside of
window with tape so as not to damage wiring/connectors when using power glass removal tool.
CAUTION: WHEN USING POWER TOOLS THAT MAY CREATE SMOKE WHEN CUTTING URETHANE SEALANT, WORK
SHOULD BE DONE IN A WELL VENTILATED AREA AND/OR WITH A NIOSH/MSHA APPROVED AIR SUPPLIED
RESPIRATOR TO PREVENT POSSIBLE HARMFUL EXPOSURE.
WHEN THE URETHANE ADHESIVE IS HEATED ENOUGH TO GIVE OFF SMOKE, HIGH LEVELS OF METHYLENE
DIISOCYANATE (MDI) MAY BE PRESENT.
UNPROTECTED EXPOSURE TO METHYLENE DIISOCYANATE (MDI) MAY RESULT IN SEVERE, CHRONIC, DEBILITATING
RESPIRATORY PROBLEMS.
NOTE: Care must he taken not to damage the roof when using power glass removal tool. If necessary, tape off body around glass with thick tape.
6. With power glass removal tool, cut urethane seal along roof down the sides and along the package shelf between the decklid hinges from inside of
vehicle.
7. Use piano wire to cut urethane at lower corners. Feed wire under glass at C-pillar through the inside and back out at the package shelf, then around
the outside of bead, Use a sawing motion to cut urethane.
8. With aid of a helper, remove window assembly.
INSTALLATION
IMPORTANT: Loose material and/or a rough surface on remaining urethane may cause sealing problems during installation of window assembly.