
SL L4-1.9L SOHC VIN 8 (1997)
NOTICE: Use new nuts; torque retention of old nuts may not be sufficient.
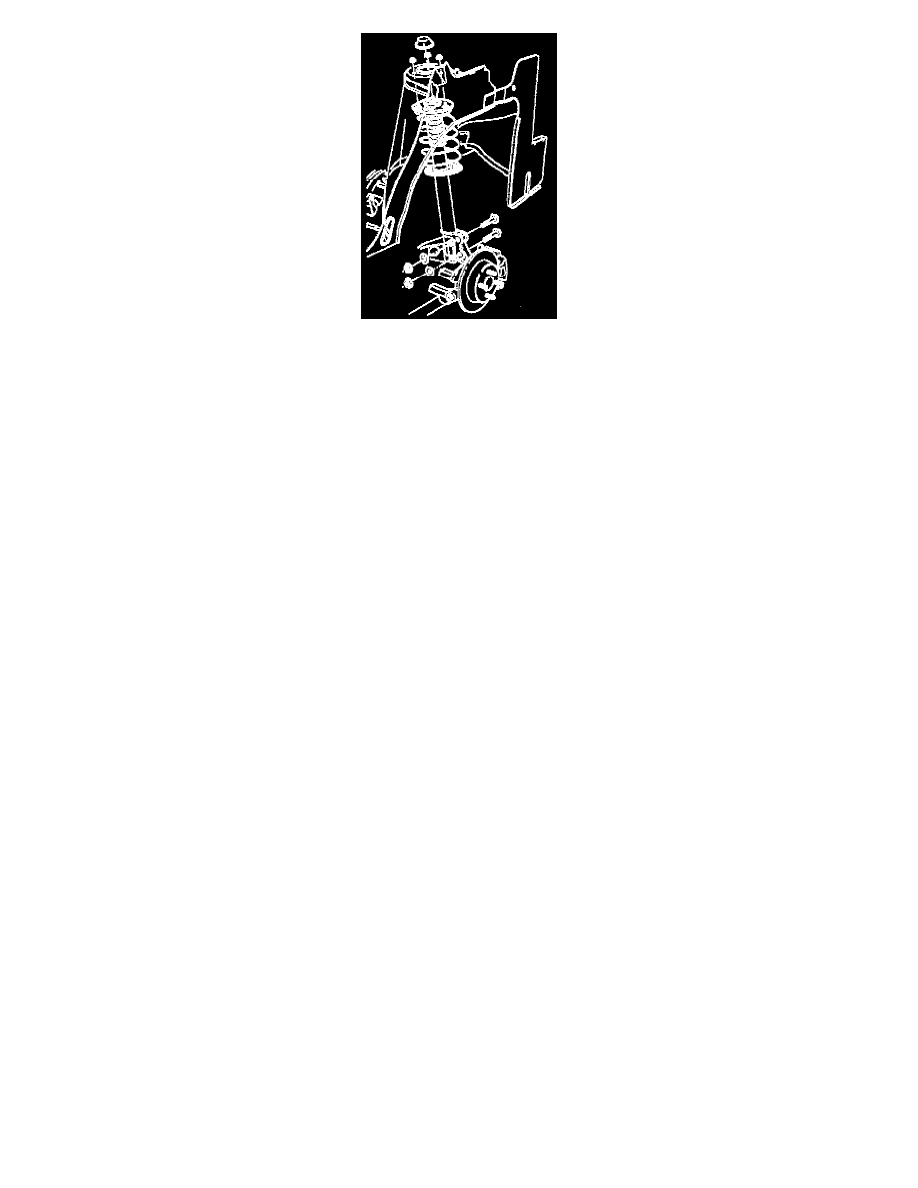
IMPORTANT: Install strut to the vehicle body and hold in place with strut-to-knuckle bolts. This will facilitate installing the three upper
support-to-body attachment fasteners.
1. Attach strut to the vehicle body with the three upper support-to-body attachment fasteners.
-
Torque: 29 Nm (21 ft. lbs.)
IMPORTANT: With strut-to-knuckle fasteners installed but not tightened, push bottom of strut inward while tightening fasteners.
NOTICE: Use new nuts; torque retention of old nuts may not be sufficient.
2. Attach strut-to-knuckle with fasteners.
-
Torque: 170 Nm (126 ft. lbs.)
NOTICE: Before installing wheels, remove rust or corrosion from wheel mounting surfaces and brake rotors/drums. Failure to do so can cause
wheel lug nuts to loosen in service.
3. Position wheel onto hub.
4. Install wheel nuts and tighten in a crisscross pattern. Repeat tightening pattern to make sure torque is correct.
-
Torque: 140 Nm (103 ft. lbs.)
5. Lower vehicle from hoist.
6. Install rear window trim finish panel. (Refer to Body and Frame.)
7. Perform vehicle wheel alignment. (Refer to Alignment.)