
SW2 L4-1.9L DOHC VIN 7 (1997)
INSTALLATION
1. Install 5th driven gear (if removed).
IMPORTANT: If the 5th driven gear is press fit on the input shaft:
a. Place the 5th driven gear on the output shaft engaging the splines.
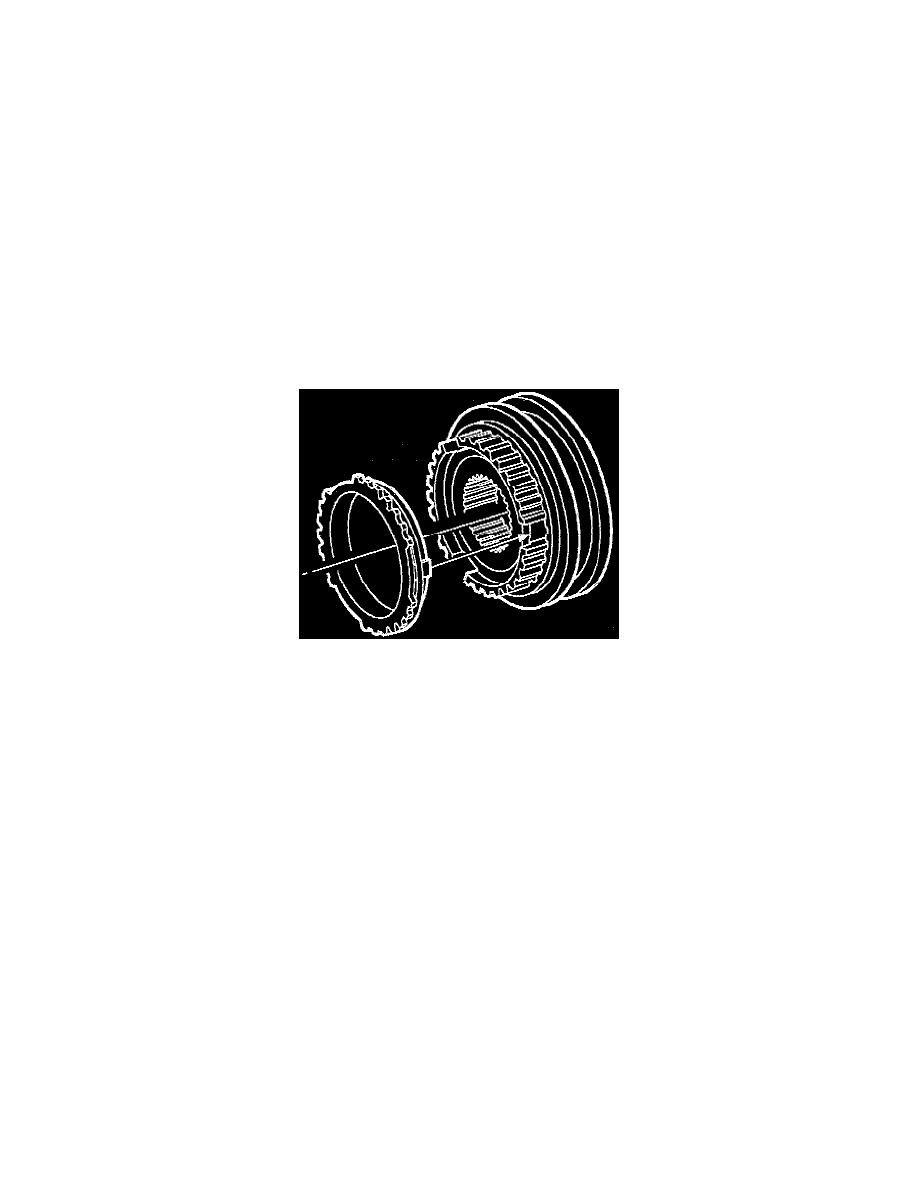
b. Thread the 5th driven gear installer, SA9211T-1 onto the output shaft until it is snug. (5th/Reverse hub shown, 5th driven gear similar.)
IMPORTANT: Before installing the 5th driven gear installer SA9211T-1, make sure that the nut is backed off all the way on the forcing
screw.
c. Tighten the nut on the forcing screw until the 5th driven gear has been seated.
2. Install the 5th gear thrust washer (if removed).
3. Install the 5th gear bearing race (if removed).
4. Install the 5th gear bearing.
5. Install the 5th gear.
6. Install the 5th gear synchronizer blocker ring to 5th gear.
7. Install the 5th gear synchronizer spring to 5th blocker ring.
8. Install the 5th/Reverse hub onto the input shaft.
IMPORTANT: Be sure tabs on blocker ring are aligned with slots on hub.(3rd/4th synchronizer shown, 5th/Reverse synchronizer similar.)
IMPORTANT: If the 5th/Reverse hub is press fit on the input shaft:
a. Place the 5th/Reverse hub on the input shaft engaging the splines.
b. Thread the 5th driven gear installer, SA9211T-1 onto the input shaft until it is snug.
IMPORTANT: Before installing the 5th driven gear installer SA9211T-1, make sure that the nut is backed off all the way on the forcing
screw.
c. Tighten the nut on the forcing screw until the 5th/Reverse hub has been seated.
9. Slide the 5th/Reverse fork over the 5th/Reverse synchronizer sleeve and install the sleeve onto the hub and fork onto the shift fork shaft at the
same time.