| Before assembling the crown for the differential, consult the section entitled Identification initials, assignation of groups, reductions, amounts for filling → Chapter. |
| –
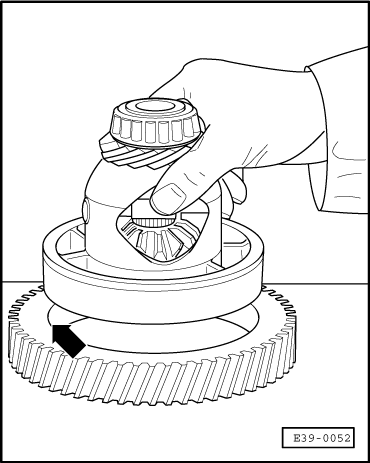
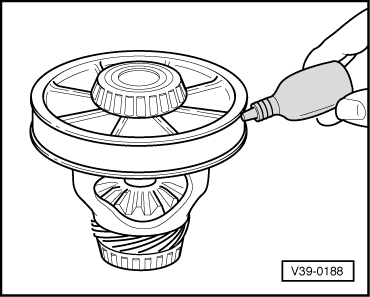
| Make sure to clean the contact surfaces with great care in the crown for the differential and the differential box. Use a wire brush and a scraper. Never use emery cloth or sandpaper. The contact surfaces must be totally free from oil and grease. |
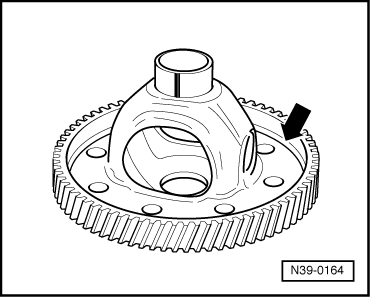
| Securing the differential crown wheel to the differential housing |
|
|
|
 Note!
Note!